
When I started Introduction to Grayscale a few weeks ago, I was not just new to the program, but new to painting, entirely. I think the last time I held a paintbrush was in elementary school art class, so I was a total painting rookie.
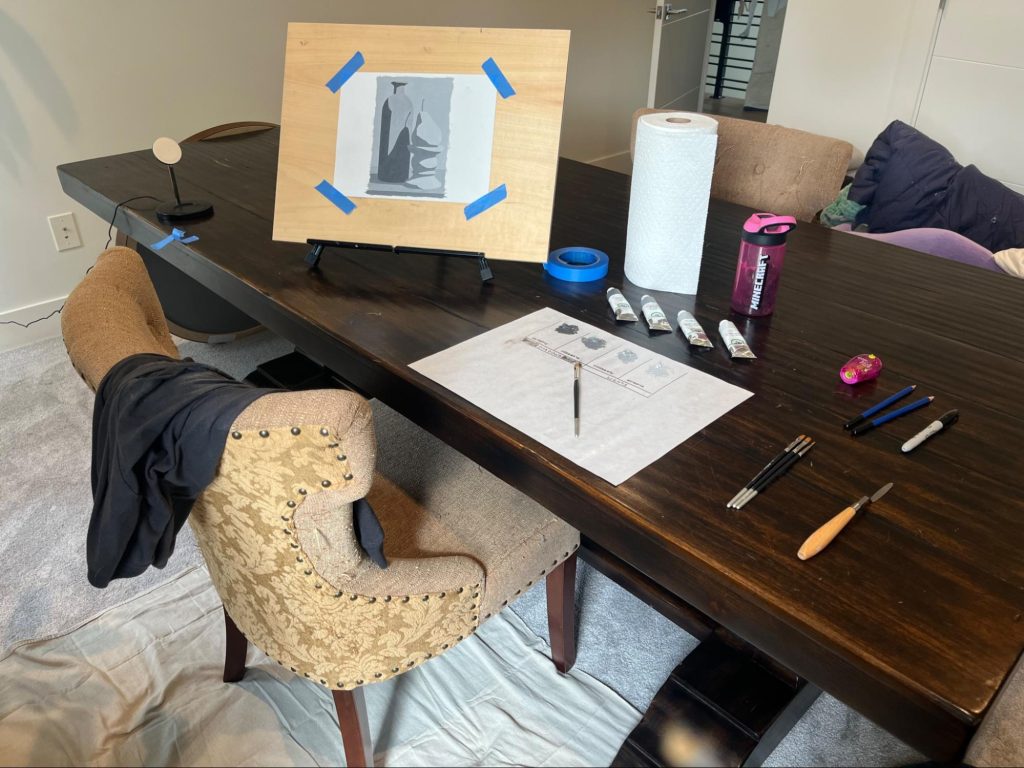
Evolve sends you everything you need for Introduction to Grayscale, which is awesome! What they sent me covered all the consumable supplies I needed. But there are a few other things I would consider either mandatory or highly desirable. For any other painting novices out there, here’s my beginner oil painting setup: what you might consider buying to equip your painting studio (even if your studio, like mine, is your bonus room which is mostly taken up by an old dining room table).
Here’s what you get in the box, shipped from Evolve
One amazing thing about this program is the quality of the supplies they send you. Evolve feels strongly that even beginners should use professional quality supplies. If you use cheap paints and brushes, you’ll never know what the cause was of any poor quality work. If you’re using a high quality material and not getting excellent results, you know the issue is with you and not the material… and you can learn to address those issues so that you end up with great results.
One nice thing about having a kit sent to your home is you don’t have to stand in front of the paint section at the art store, deliberating between different brushes and tubes of paint until your eyes glaze over. Here’s what Evolve provides:
- Paint: a set of Old Holland paints in, you guessed it, different shades of gray
- A set of paint brushes
- A palette knife
- A canvas pad, palette paper, graphite paper, reference photos, and line drawings for the Introduction to Grayscale paintings
Beyond the kit: the rest of my beginner oil painting setup
An easel
There’s a reason why every time you see someone painting, they are painting on an easel. While you could just put your canvas on the table, it’s difficult to get a good angle on your work while sitting upright. Painting on a canvas on the table is an ergonomic nightmare. I did my first painting that way, as my easel hadn’t arrived yet, and it was a game changer for my second painting.
There are various styles and price points. I got an easel that could sit on top of the table I already have in my painting space. One day I’d like to upgrade to a standalone easel. This one is pretty good, but it has a tendency to slide a little across the surface of the table. However, for less than $15, this was a great starting easel for me.
A sturdy drawing board
I’m not going to tell you how much googling it took to figure out that this thing is called a drawing board. This board is what you attach your canvas to, so that you have a sturdy, flat surface that sits on your easel. You could cut down a piece of plywood from the hardware store, but I’m glad I splurged a bit on this. It’s very flat, splinter-free, and lightweight. It turns out that you rotate the canvas frequently while painting, to more easily approach areas with your brush, so having a great drawing board is a huge quality of living improvement.
The right lighting
Having good lighting is key to being able to see whether the paint is fully covering areas of the canvas, to see whether there’s contamination from an adjacent area of paint in the one I’m currently working in, and to differentiate between two similar shades. As I progress out of Grayscale into color one day, I’ve been told that not just having enough lighting, but having the right temperature of light, is important.
Painter’s tape
In Introduction to Grayscale, you will learn a very particular way of attaching your canvas, graphite paper, and line drawing to your drawing board with tape. I went with painter’s tape, figuring that the hint was in the name, and I have not been disappointed. This tape holds everything where I want it to stay and it is easy to remove. Considering that I’m taping three different layers on top of each other, easy removal is key.
Plenty of paper towels
I discovered that I use a lot of paper towels while painting. Wiping paint off my brush between shades of gray, wiping excess paint off my brush, etc. I’m a person who likes to optimize, and I was initially trying to minimize the amount of paper towel I was using (and trees I was killing), but I quickly discovered that this is a case where more is more. Trying to economize my paper towel usage just had me accidentally getting paint on my hands, and then transferring that to the table, the canvas, and my pants. Liberal use of paper towels fixed this. I’m sorry trees, but at least I’m recycling the paper towels!
A black Sharpie marker
Introduction to Grayscale taught me the importance of having a well-ordered palette, with each section of paint denoted via Sharpie, clarifying whether each shade is moderate or extreme shadow or light. This organization really helps me avoid using the wrong shade, and then having to say all the words I don’t say in front of children while I try to un-&#^@ my painting.
Soap for cleaning brushes
After my first day painting, I admired my lovely gray squares…and belatedly wondered how I was supposed to clean my brushes. The answer: a bar of soap. Now, each painting session ends for me and my brushes at the sink, meditatively cleaning them until no paint remains. Ivory soap in particular is the gold standard for cleaning brushes; if this dries out your hands, you might also want a pair of rubber gloves.
Optional: a protective drop cloth
So far, this hasn’t been nearly as messy as I thought it might be, but I’m happy to have a drop cloth under the table that I’m working at. My studio / bonus room is carpeted, and I’m happy to spend a few dollars on a canvas floor covering to avoid googling ‘how to get oil paint out of carpet’. If you don’t have carpet in your studio, you probably don’t need a drop cloth, but it wasn’t a big investment.
5H pencil and pencil sharpener
The first step in each Introduction to Grayscale painting is transferring the image from an outline (provided) to the canvas. Using graphite paper, you trace the image onto the canvas. To do so, you need a pencil that is going to give you sharp lines throughout the process. A 5H pencil is perfect for this…and a pencil sharpener, because while a 5H pencil stays sharp longer than your typical classroom 2B pencil, it’s not magically forever sharp. I just grabbed a cheap sharpener from my daughter’s school supplies.
Optional: more graphite paper
The supplies for Introduction to Grayscale include five pieces of graphite paper, and once you move on in the program, Evolve sends a whole pack in your next box. You can absolutely reuse graphite paper for transferring images for multiple paintings, but that’s assuming that you don’t accidentally tear the paper or accidentally throw it away. Or, in my case, that you even realized that graphite paper is something you can reuse. I bought an extra pack to tide me over, but you may not need to.
Optional: a painting shirt
I am tempting fate to even say this, but painting isn’t as messy as I thought it would be. Still, I always throw on an old long sleeved t-shirt that I’m not too attached to. It keeps me warm, and the sleeves are form fitting enough that it doesn’t accidentally drag against my painting or palette.
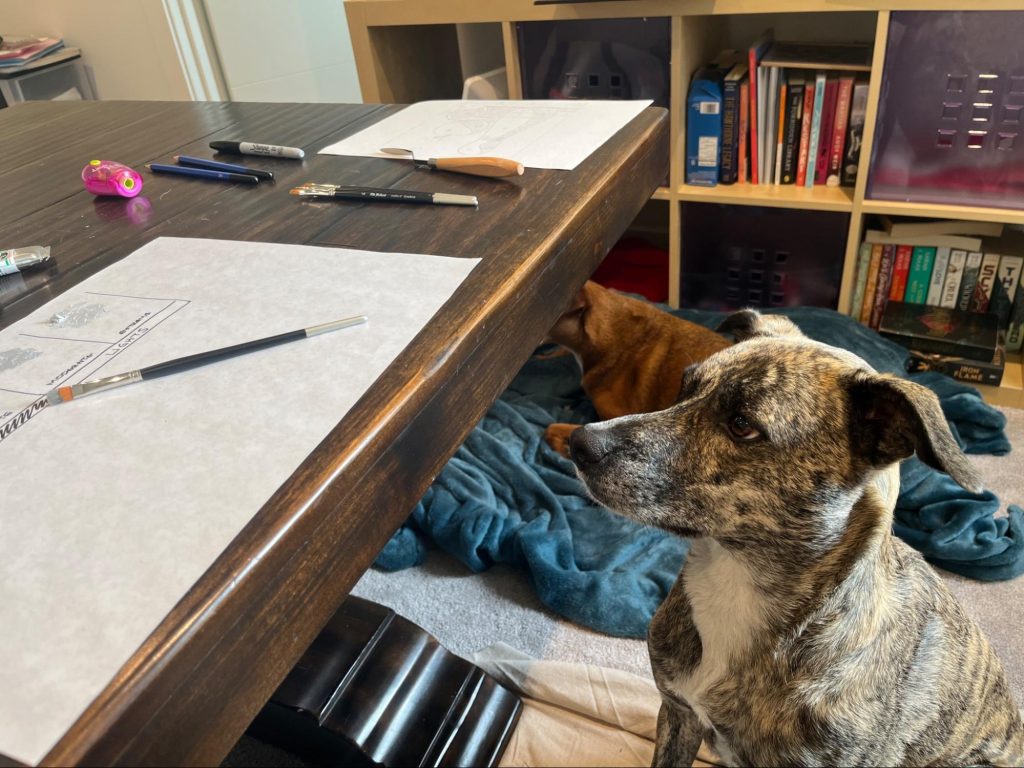
Optional: dog treats
Painting is better with friends.
These supplies (plus those included with Introduction to Grayscale, of course) have been everything I need. I’m almost all the way through this introductory course, and I’m about to move on to Block 1 of the Evolve program. I am definitely still a novice, but with the guidance I’m getting through Introduction to Grayscale, the high quality supplies I received as part of the course, and the additional items I listed above, I’m actually…starting to think of myself as a painter. Onwards and upwards!
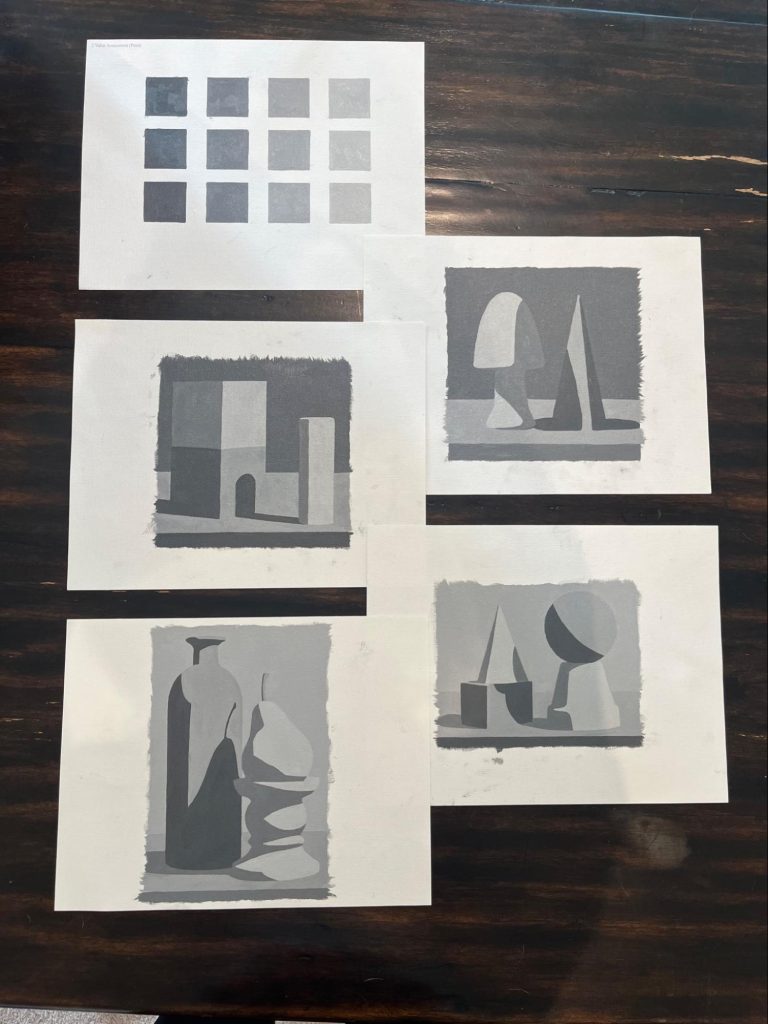
Ready to start painting too? Try Introduction to Grayscale for $99. The supplies come to you, and the lessons walk you through every step.
More reading: our complete guide to the oil painting supplies you get when you join Evolve, and 5 essential oil painting supplies for beginners.