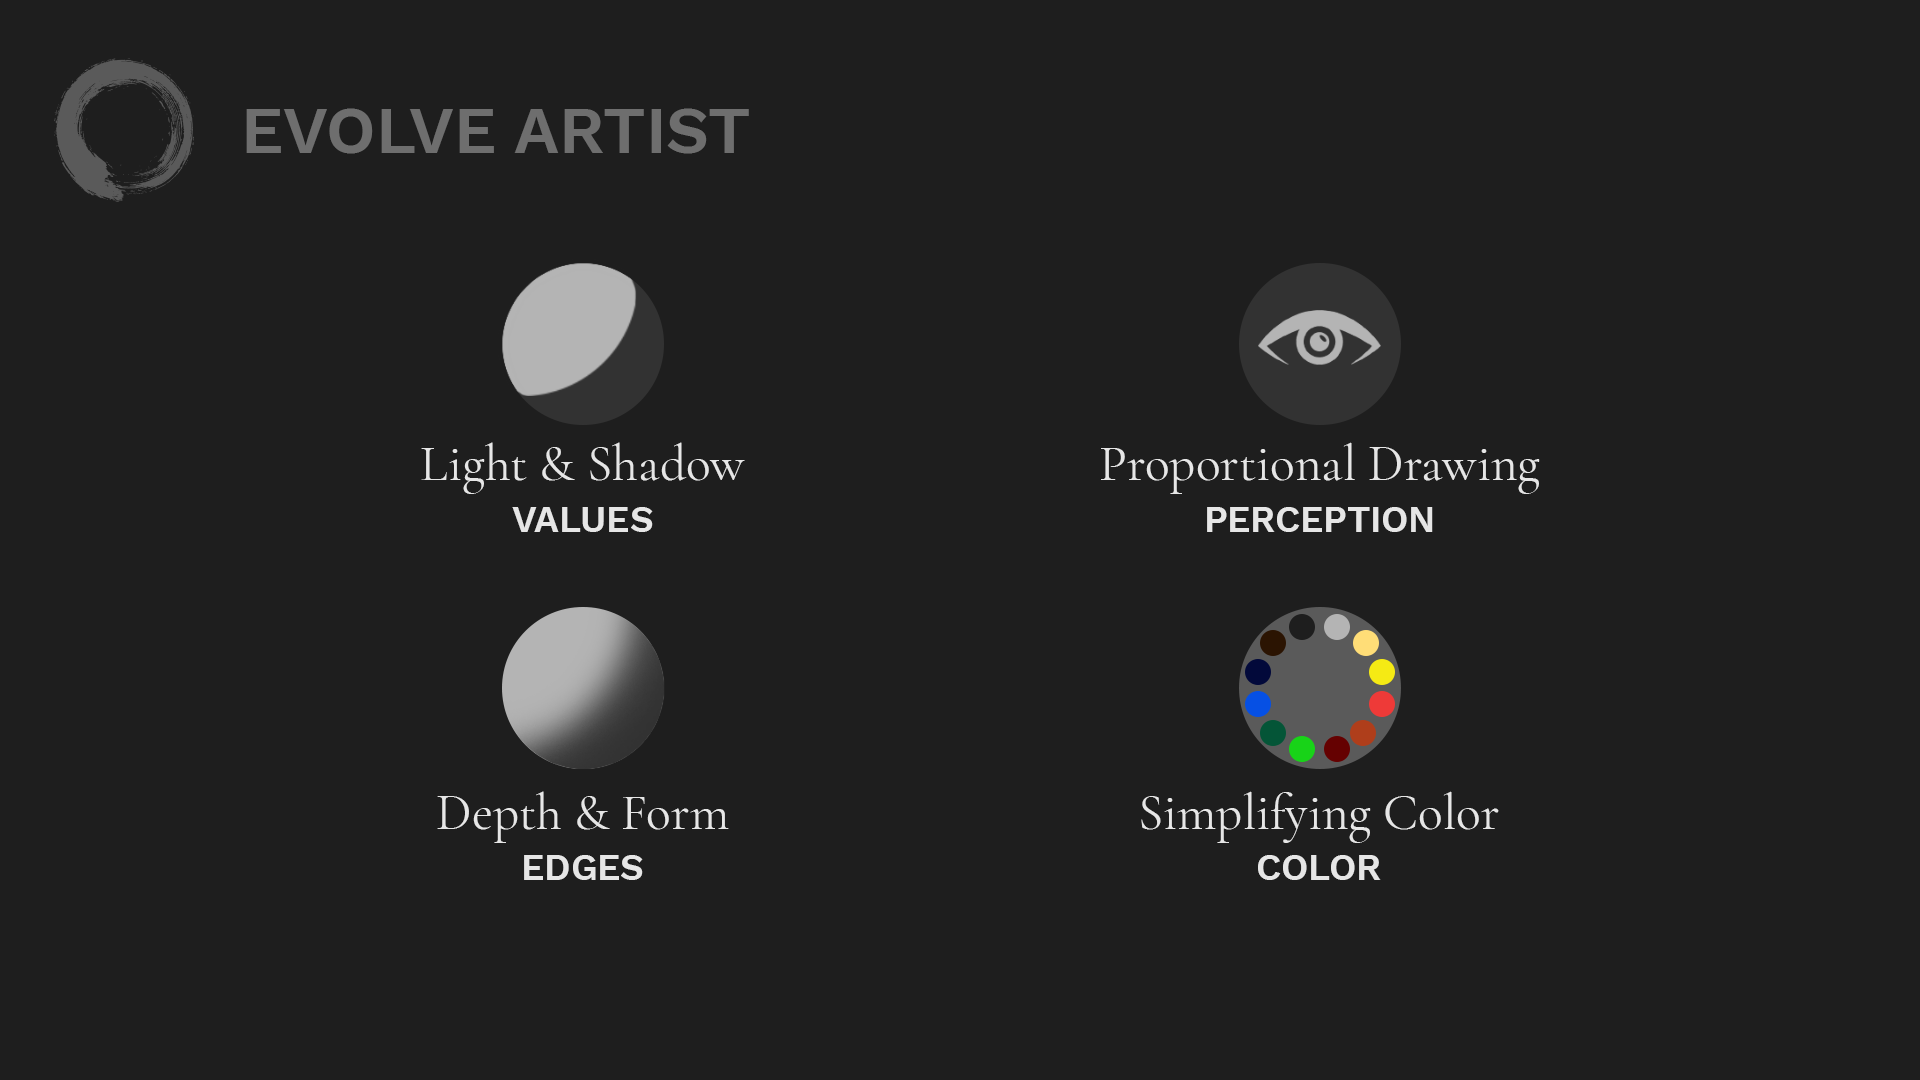
Learning how to paint edges is the second fundamental of art taught in the Evolve Artist method.
The second fundamental in the Evolve Artist program is learning how to paint edges. Without edges, we're stuck with making flat art. When we learn how to paint edges, we can create the illusion of form and depth.
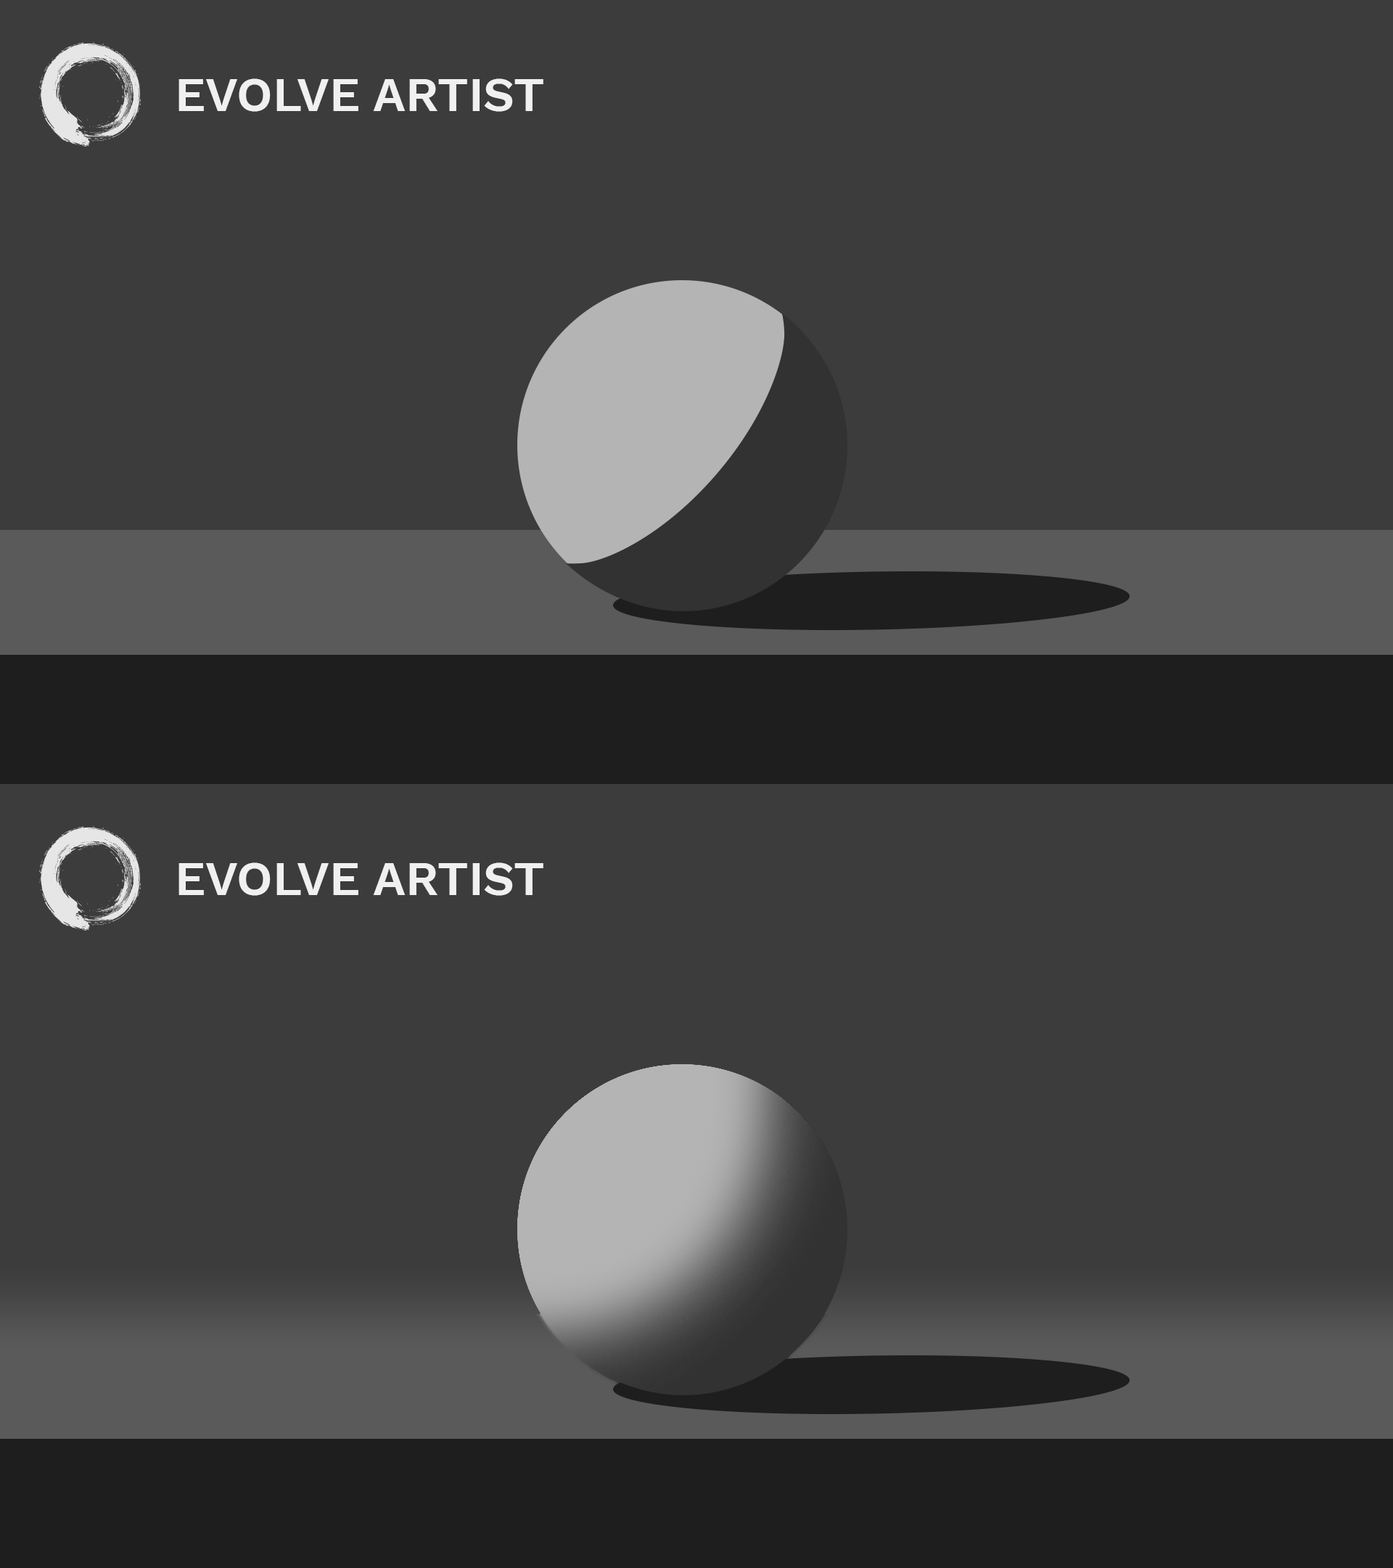
The edges in this image help create the illusion of form and depth.
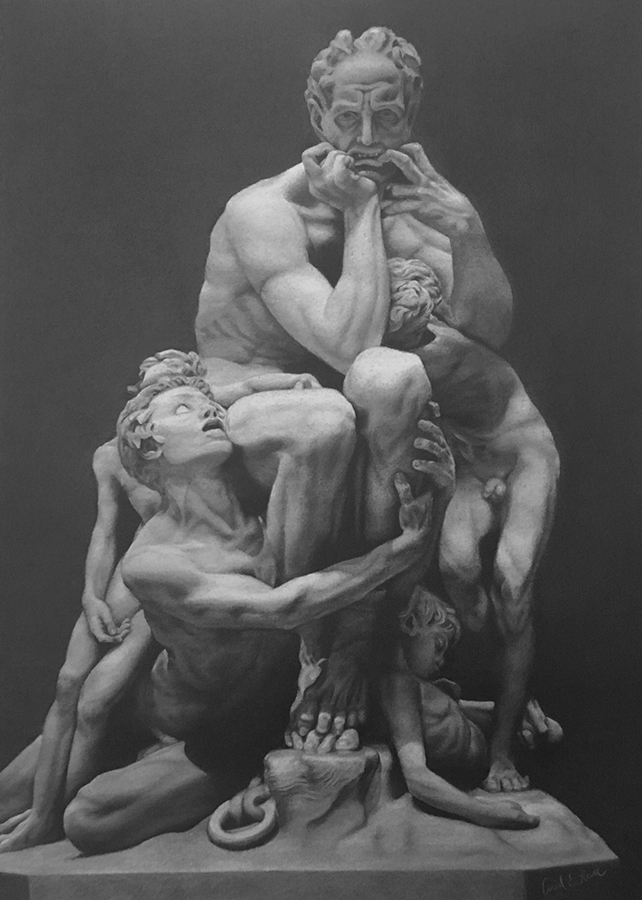
This charcoal drawing of Jean-Baptiste Carpeaux's sculpture is made up of values and edges.
This charcoal drawing is made up of only two things: values and edges. With a solid understanding of values and knowing how to paint edges, you can create incredibly realistic art. At Evolve Artist, we show people the path to making realistic paintings.
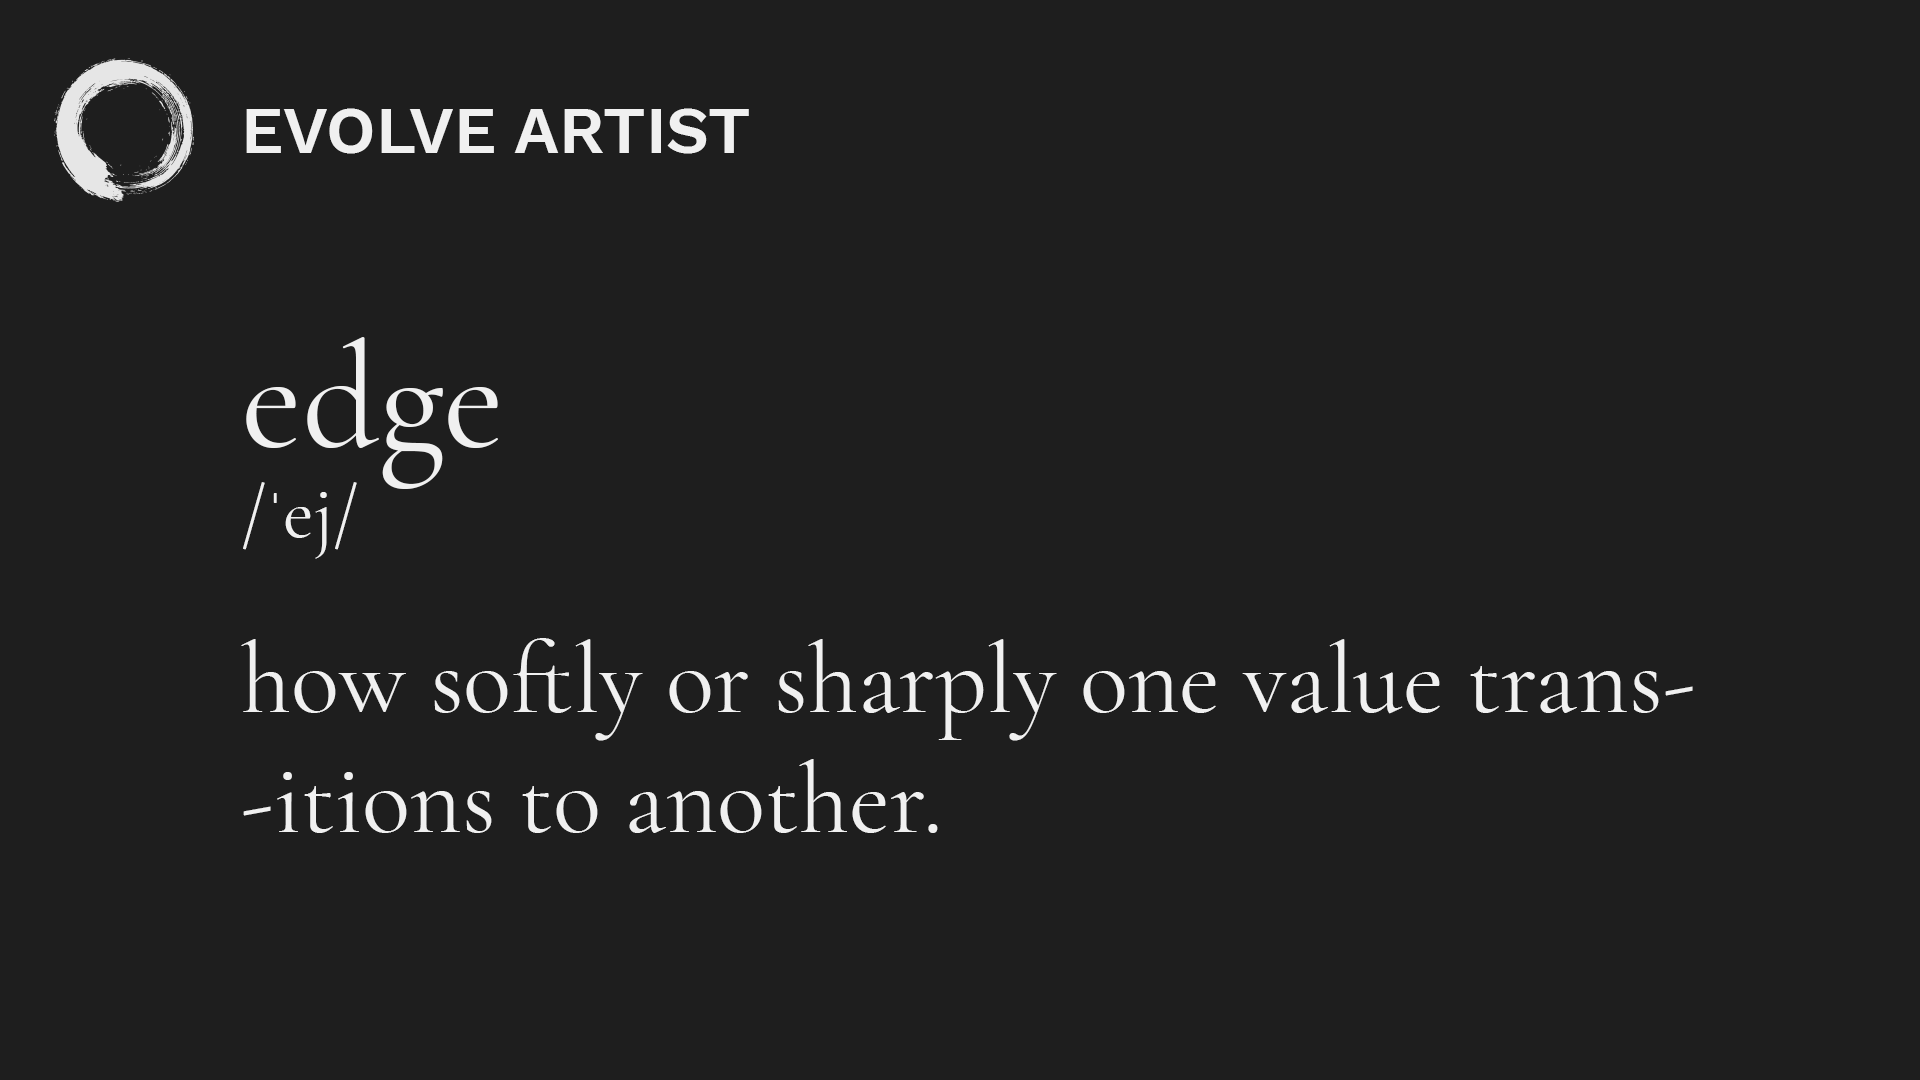
An edge is determined by how softly or sharply one value transitions to another.
What Are Edges?
Before we define edges, we need to know what values are. Values are how light or how dark something is (Click HERE to read our post on Values, the first fundamental of art). An edge is how softly or sharply one value transitions to another.

This image of a snowman has values but looks flat without edges.
Look at the image above. It has all its values, but why does it still look flat? Without edges, there isn't a clear explanation of the three-dimensional form of the object that you're looking at. However, with edges, that illusion of form and depth becomes lifelike.

With edges, this image comes to life with form and depth.
How Do Edges Create Form?
So how do you create form using edges? First, you need to get your values right based on light and shadow. So if you haven't already, stop and read this post on values, the first fundamental of art, and then come back here to continue.

Edges have an infinite range from sharp to soft.
In the same way that values have an infinite range between light and dark, edges also have an infinite range between razor sharpness and butter-smooth gradients. To get started, we only need two edges: sharp and soft. Remember, in pursuit of mastery, we want to simplify, not overcomplicate. So when it's this simple, when there are just two edges, we can't just copy what we see. We have to create form based on our understanding of the fundamentals of art.
Artists need to know the rules in order to break them, according to Picasso.
With a true understanding of the fundamentals of art, you can “learn the rules like a pro so you can break them like an artist,” as spoken by Picasso himself. That's what the Evolve Program was made for.
Cast and Form Shadows
So, how do we determine which edges should be sharp and which should be soft? Well, we have different kinds of edges. First, we have edges that happen when one object bumps up against another.
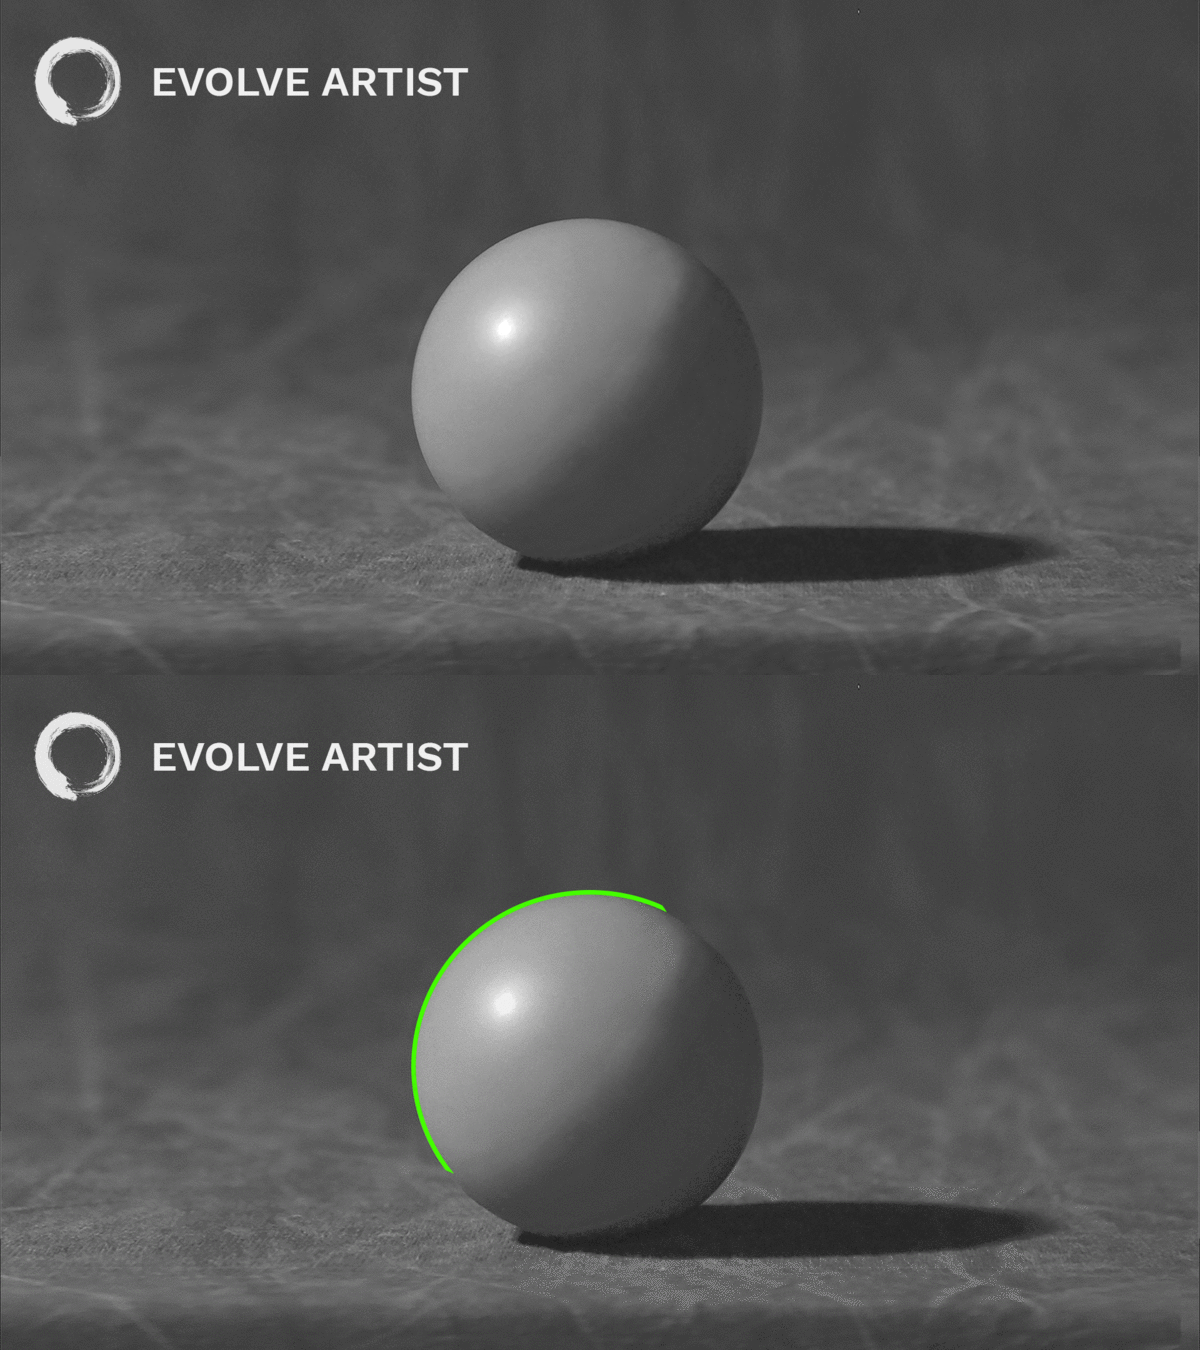
Edges occur when one object bumps up against another.
And we have edges that happen where the light and shadow meet. This is where we will create form with our edges.
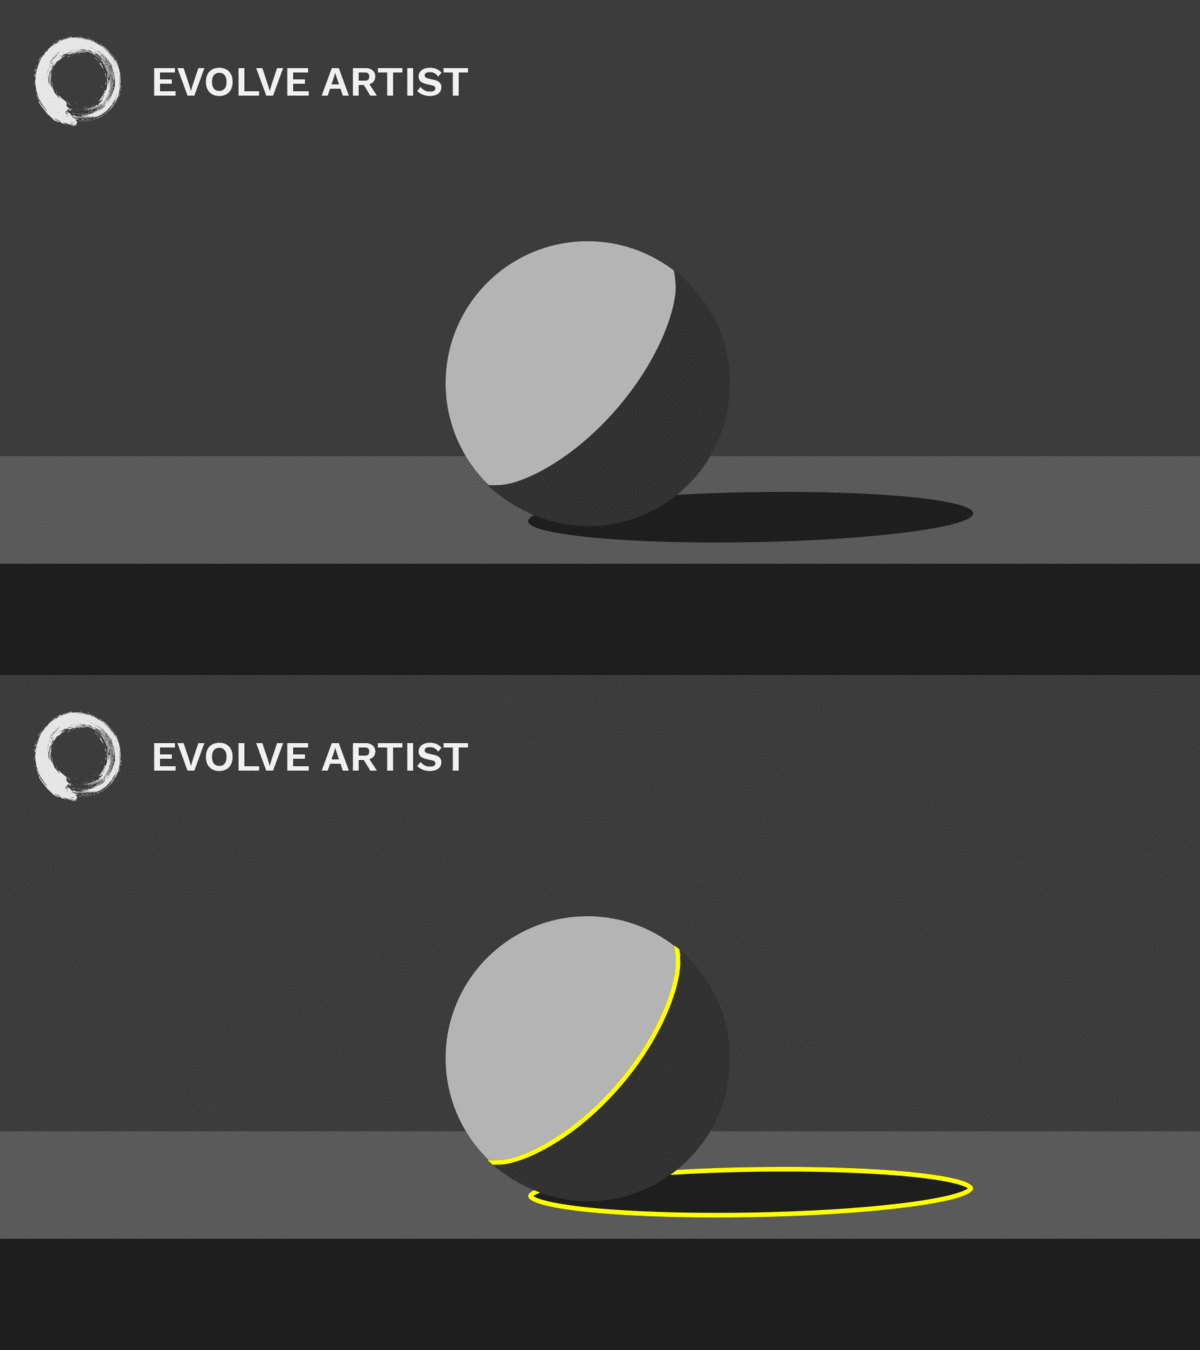
There are edges that happen where the light and shadow meet.
In order to turn form with these edges, we have to know what form and cast shadows are.
To put it simply, a cast shadow occurs when there's something that's directly blocking the light from shining on another object, casting its silhouette onto it.
A form shadow occurs when the light hitting an object gradually drops away, fading into shadow.
Here's another example to help us understand:
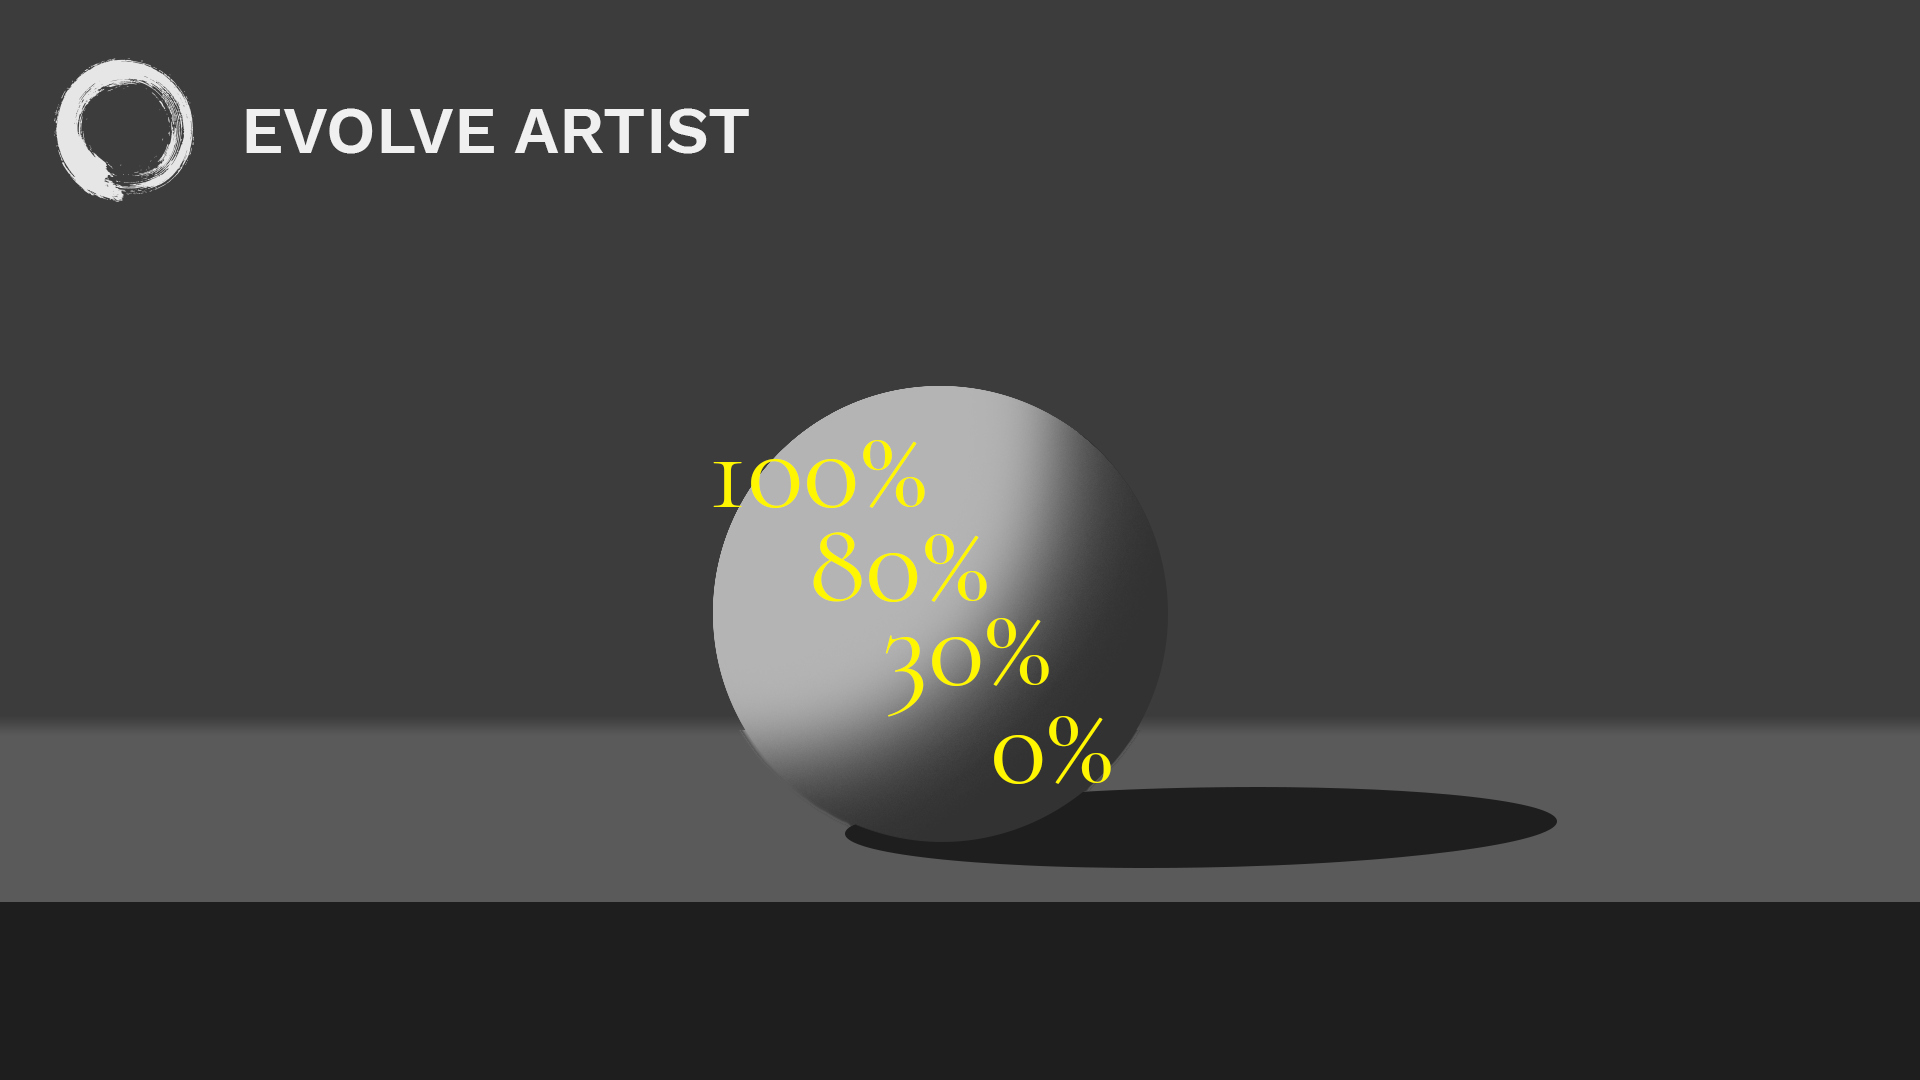
Form shadows occur as the form of an object recedes from the light.
Imagine that there is 100% of the light source shining on the left side of the sphere, and then as the sphere is turning in form away from the light, there's a smaller and smaller percentage of light that can bounce off of it.
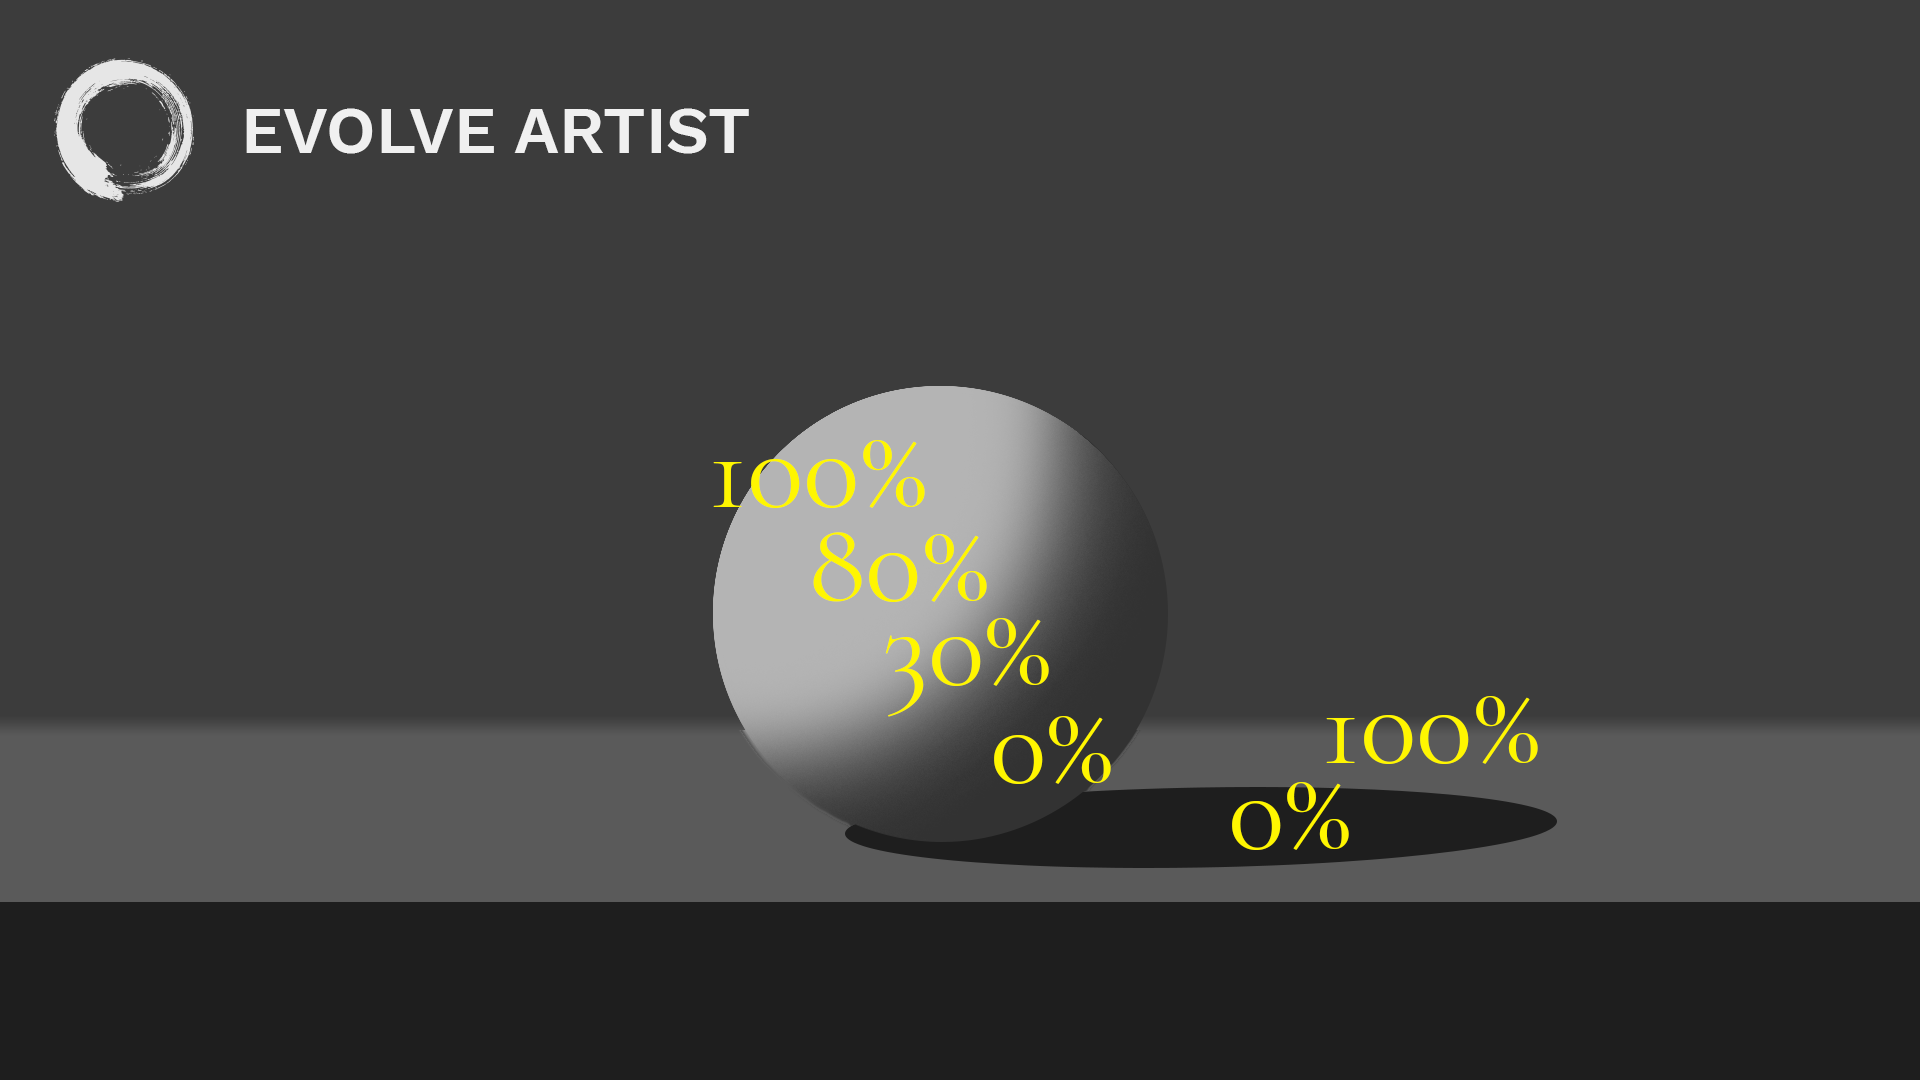
Cast shadows occur when an object directly blocks the light.
However, with a cast shadow, you have either 0% of the light or 100% of the light on the object.
How to Paint Edges to Capture Form
Because of this, cast shadows are relatively sharp because the light can't bend around the object that's directly in the way.
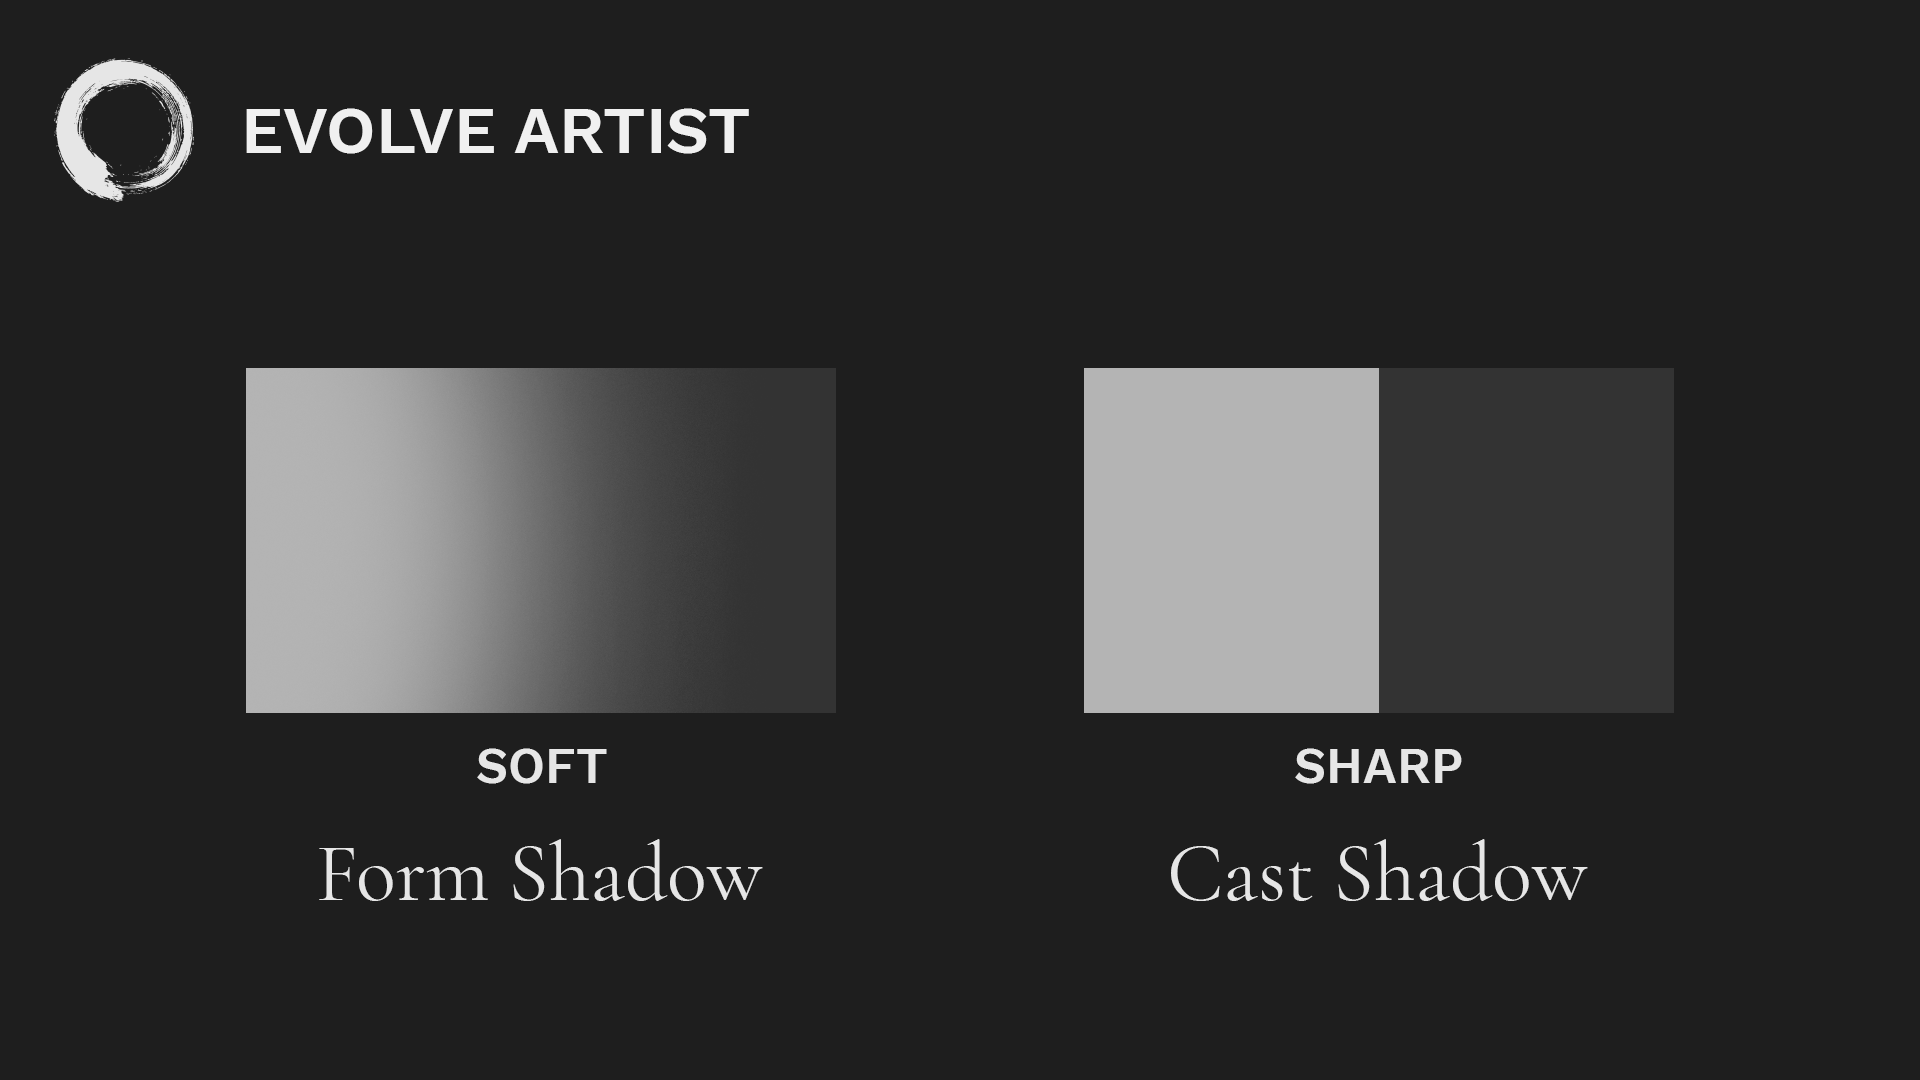
Form shadows are soft and cast shadows are sharp.
Simply put, form shadows are soft and cast shadows are sharp.
Form shadows, compared with cast shadows, are softer because the light is gradually dropping off into shadow.
So, as you are learning, make all of your form shadows soft and all of your cast shadows sharp in your paintings.
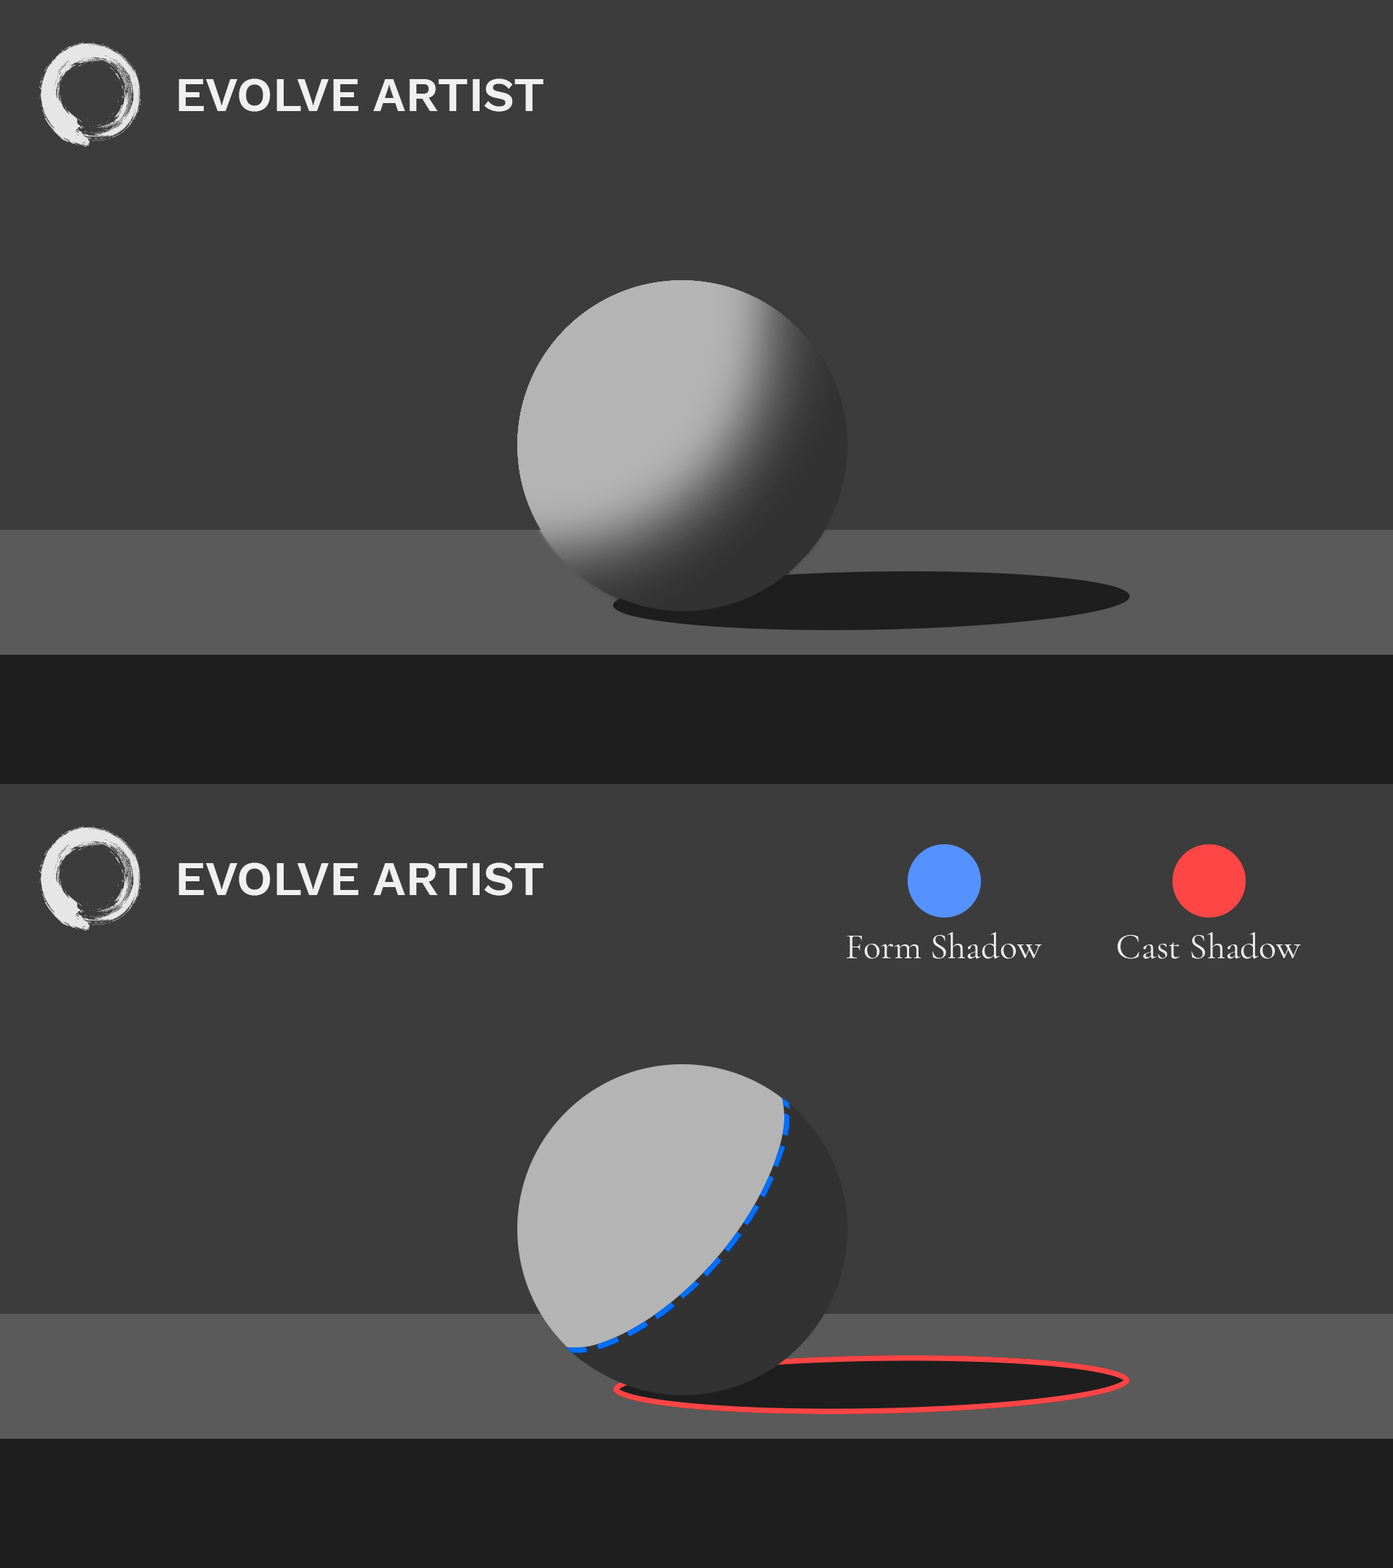
As you are learning, make all of your form shadows soft and all your cast shadows sharp.
Here is the process for creating form with your edges.

Soft form shadows and sharp cast shadows bring this image to life.
Once you block in your values, the next step is to determine whether or not each edge where the light meets the shadow is a cast or form shadow. Then, make the edge sharp or soft accordingly.
What happens if we reverse this, making the form shadows sharp and the cast shadows soft? Here's an example:

A misunderstanding of form and cast shadows can result in an unrealistic image.
Yikes! However, most people wouldn't make this mistake with a simple image like a sphere. It gets a little more complicated with a more detailed subject. For example, take a look at this portrait:
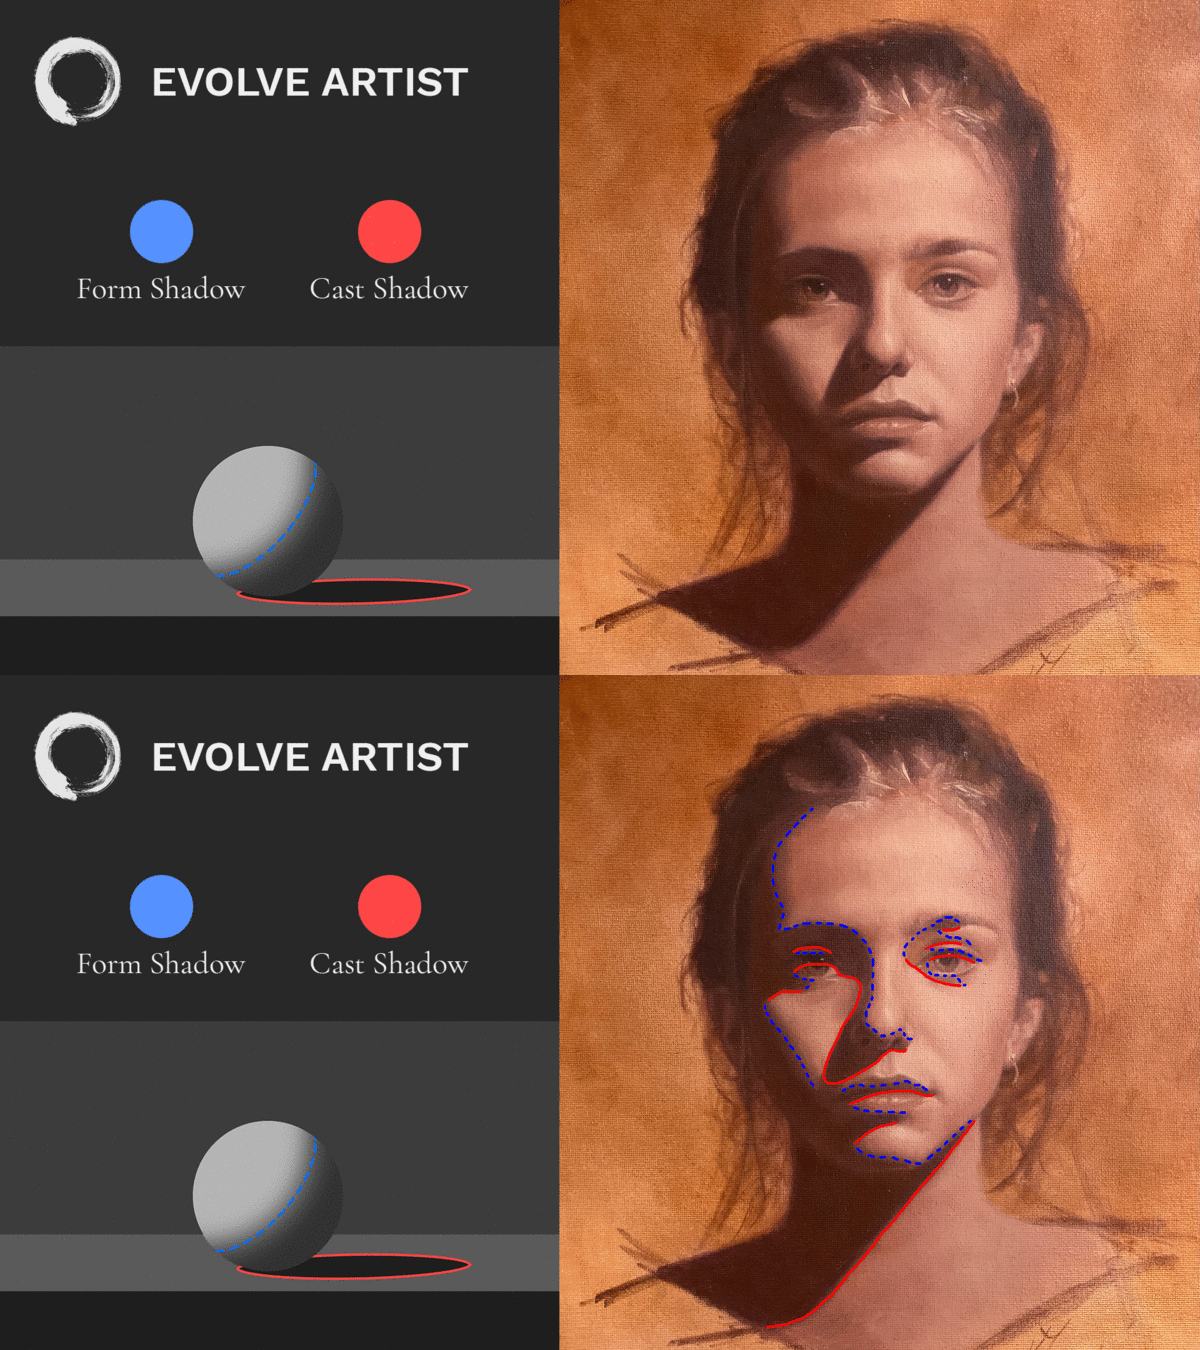
Complex images can make finding and labelling shadows more challenging.
Look at how many form shadows and cast shadows there are in this face. This is why it is very important to tell the difference between form and cast shadows. Practice with simple objects until you get it right every time.
How to Paint Edges to Create Depth
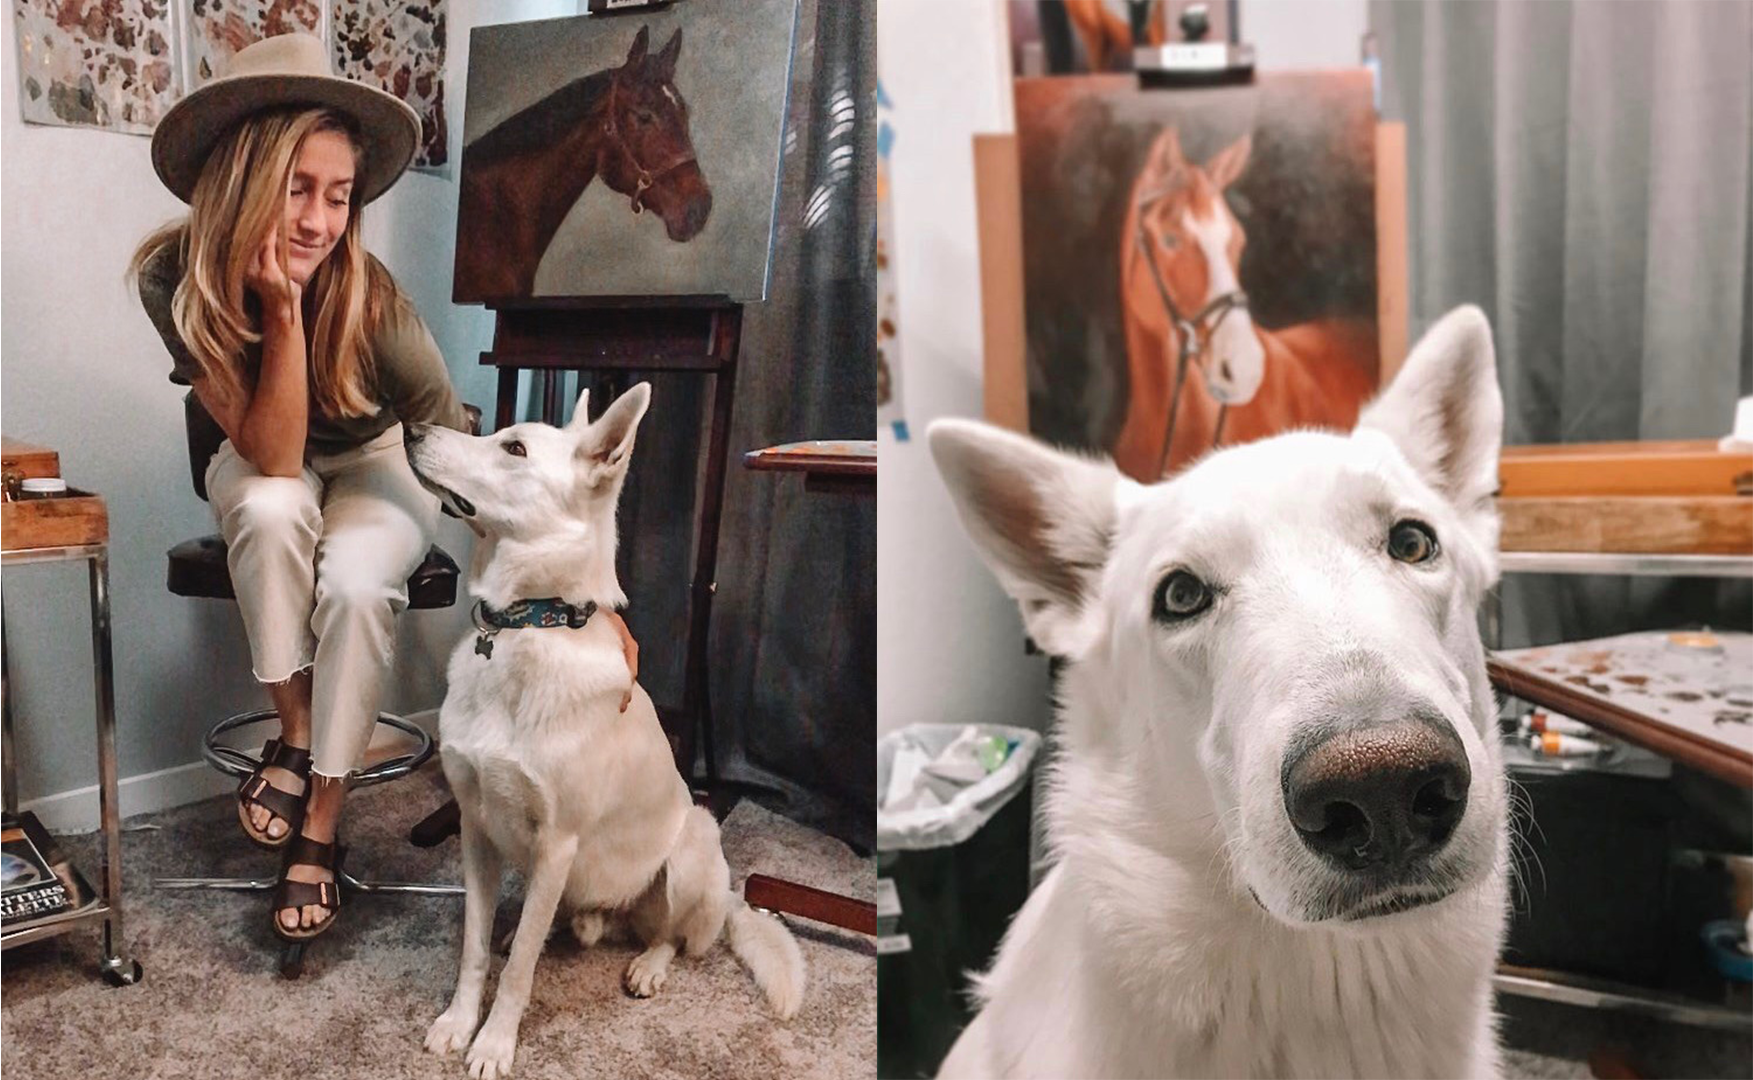
Head instructor at Evolve, Piper Talladay, with her studio dog Simo.
Meet Simo, the studio dog of Piper Talladay, the head instructor at Evolve Artist. If you look at Simo's snout, you'll see that it's super sharp. You can see all the detail at the front, and then all of the edges get softer and softer as they recede into the distance.
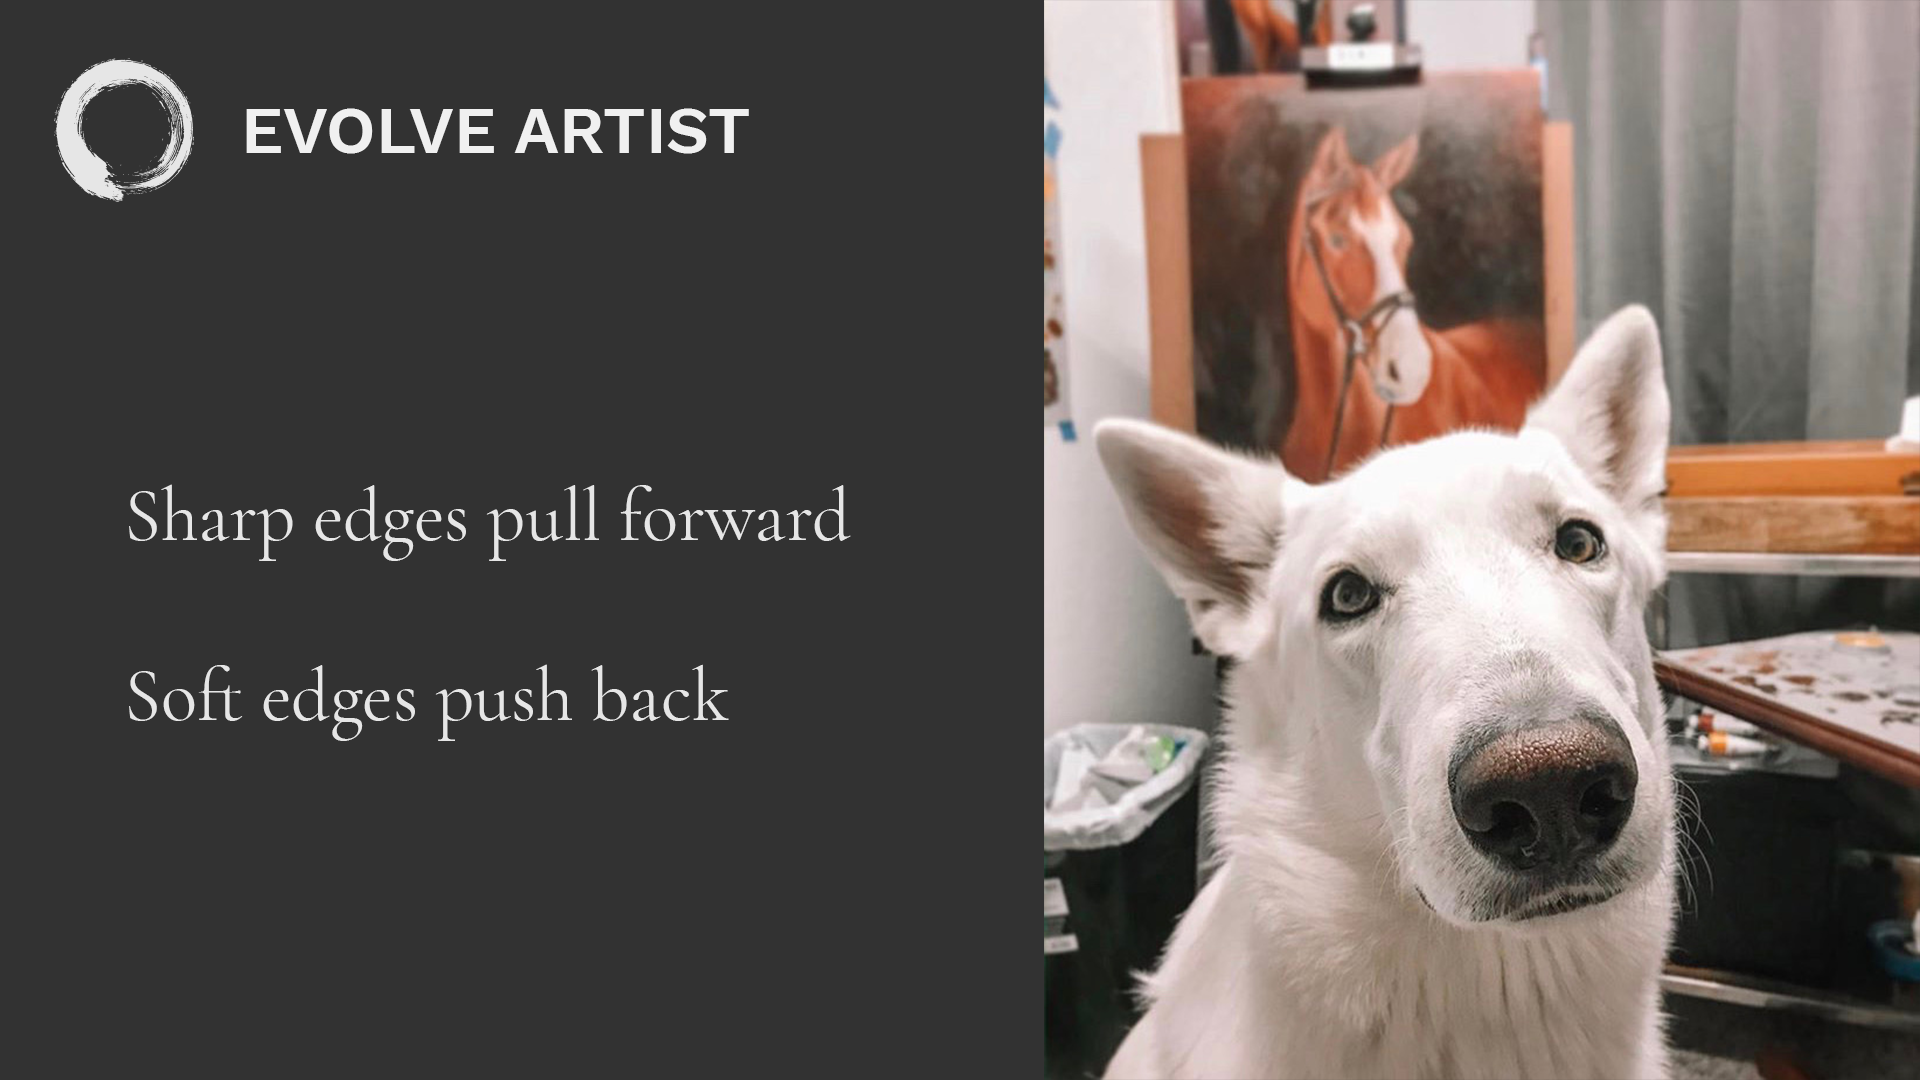
Simo’s detailed snout shows how edges get softer as they recede into the distance.
When we're looking around and our eyes focus on something, it becomes sharp and in focus. Similarly, when we're making realistic art, the things that are sharp and in focus are what our eyes are going to naturally gravitate towards. Having a sharp edge is going to create this effect as if an object is coming forward because it's grabbing our attention. If you focus on the sharp edge, you can see that peripherally, the things directly behind it are blurry and out of focus.
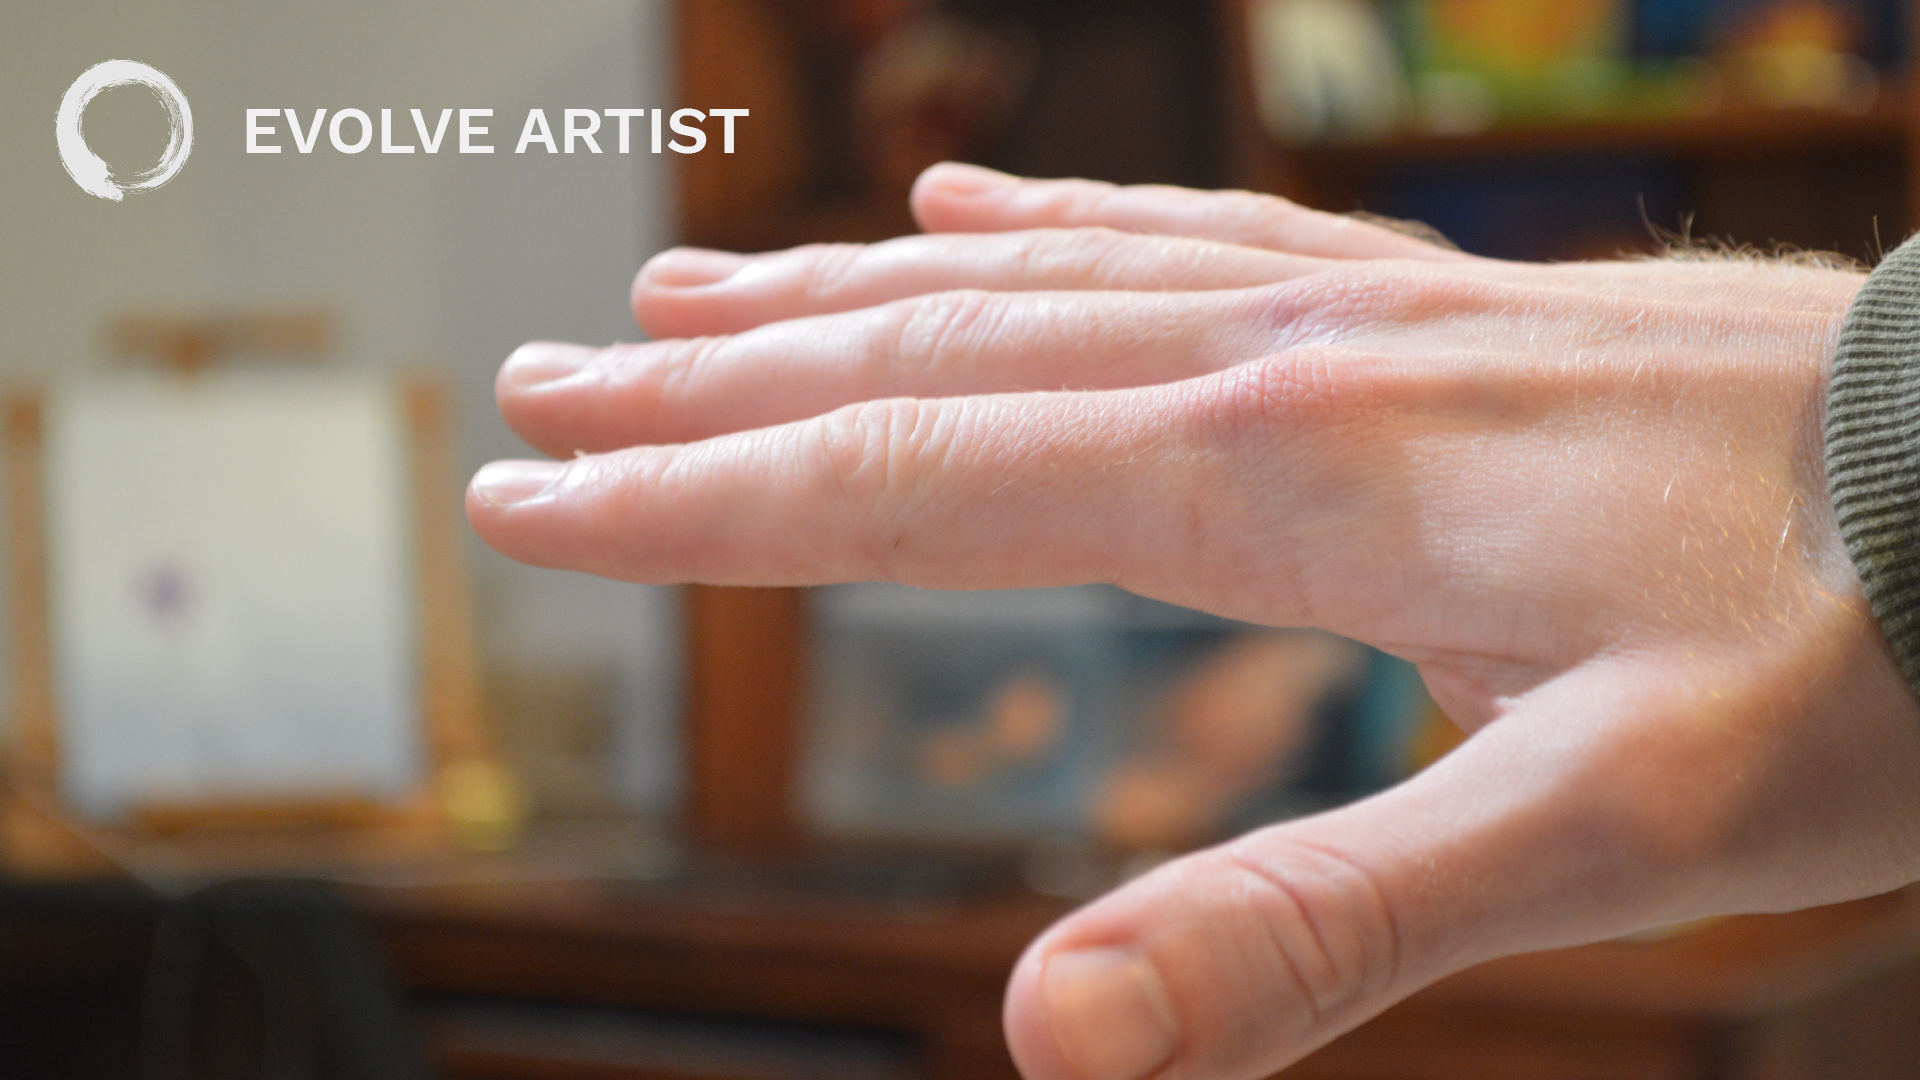
If you hold your hand up to your face, you’ll see how sharp edges pull forward and soft edges push back.
From this, we can see that sharp edges pull forward and soft edges push back. If you want to pull something forward using edges, you can make it relatively sharp, and if you want to push something further back, you can make it relatively soft. Here's another example:
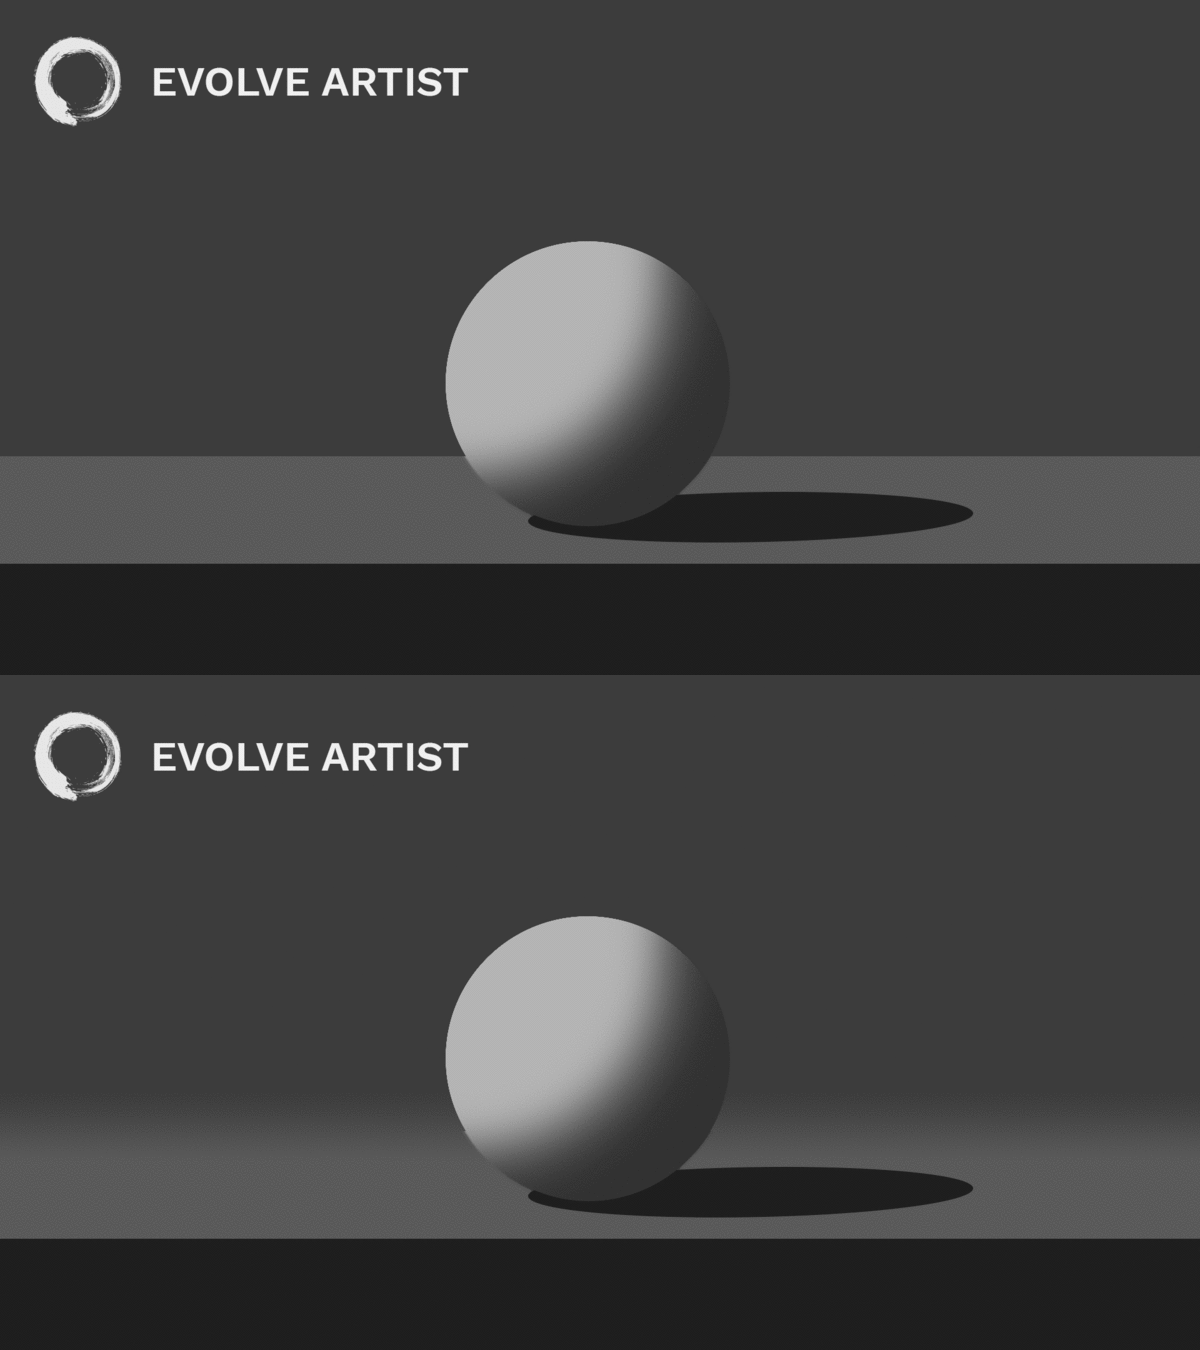
As a starting point, keep front edges sharp and back edges soft.
So for this table, the front edge is sharp because it's in front, and the back edge is soft. This way we keep it simple, especially as we’re learning the fundamentals.
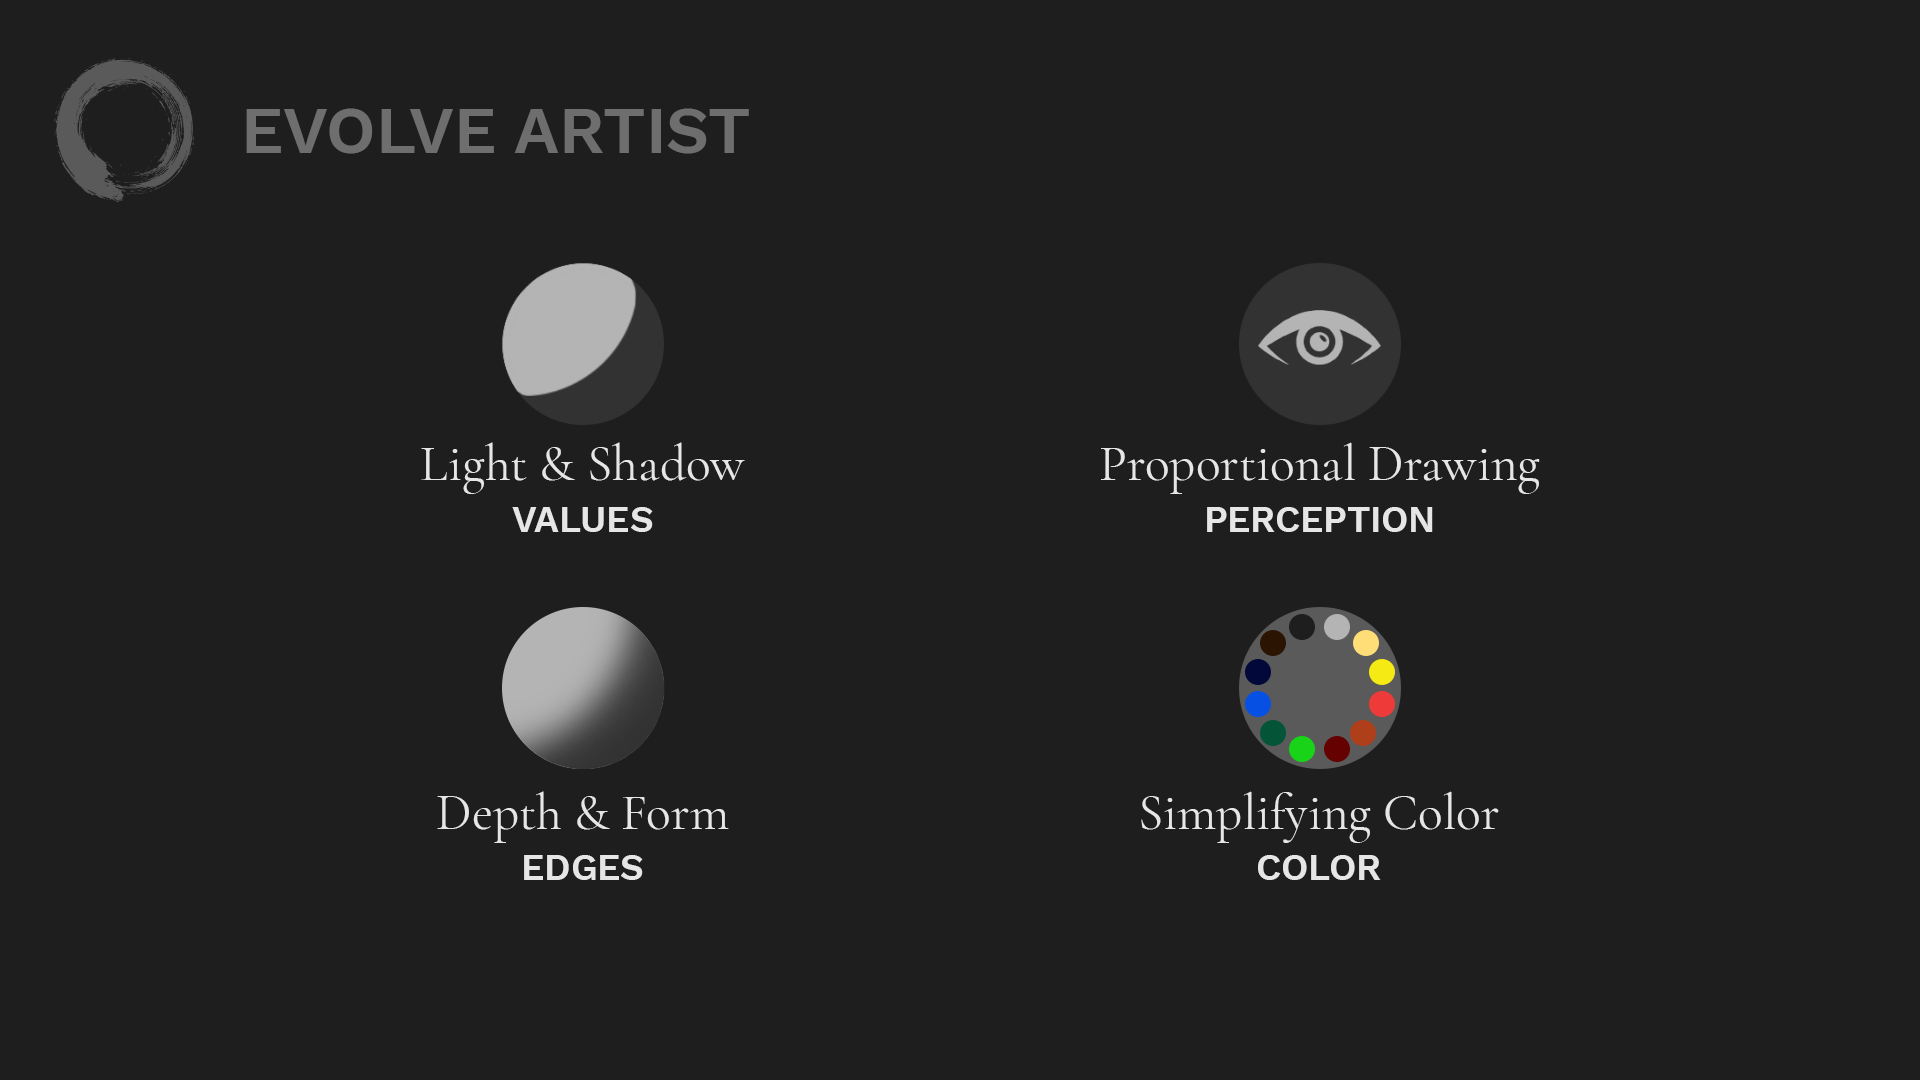
Edges are the second of Evolve’s Four Fundamentals of Art.
Conclusion
So there's your crash course in edges, the second fundamental in the Evolve Artist method. If you want to read more of these posts, please subscribe to our blog or YouTube channel or follow us on Instagram.
If you are serious about wanting pro-level art skills, then check out Evolve Artist. We have a program that is designed for you. Click HERE to join Evolve today!
Happy painting!
This post is Part 2 of our Fundamentals of Art series. See the first post on values HERE. Click HERE to read about perception, and HERE to read about color.
