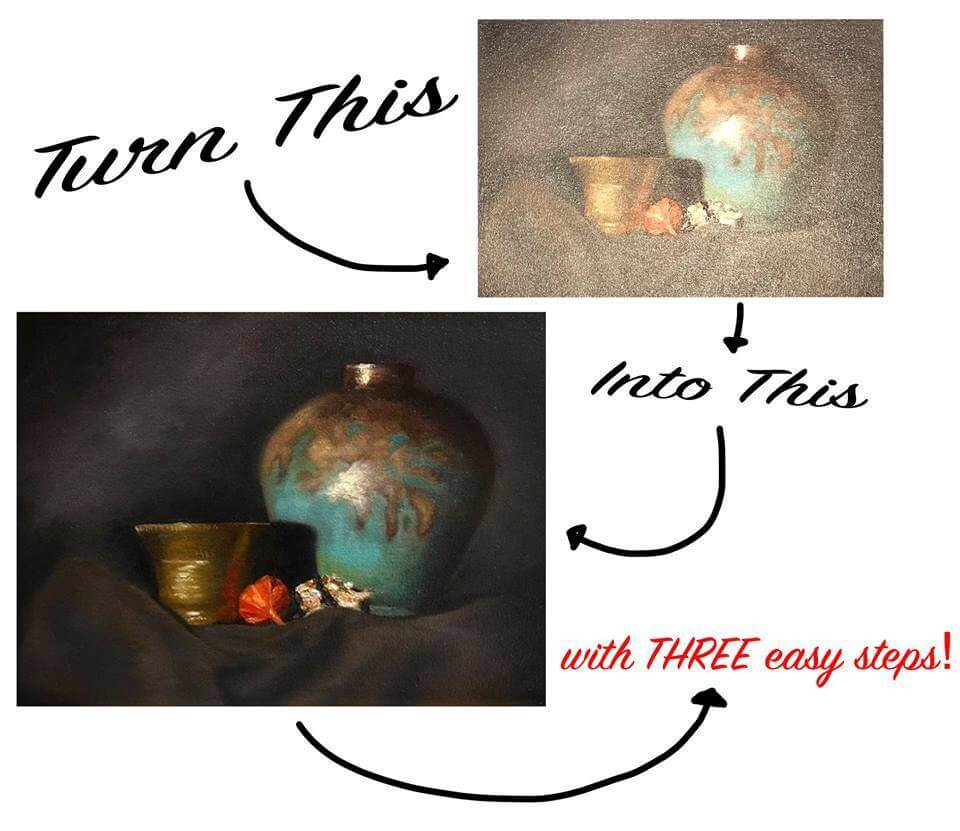
Transformation of a painting by Piper Talladay (pipertalladay.com).
Knowing how to photograph oil paintings properly can be tricky.
Whether you're trying to display your work on a website or social media, your main goal when learning how to photograph your artwork is to capture an accurate likeness of your work. But if you're just starting out, getting professional equipment and lighting can be expensive and difficult to source.
When photographing their artwork, most artists run into the notorious difficulty of glare on oil paintings.
However, there are tricks to achieving and accurate beautiful images of your work.
Here are our 4 tips that can help you take even and clear photographs of even the shiniest oil painting.
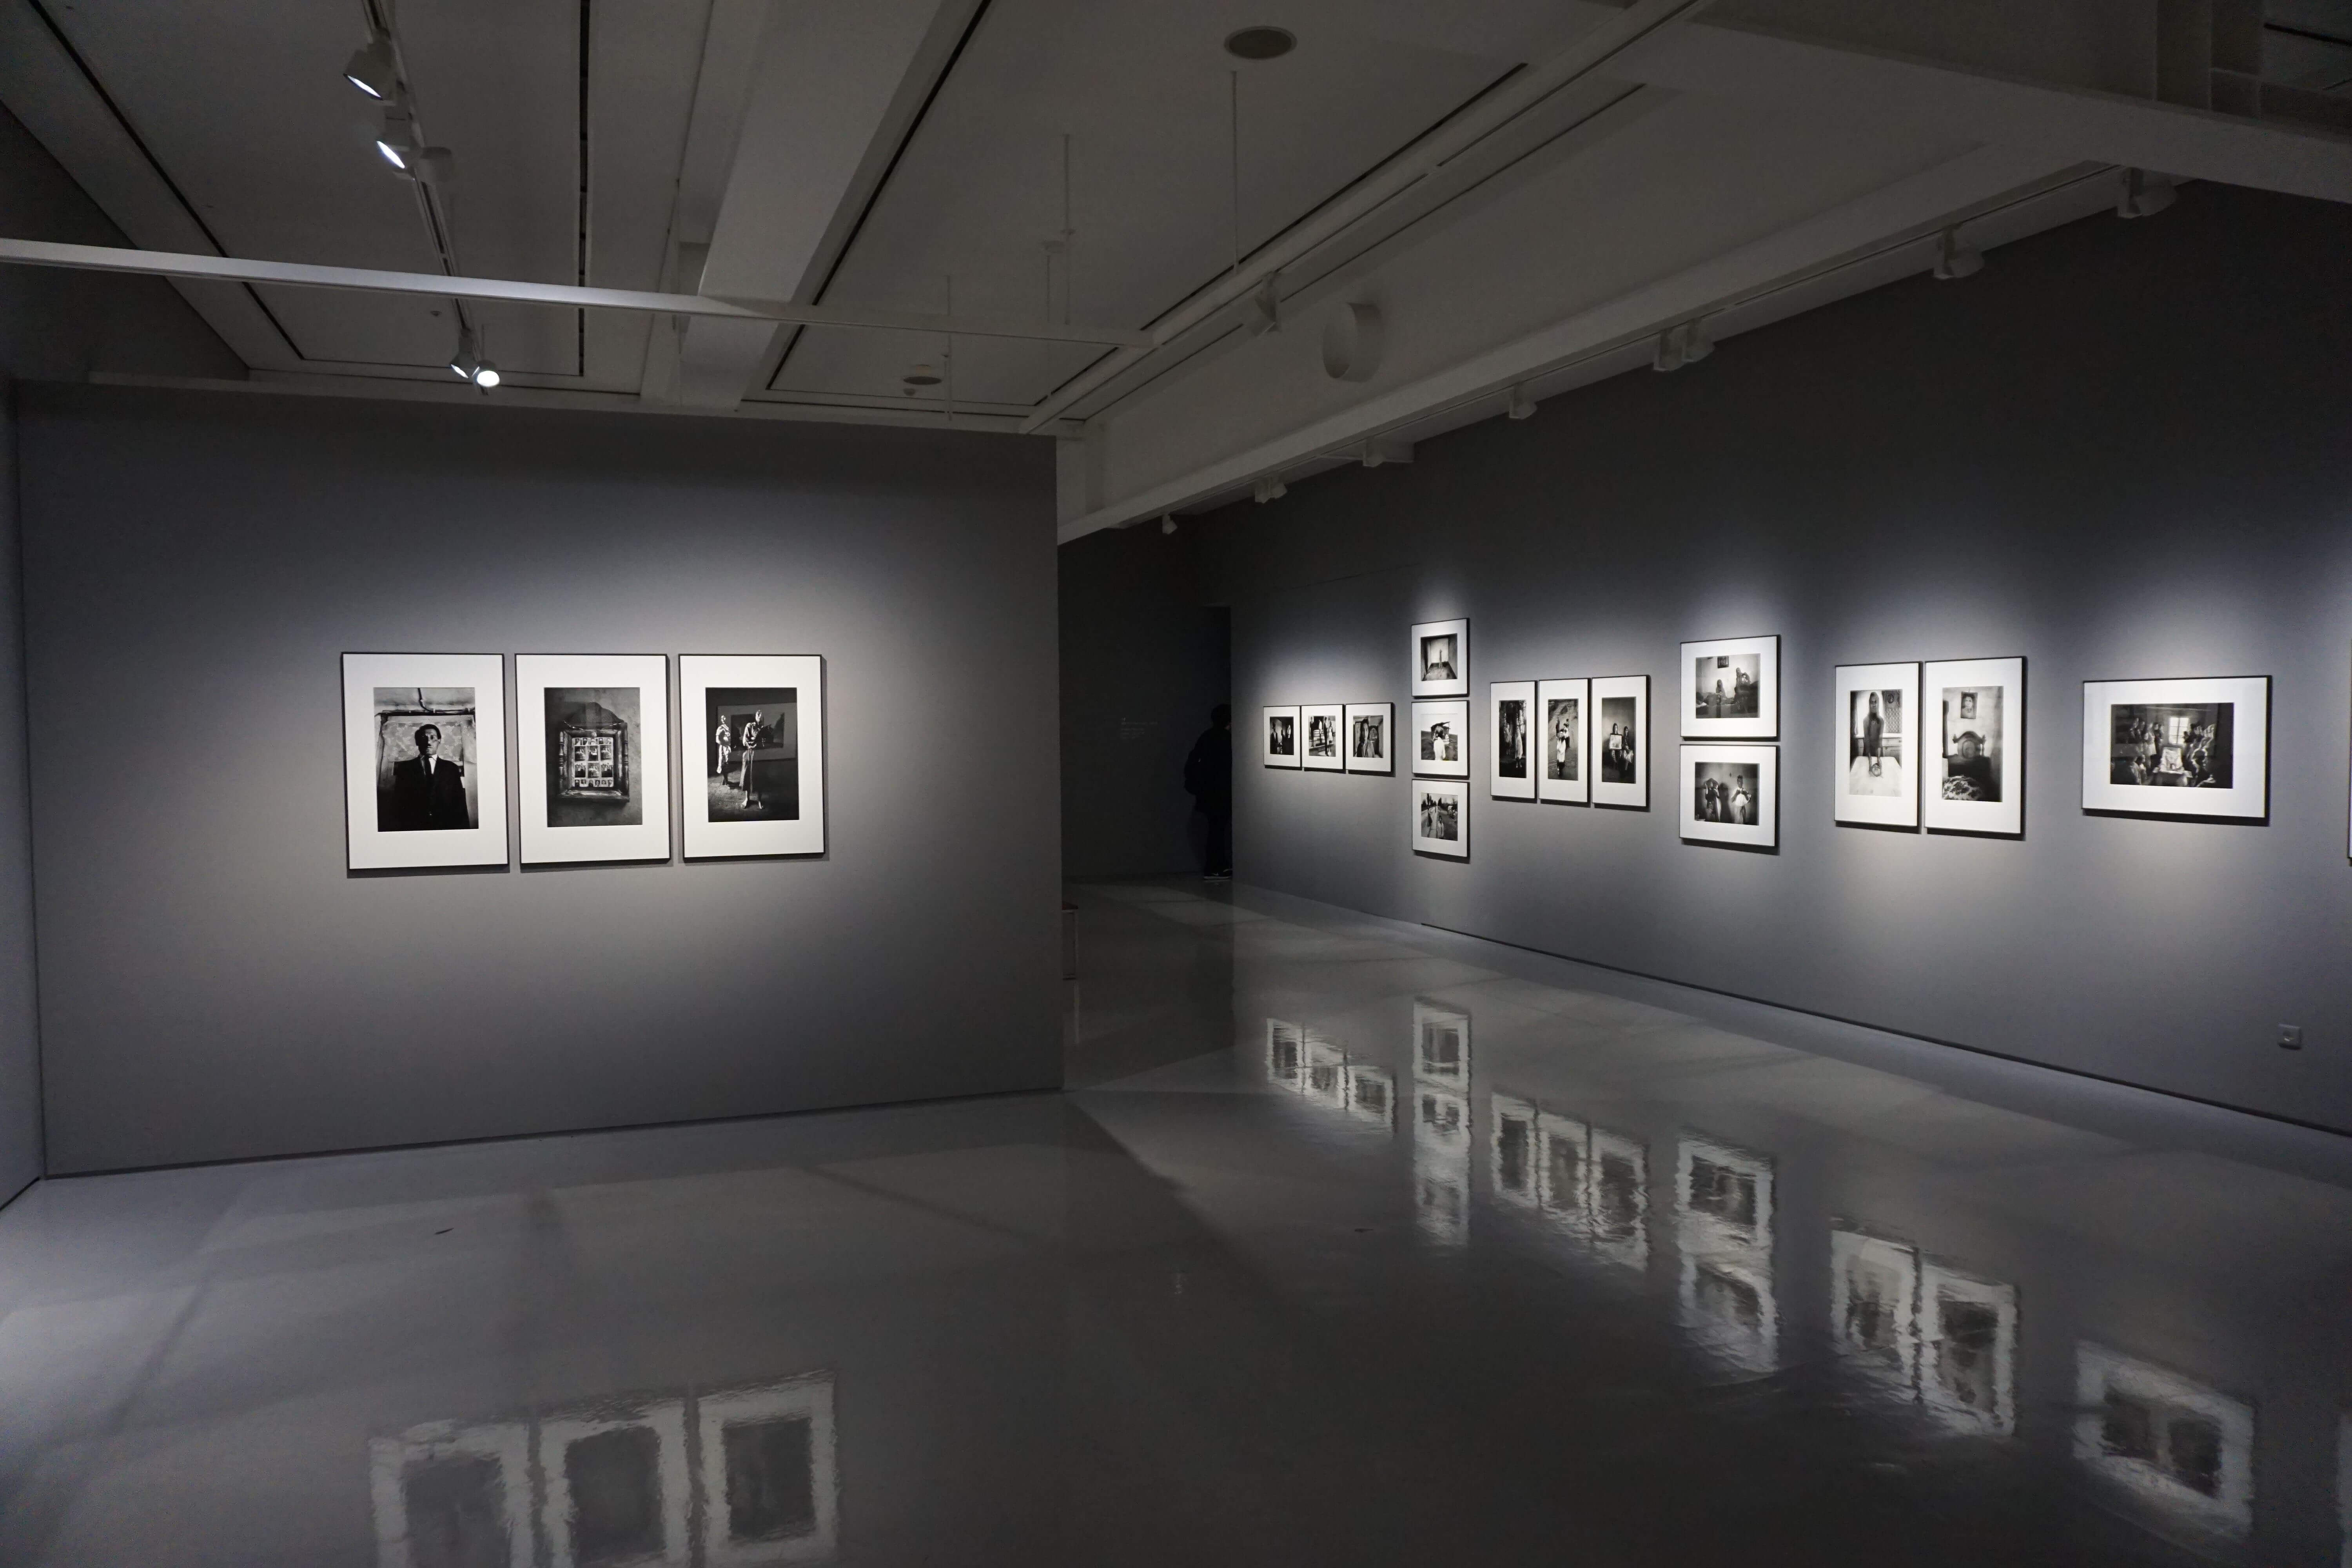
Even under proper museum lighting, paintings can be difficult to photograph without a proper set up. Photo by Eric Park on Unsplash
Tip 1. Adjust Light Sources to Reduce Glare
Let's tackle reducing glare first. Color, mediums used, and the surface upon which you work all affect the shine and gloss of your finished paintings.
Varnishing paintings can help to even out the layers of paint (You can read more about varnishing here). However, the final painting will still have a gloss and reflection to it that is beautiful in person but difficult to capture with a camera.
Light is the main culprit when it comes to creating glare. Do these two things to remove glare when taking a photo of an oil painting:
- Use blank out shades and make sure your painting isn't facing an open window. Direct light from windows or lamps will cause a glare on your painting and make the final result difficult to see. Shades will also enable you to control the light you have in the room, allowing consistent light as you work on your paintings.
- Move light bulbs and bright lamps far away enough that they are not directly shining on the painting. With that in mind, indirect light from a covered ceiling fixture is often good enough to photograph a painting if it is fairly soft and not too bright.
Tip 2. Slightly Tilt Your Painting to Remove Glare
This is one of the easiest solutions to avoid shine on a painting. Easels generally lean back slightly, which can exacerbate glare on your canvases.
Straighten your painting up to a 90% angle with the surface it is resting on. As you photograph, look for glare and if you see any, tip it slightly forward. Be careful to avoid distorting your painting, and adjust the camera to the same lean as the canvas.
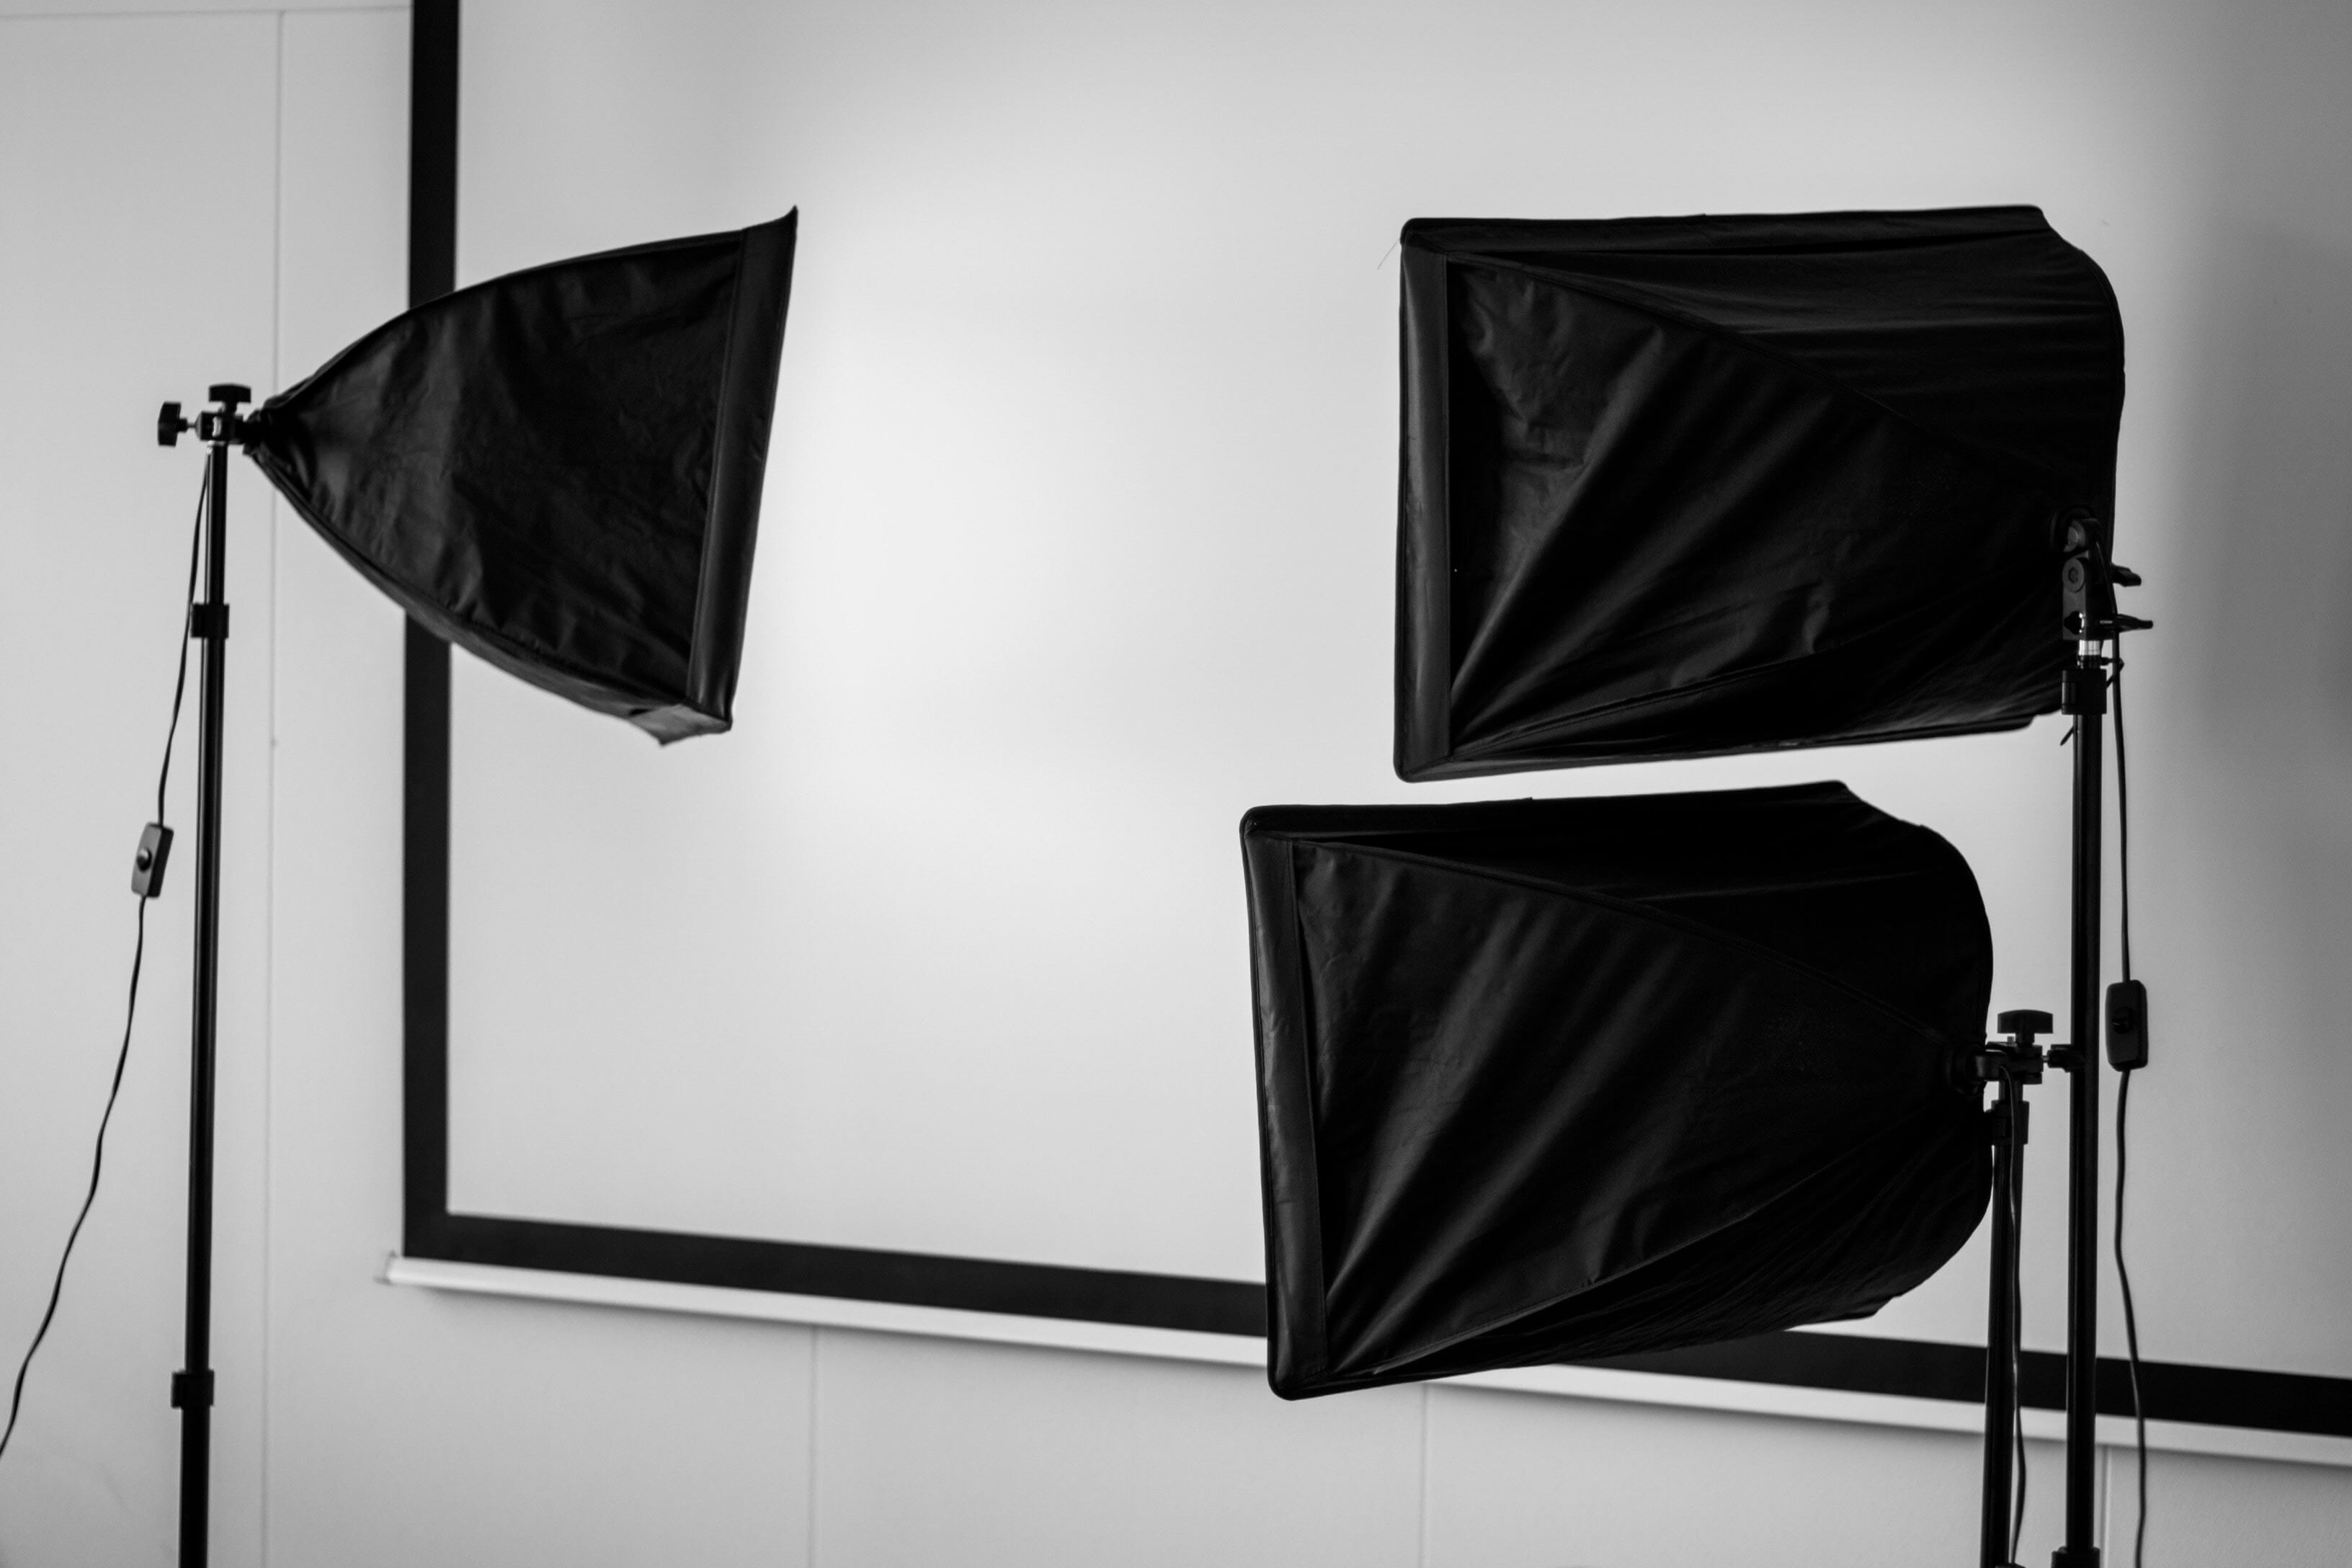
A professional studio set up for photographing artwork is not always available when you're first learning how to photograph oil paintings. Photo by Sven Brandsma on Unsplash
Tip 3. Adjust the White Balance on Your Smartphone Camera
Next, we're going to talk about how to photograph oil paintings using smartphones.
As always, it is best to have your work professionally photographed for websites or portfolios. That said, there are ways to capture great photographs with your cell phone.
Often times if you point your phone’s camera at your canvas or still life, the lights will be pure white. This means you need to adjust the white balance. Most smartphones have a white balance feature build in.
For most phones, touch the screen on the brightest part of your painting. Your phone will then adjust the light to eliminate any extreme highlights or shadows and create a balanced image.
Once you have taken care of glare using the tips above, using the white balance tool on your phone can help to achieve a clear, even photograph of your work.
Remember to carefully frame your painting on the phone, cutting out any blank canvas or background. You can do this in frame or by simply cropping the image to only contain the painting.
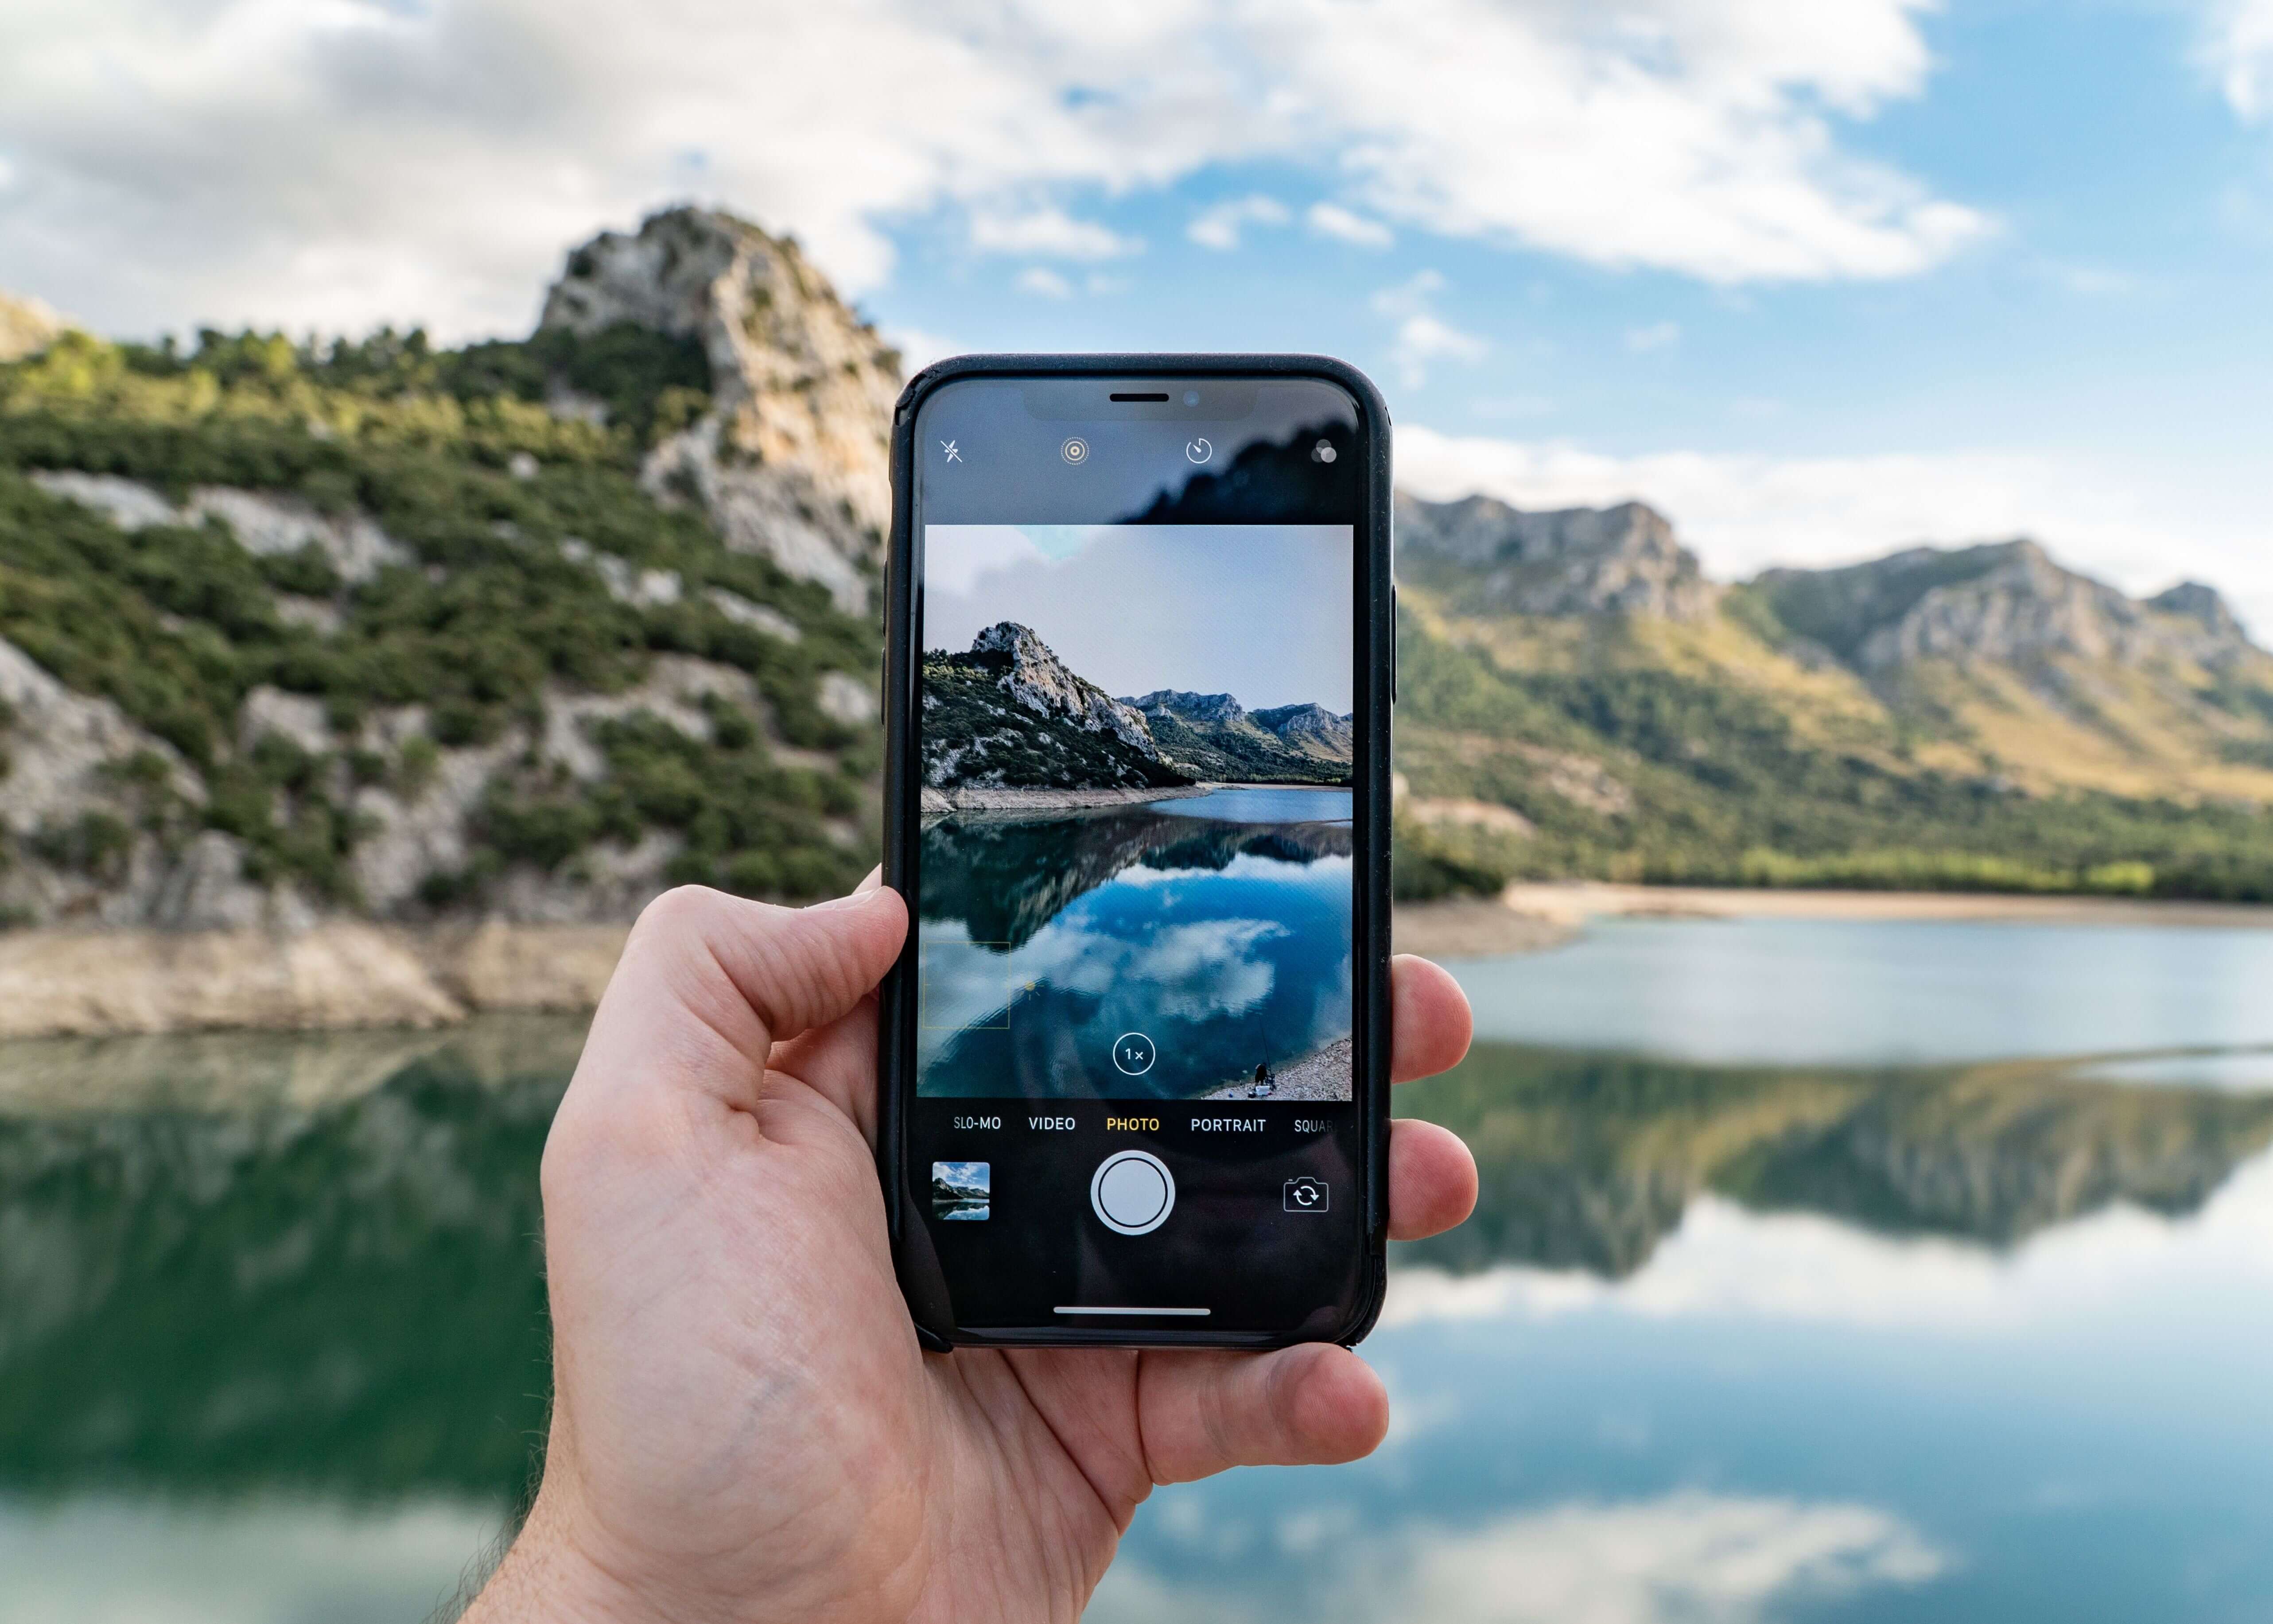
Learning how to photograph oil paintings with a smartphone? Click the brightest part of your screen to adjust the white balance.
Tip 4. Buy the Right Light Bulbs to Photograph Your Painting
One final and simple but incredibly valuable tip for correct light in your work space is buying the proper light bulbs.
The wrong kind of light bulb can distort the color of your painting in a photograph.
Full spectrum light bulbs are the best, affordable option to correct light in your studio and will help tremendously when learning how to photograph oil paintings.
Several options exist for full spectrum light bulbs. For example, the most common options are CFL bulb, fluorescent tube, or LED bulb form.
When choosing the appropriate light bulb for your work space it is vital to look at both color temperature and color rendering index (CRI). Specifically:
- The color temperature needs to be between 5000k-5700k. This rating is equivalent to ambient daylight and will give you a correct color light for your work.
- The CRI must be 90 or better, which will give you a full range of the color spectrum.
These light bulbs are affordable and can also be found in lamp form or with a clamp to attach to your easel.
Housings for these lights can be found at home improvement stores and are very affordable and easy to install.
The smaller options and easel lights are great options for smaller studio spaces.
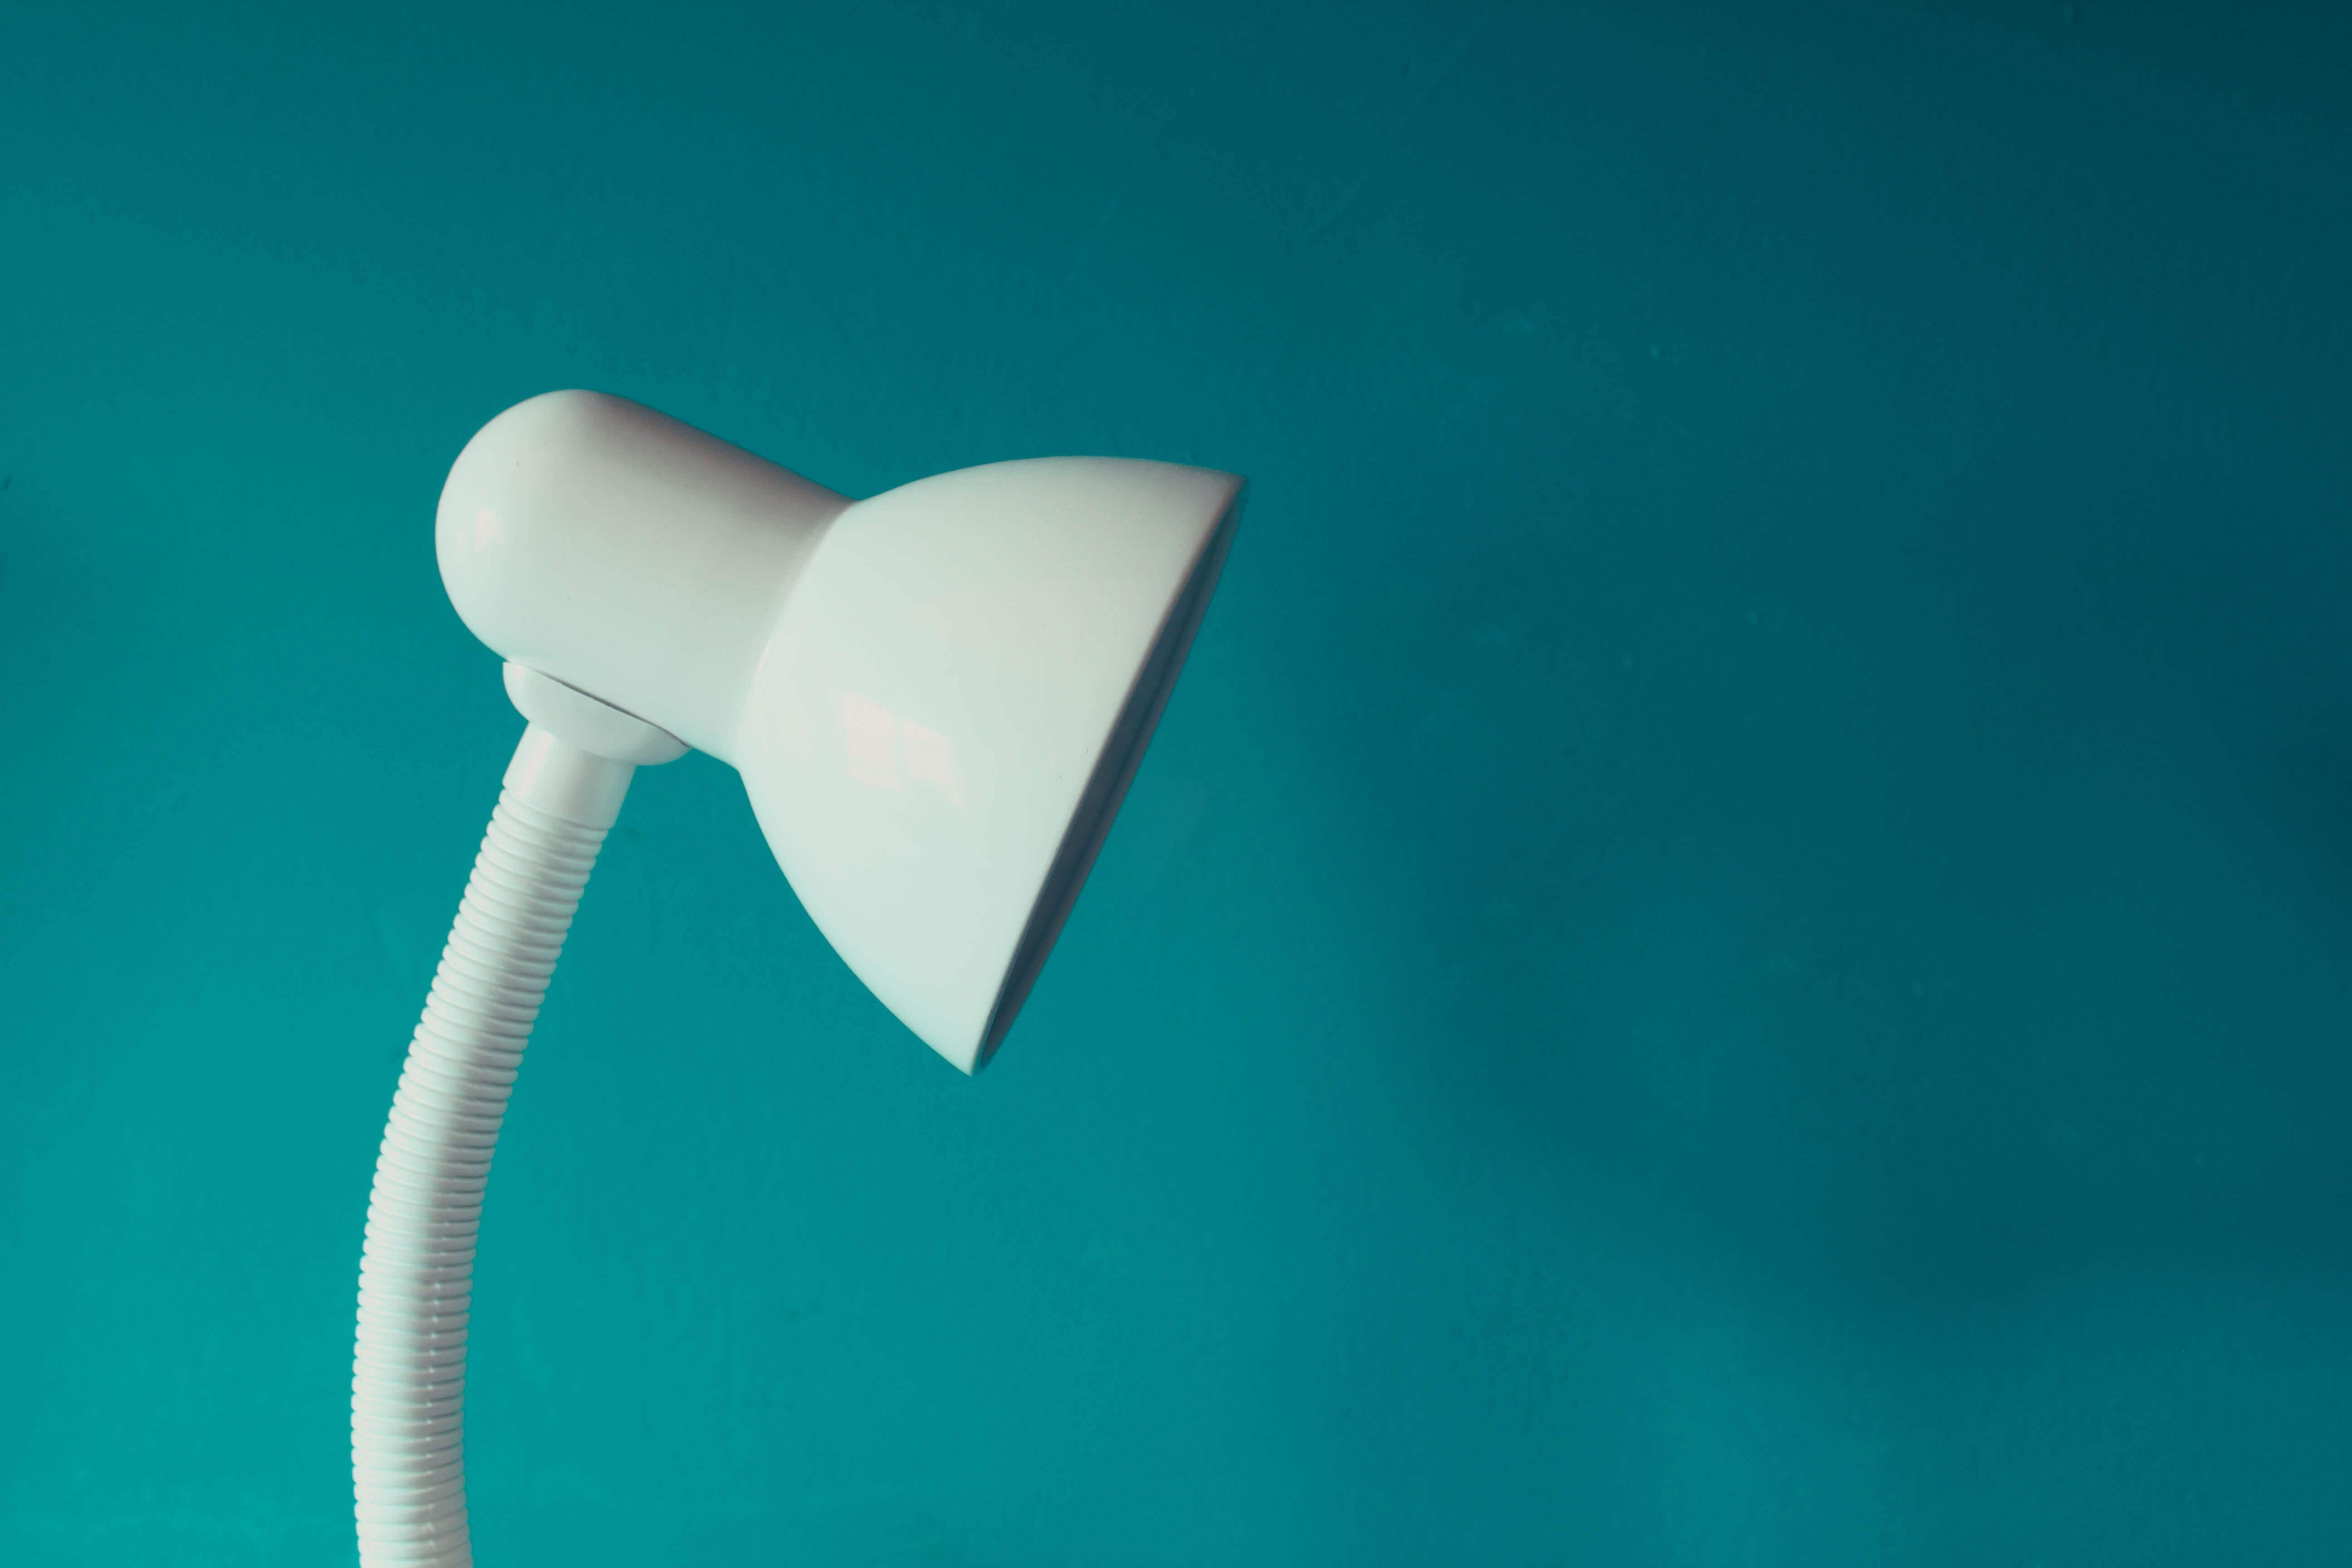
Choosing the right light for your studio and to light your painting can make all the difference when figuring out how to photograph oil paintings. Photo by Manuel Sardo on Unsplash
FAQs. How to Photograph Oil Paintings
You need to adjust the white balance. Most smartphones have a white balance feature build in.
Touch the screen on the brightest part of your painting. Your phone will then adjust the light to eliminate any extreme highlights or shadows and create a balanced image.
Remember to carefully frame your painting on the phone, cutting out any blank canvas or background. You can do this in frame or by simply cropping the image to only contain the painting.
Slightly Tilt Your Painting to Remove Glare
Straighten your painting up to a 90% angle with the surface it is resting on. As you photograph, look for glare and if you see any, tip it slightly forward.
When choosing the appropriate light bulb for your work space it is vital to look at both color temperature and color rendering index (CRI). Specifically:
- The color temperature needs to be between 5000k-5700k. This rating is equivalent to ambient daylight and will give you a correct color light for your work.
- The CRI must be 90 or better, which will give you a full range of the color spectrum.
Final Thoughts on How to Photograph Oil Paintings
Capturing an accurate photograph of your painting may seem difficult, but don't worry!
With the help of these tips you'll capture a beautiful rendition of your work.
You'll have noticed how important light is when approaching how to photograph oil paintings.
Correct lighting is vital to artists.
It helps to see the colors you are working with as they are, and not tainted or changed by the light source.
It will also help the artist be more productive by spending time on painting, not on figuring out how to photograph oil paintings properly.
Below are links to finding the right light for your space so that you can paint and photograph your work accurately.
How to Photograph Oil Paintings - Helpful Links
CFL bulbs can be found by clicking here.
LED bulbs can be found by clicking here.
FREE MASTERCLASS:
The 4 Part Framework to Develop Artistic Excellence in 12 Months
