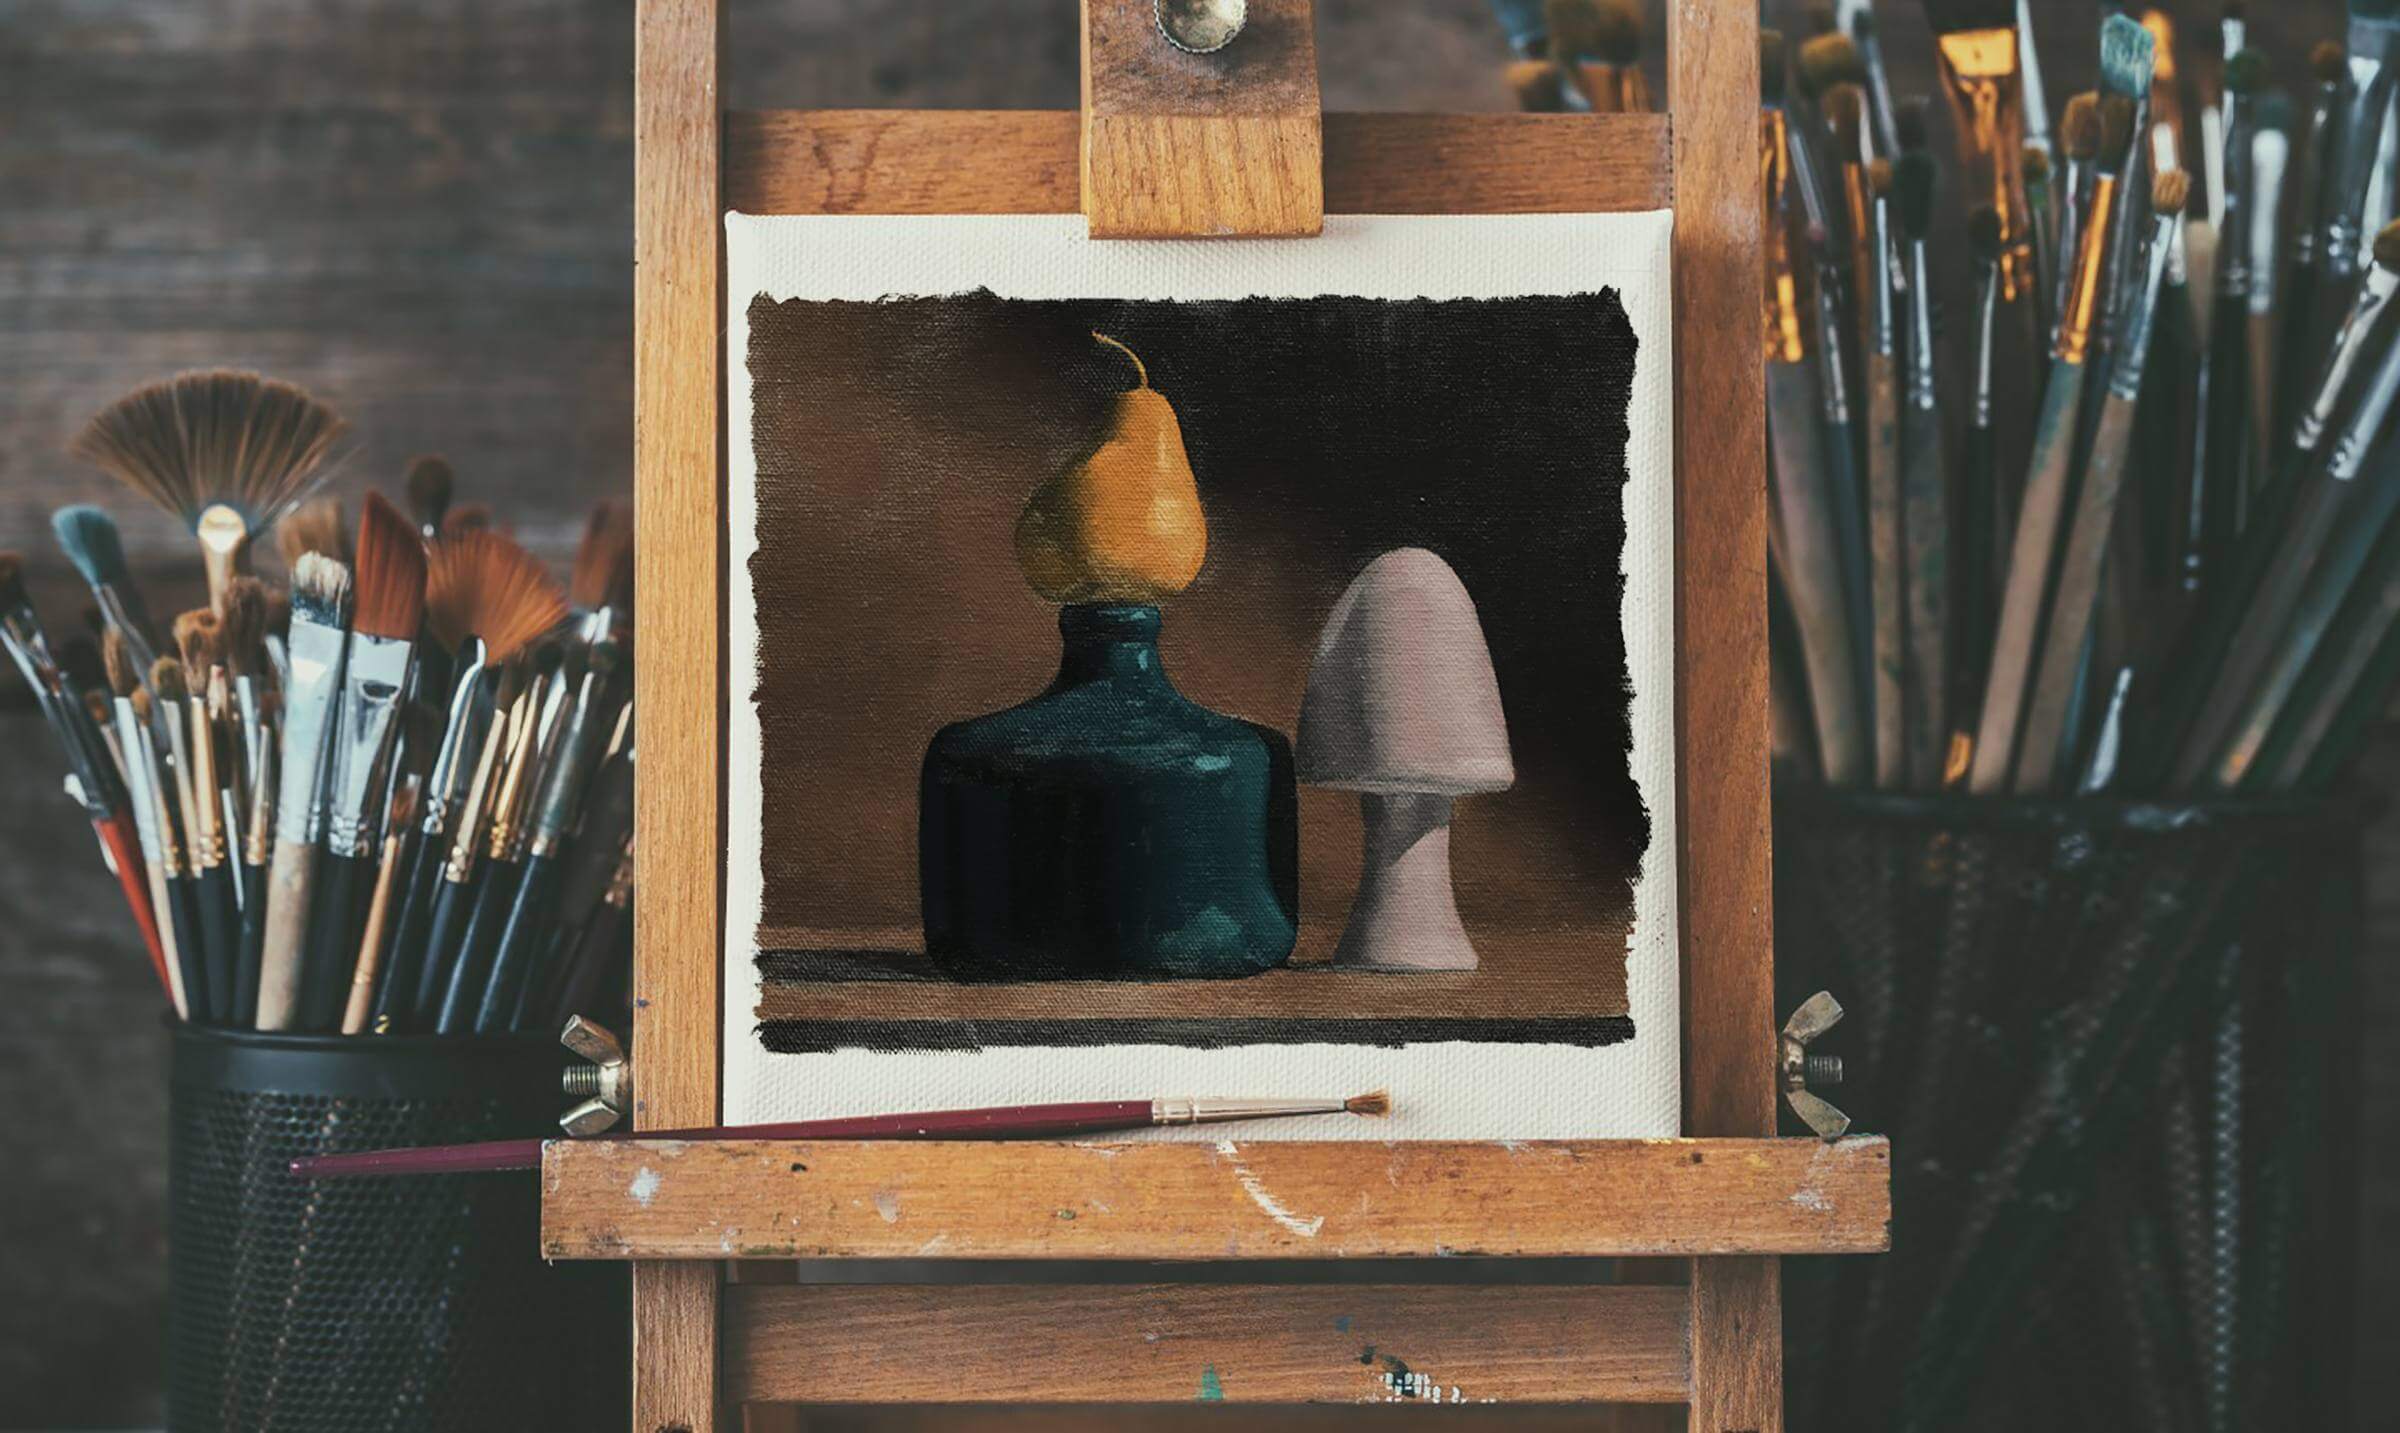
Color oil painting can seem a bit overwhelming at first. But by following a careful set of instructions as you learn, you can paint in color with confidence!
More...
Oil painting for beginners should start with a clear, concise education regarding values and proportional drawing. Grayscale oil painting followed by simple color paintings helps to keep things manageable while students learn the basics of the oil painting technique.
Once the student has become confident with the approach in grayscale, color can carefully be introduced. At Evolve, our students start by mixing color lights, with grayscale shadows. They then learn how to create color shadows, highlights and reflections in color.
This methodical approach ensures that beginners have a solid understanding of all the moving parts before new lessons are introduced.
Follow along with this walkthrough of a step-by-step color oil painting, and see how Evolve students advance into color with confidence!
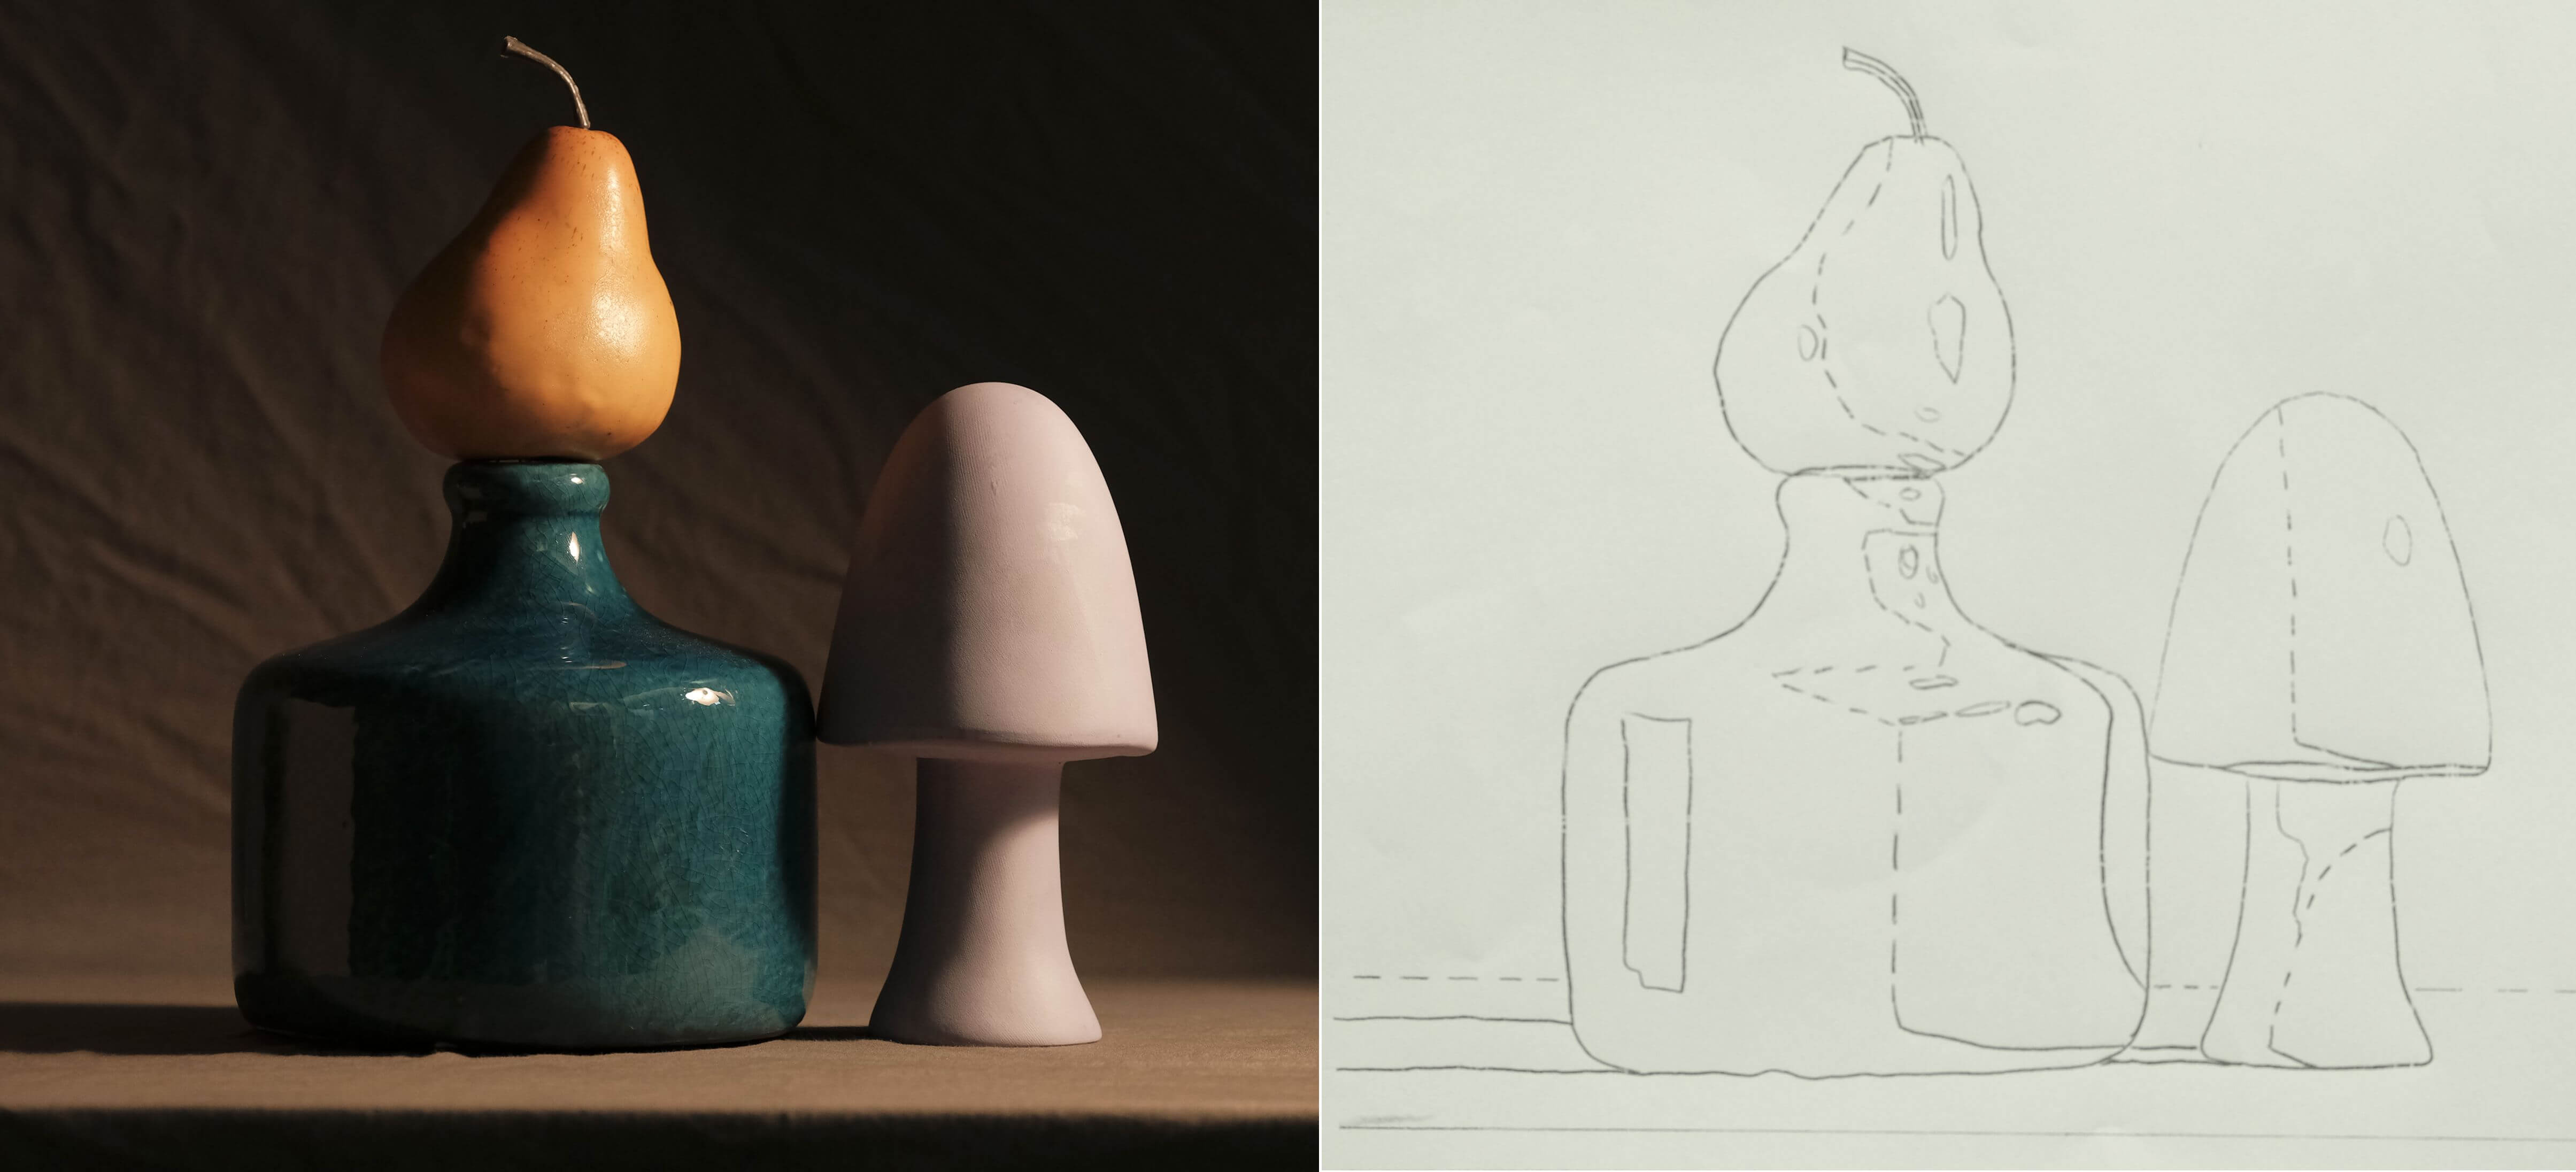
The first step to any color painting from a photograph is to carefully inspect the photograph and complete a transfer sketch.
Transfer Sketch and Color Mixing
The first step in Evolve color oil painting for beginners is to complete a transfer sketch. While students have a strong understanding of how to paint from life as well as photographs, painting from a reference photo can help to solidify what the student has been learning. It also prepares the student for a direct painting approach in Block 4.
With the transfer image laid onto the canvas over transfer paper, students can begin their transfer sketch. They carefully draw over a grayscale image, marking where gradients, highlights, and reflections will be placed, along with shapes of the objects in the photo. Although they will not be painting in these things directly, noting where they will be placed helps to increase focus and ensure accuracy in the sketch.
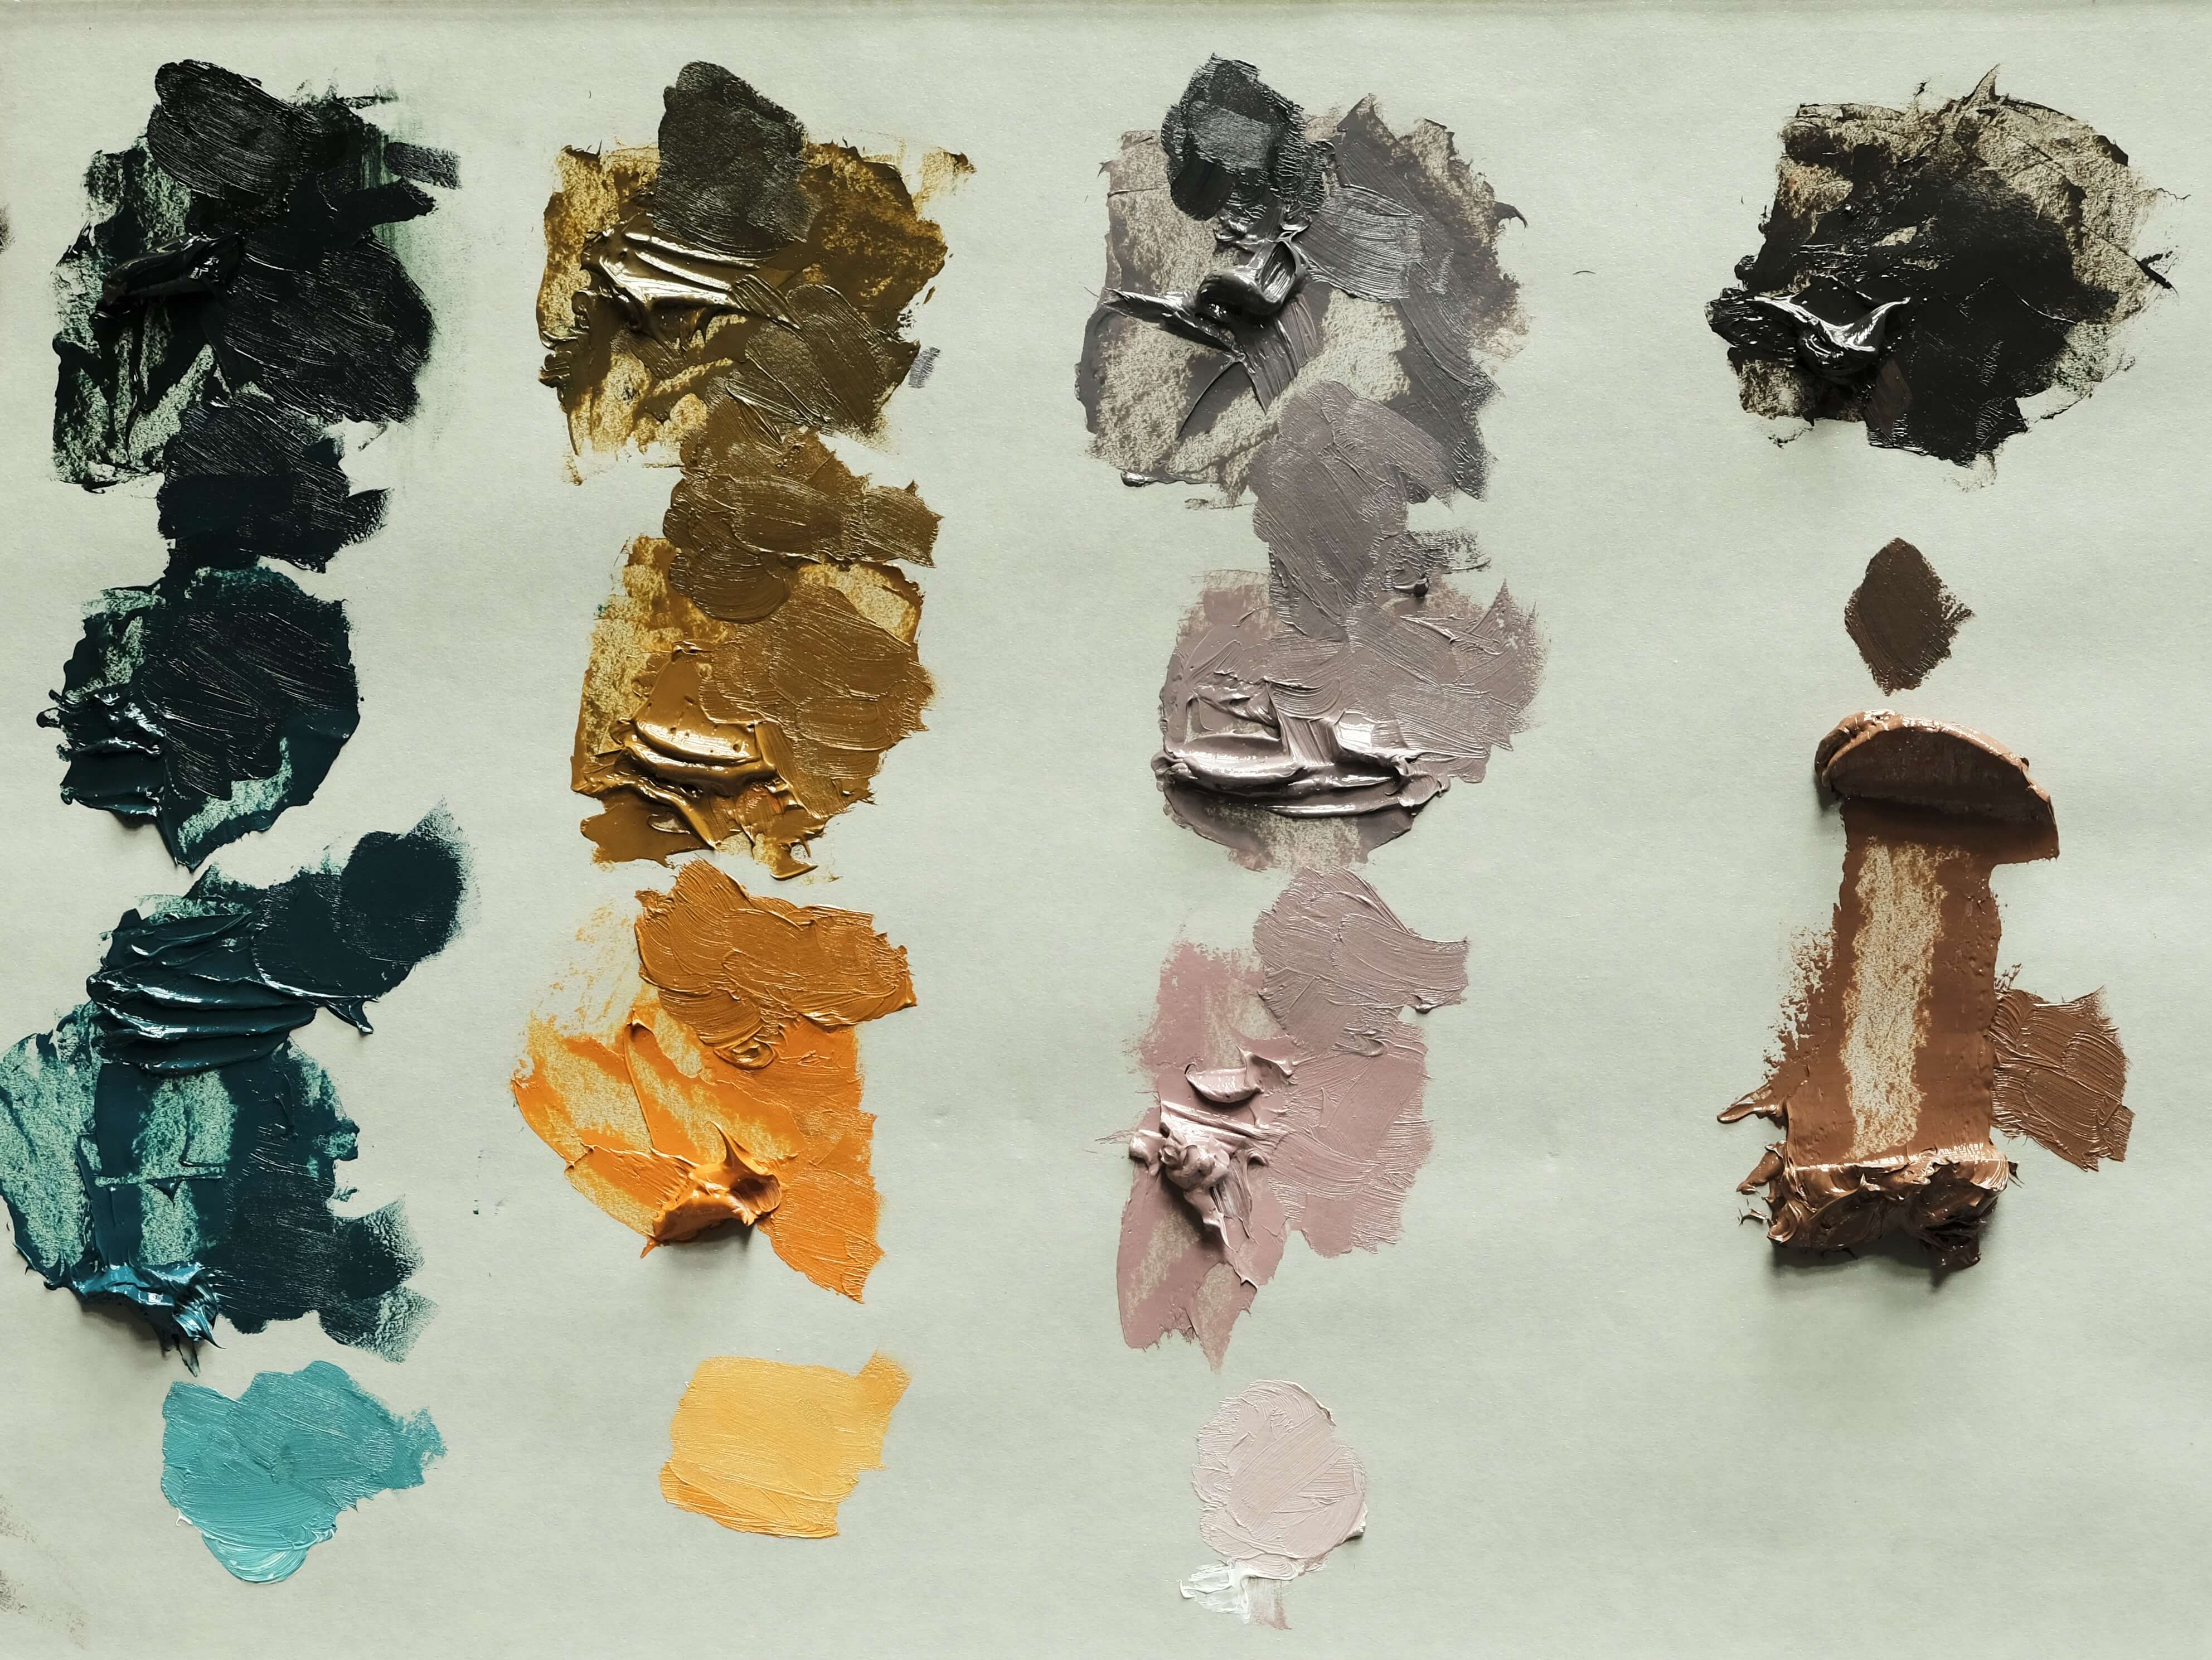
Color lights and shadows carefully mixed, along with ad-mixtures for gradients.
Next, the student begins to mix their paint. The student starts by mixing the light value, ignoring any highlights. By experimenting with different paint combinations, beginner painters can gain confidence in color mixing. Students who take their time and patiently experiment will gain an understanding of what color combinations work well and create the colors that each painting needs.
After mixing their color lights, the student adds black to make their shadow values. Later on in the program, students will learn how to mix paint specifically for shadows, but in the beginning, simplicity is key.
A student overloaded with information won’t be able to process and complete everything correctly. Feeling overwhelmed by information all at once will always lead to bad habits forming.
Once the paint is mixed, the student carefully creates ad-mixtures between each value, to account for the gradients that will exist between light and shadow.
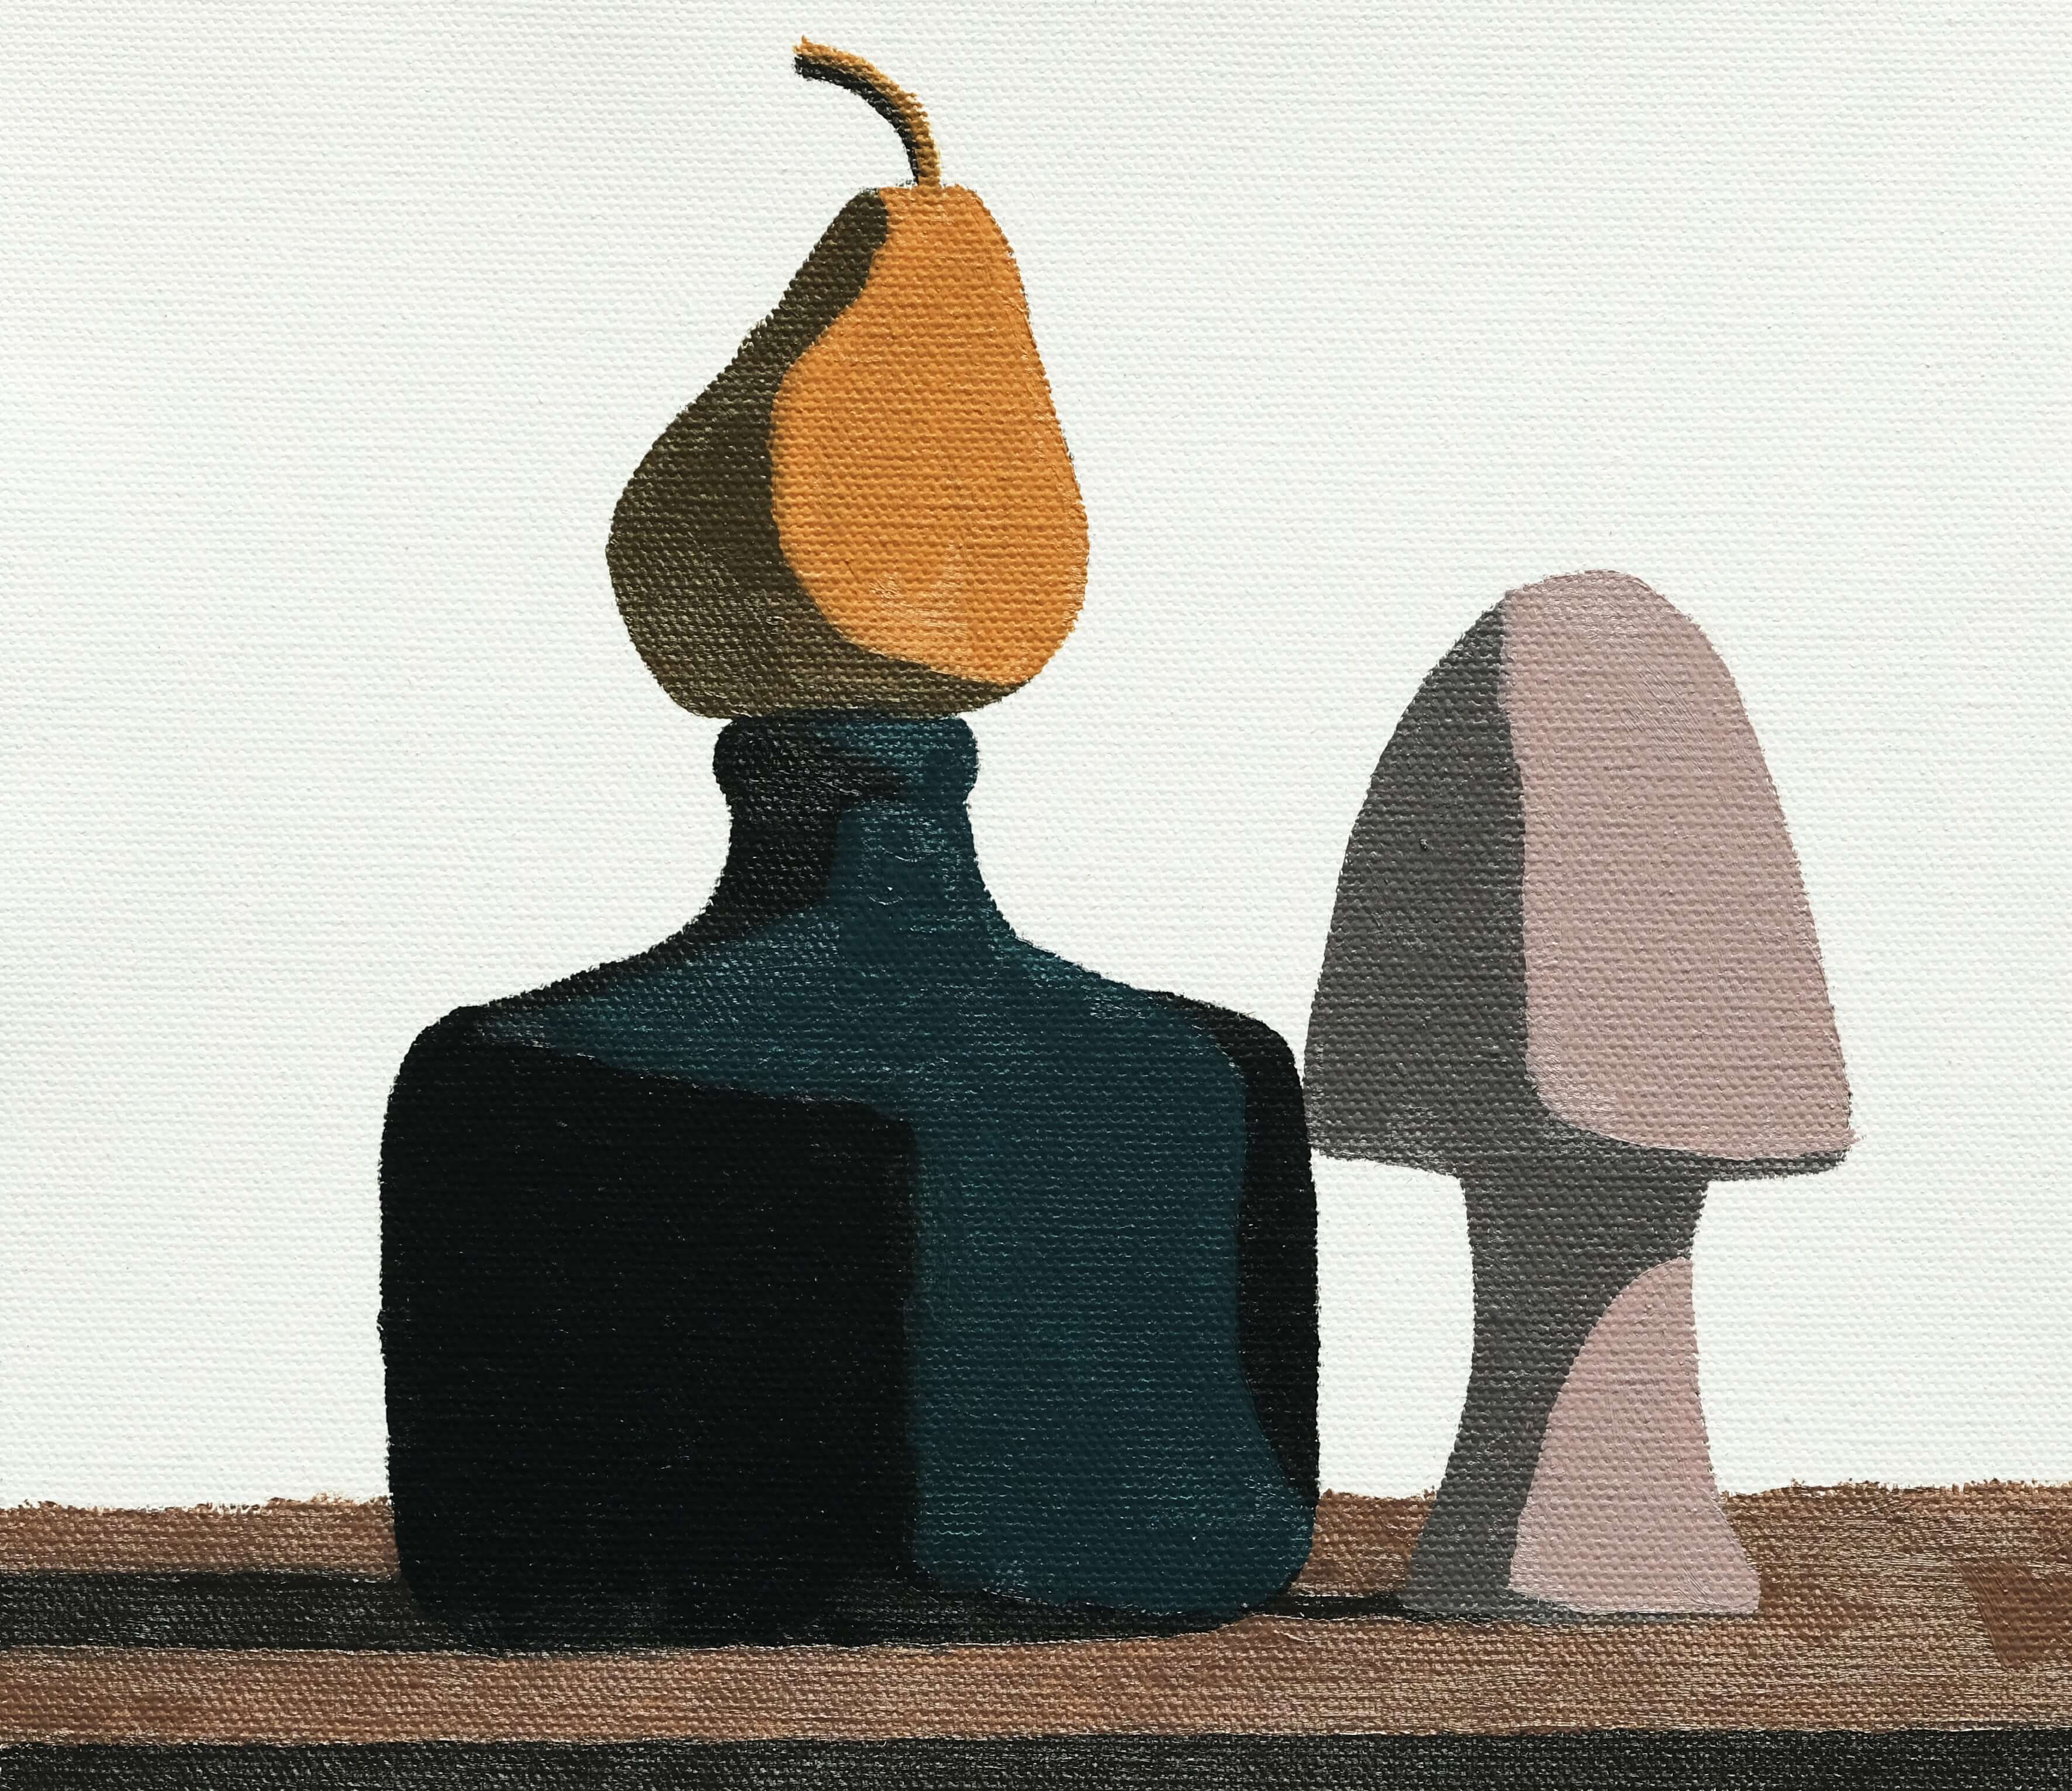
Shadows and then lights, carefully painted in, with no canvas peaking through.
Light, Shadow, and Edges
The next step is to paint in solid shadows and solid lights. The shadows are painted in first, with sharp edges all around. With the goal of accuracy and precision, students should focus on making the marks as sharp and clean as possible. This will prevent the shapes from deviating from the transfer sketch.
Next, the student paints in the lights in color. Careful not to leave any gaps in the paint between light and shadow, they approach the lights with the same care and attention as the shadows. Making sure to lay down enough paint, carefully mixed with medium, helps to create crisp edges with no canvas showing through.
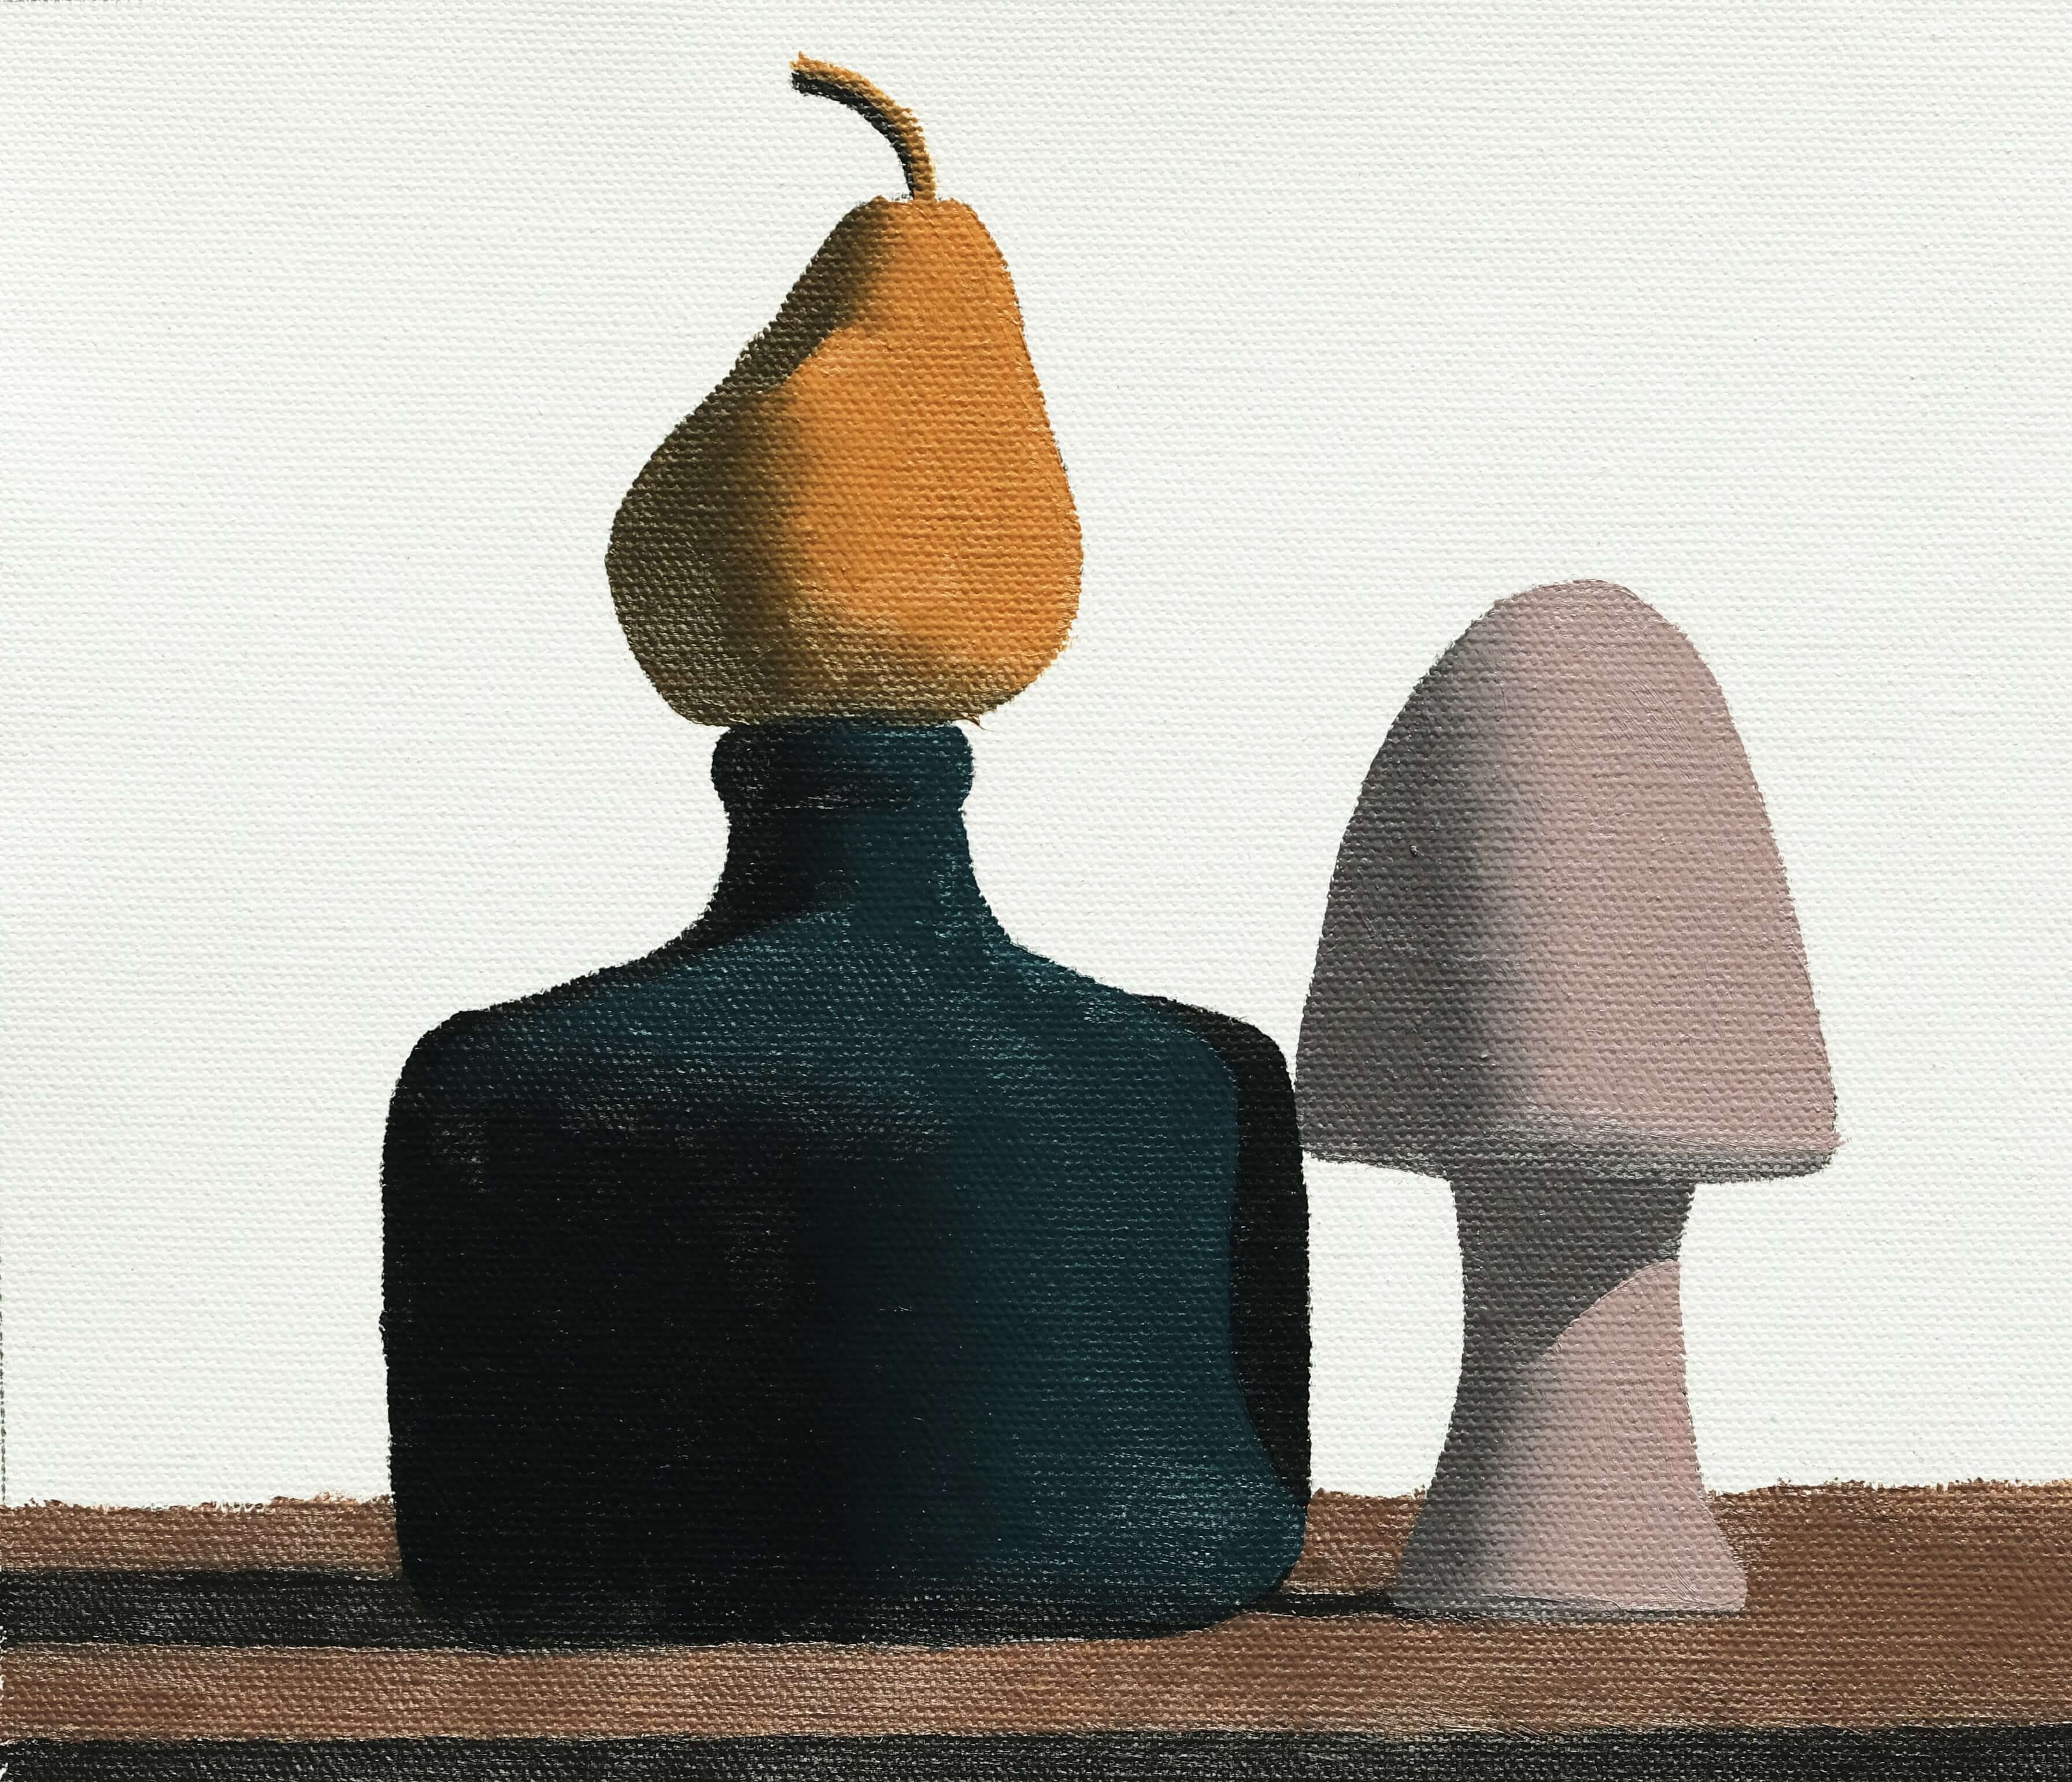
Gradients added in smoothly to explain form.
Once the lights and shadows are in place, gradients can be carefully painted in. Using the add mixtures between light and shadows, the students create a careful gradient in their painting. Remember that gradients express form shadows, and sharp edges explain a cast shadow or hard edge.
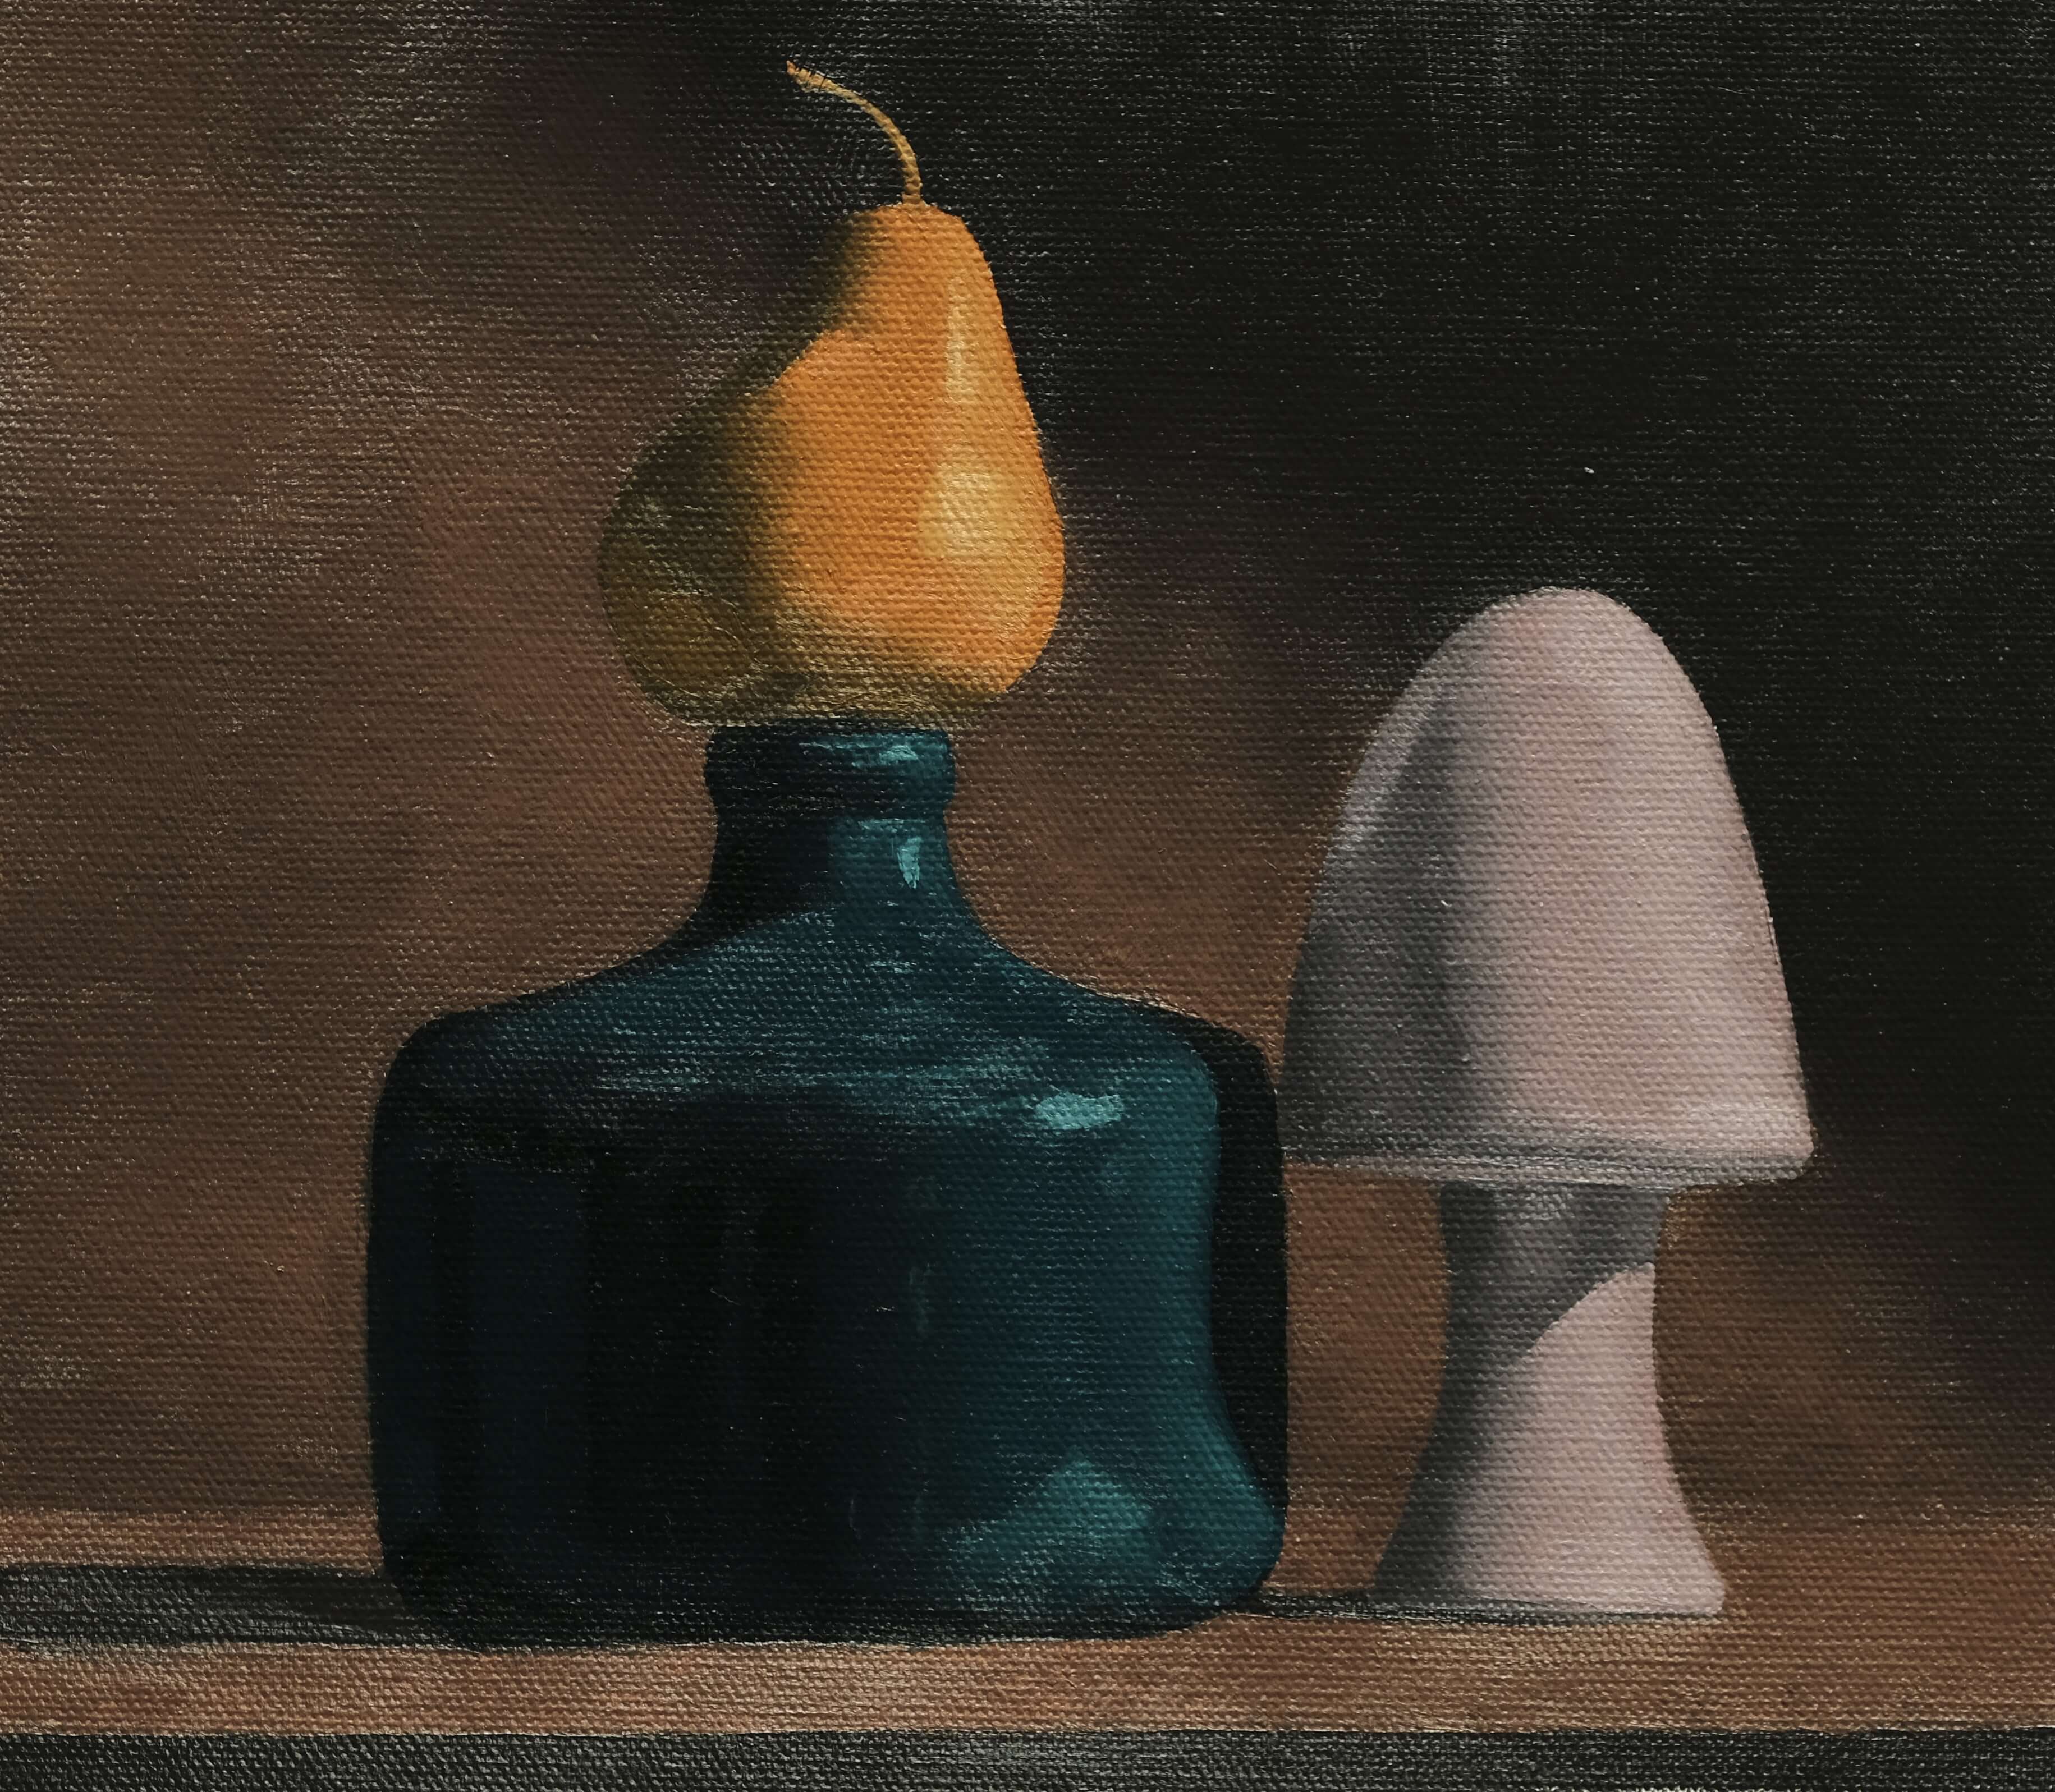
Reflections and highlights, along with the background, are the finishing touches to this lovely color painting.
Reflections and Highlights
The final steps for any painting is to add reflective areas, highlights, and the background. These areas are examined in the photograph, to ensure accuracy, and then carefully painted in. By slowly introducing these steps, rather than immediately jumping into reflections and highlights in the first painting, Evolve students can control all of the pieces as they are intentionally learned, one by one.
Each reflection gets carefully painted in, as the student accounts for sharp edges and form shadows within those areas. Highlights recieve the the same care, and the background used to sharpen any outer edges and complete the painting.
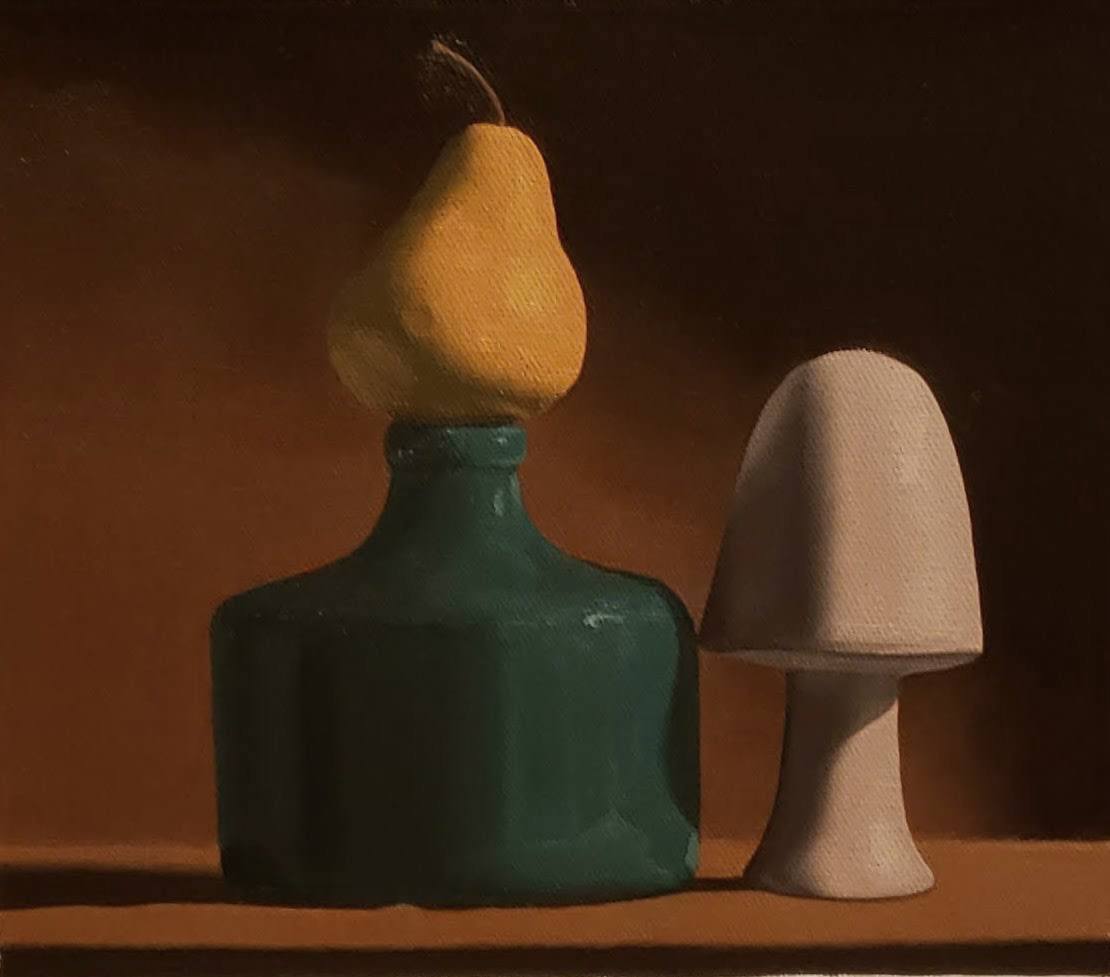
Example of a painting by Evolve student Sheila J.
Conclusion
Color painting in this stage is simply a stepping stone into oil painting for beginners. As students grow and learn, their technique with color painting may look slightly different. However, starting slowly enables the student to grow with confidence.
Careful control and organized steps help to keep students on track as they learn. If you find yourself overwhelmed and unable to quality control your work, chances are you need to take a step back and simplify your painting process. Building the technique from the bottom up is the best way to truly learn the foundations of oil painting.
FREE MASTERCLASS:
The 4 Part Framework to Develop Artistic Excellence in 12 Months
