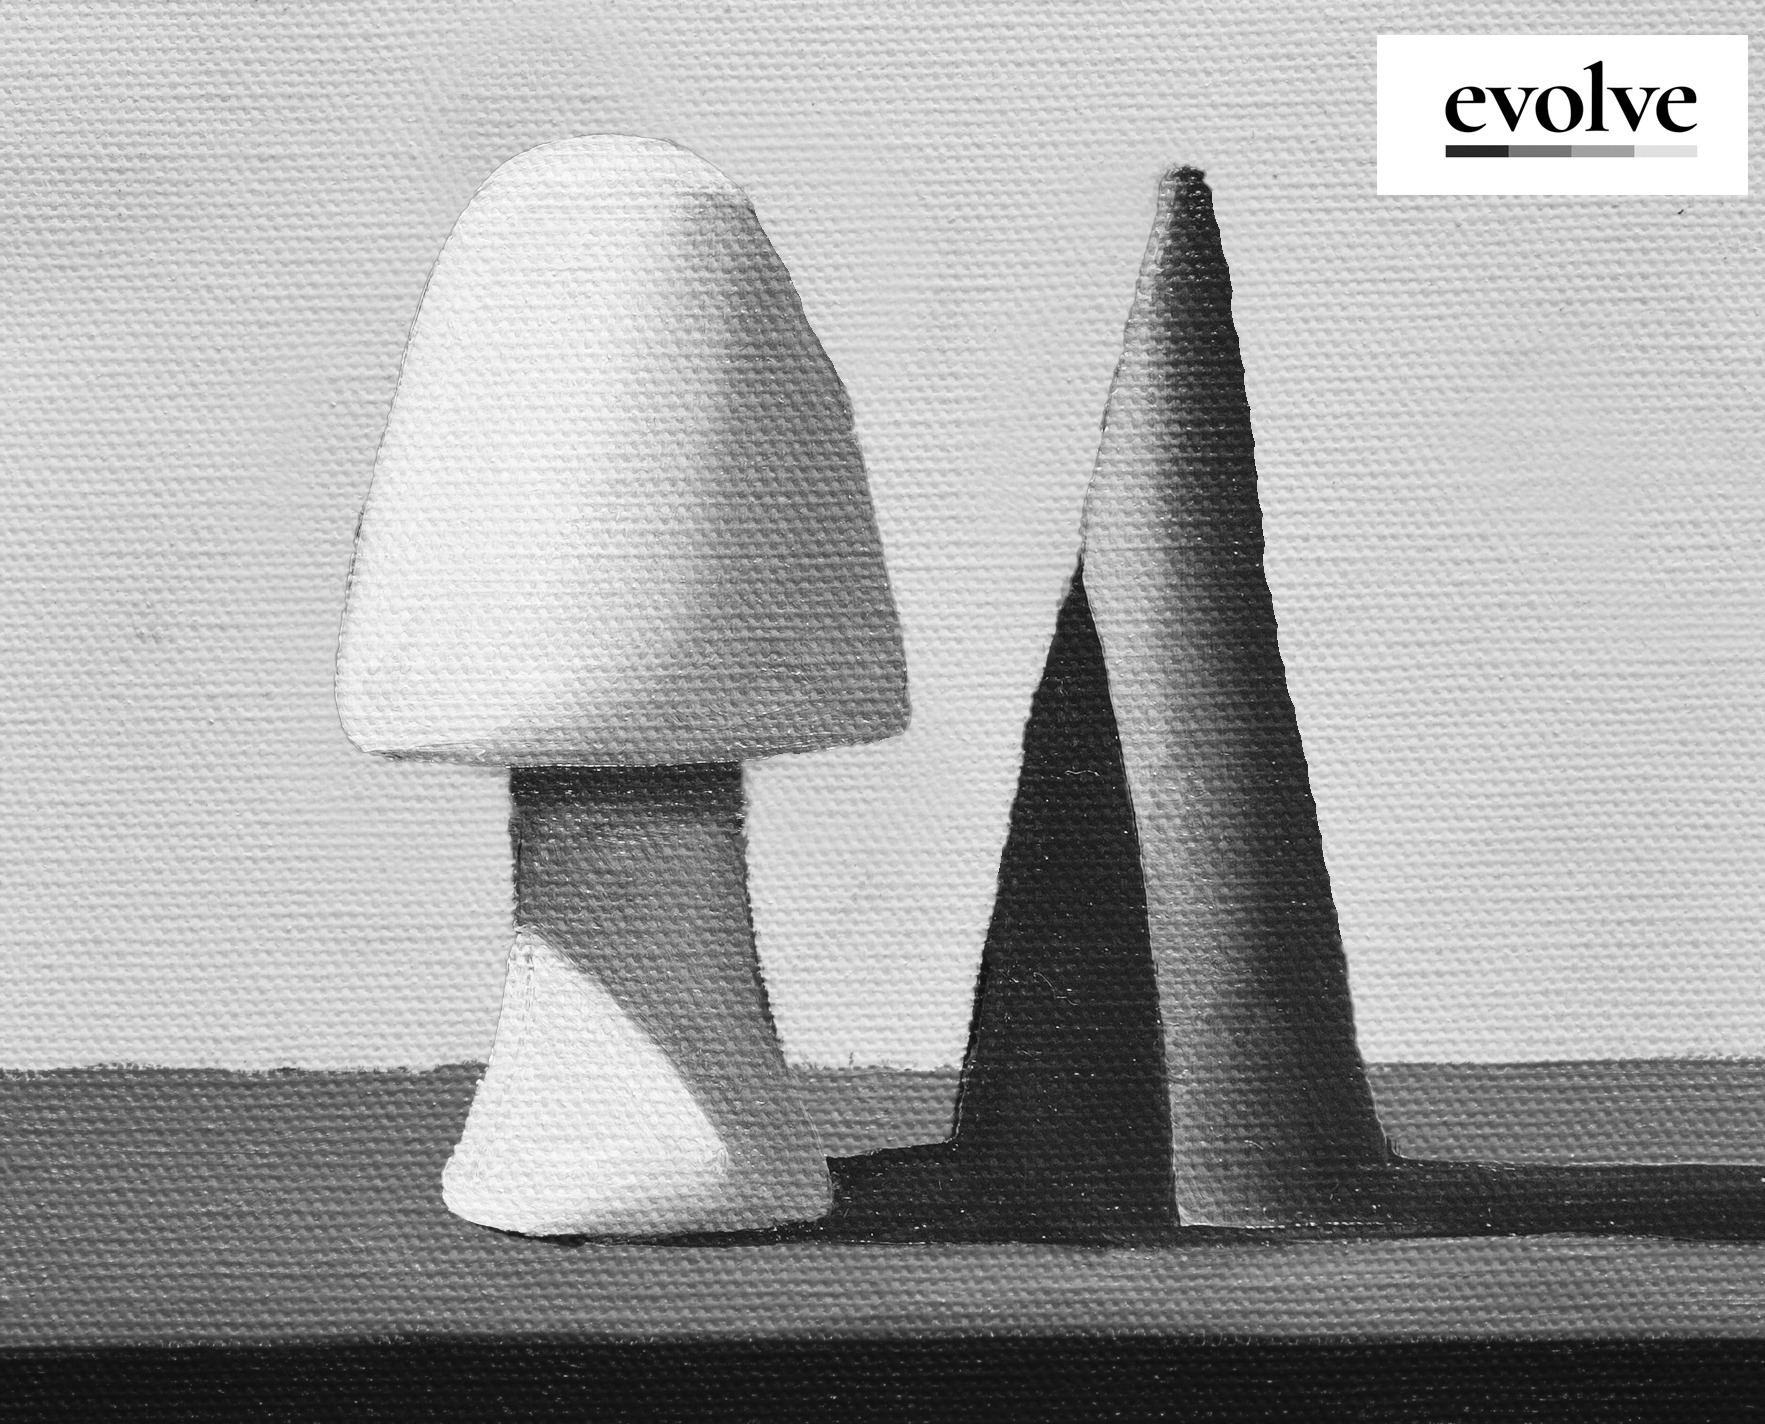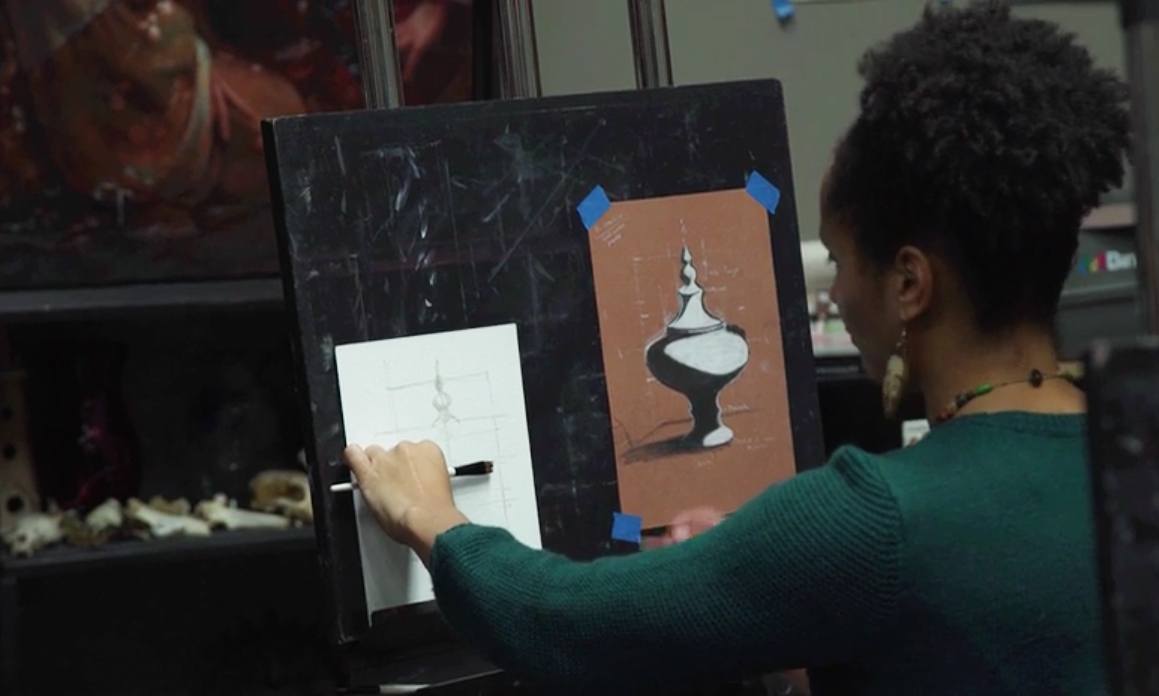
Oil painting for beginners must be simplified and clear in order to succeed. Read more to find out how Evolve is training their students with strong foundations!
More...
Oil painting for beginners requires a clear, structured approach. In this grayscale oil painting demo, we will show you how to simplify your thinking and approach a beginner painting the Evolve way.
Here at Evolve, we teach our students how to paint with a careful, methodical set of rules. This means that the foundations they learn here are steady and solid, and can easily be built upon.
Follow along below for a glimpse into Evolve's Block 2, step-by-step grayscale painting techniques and learn how to paint like an Evolve student!
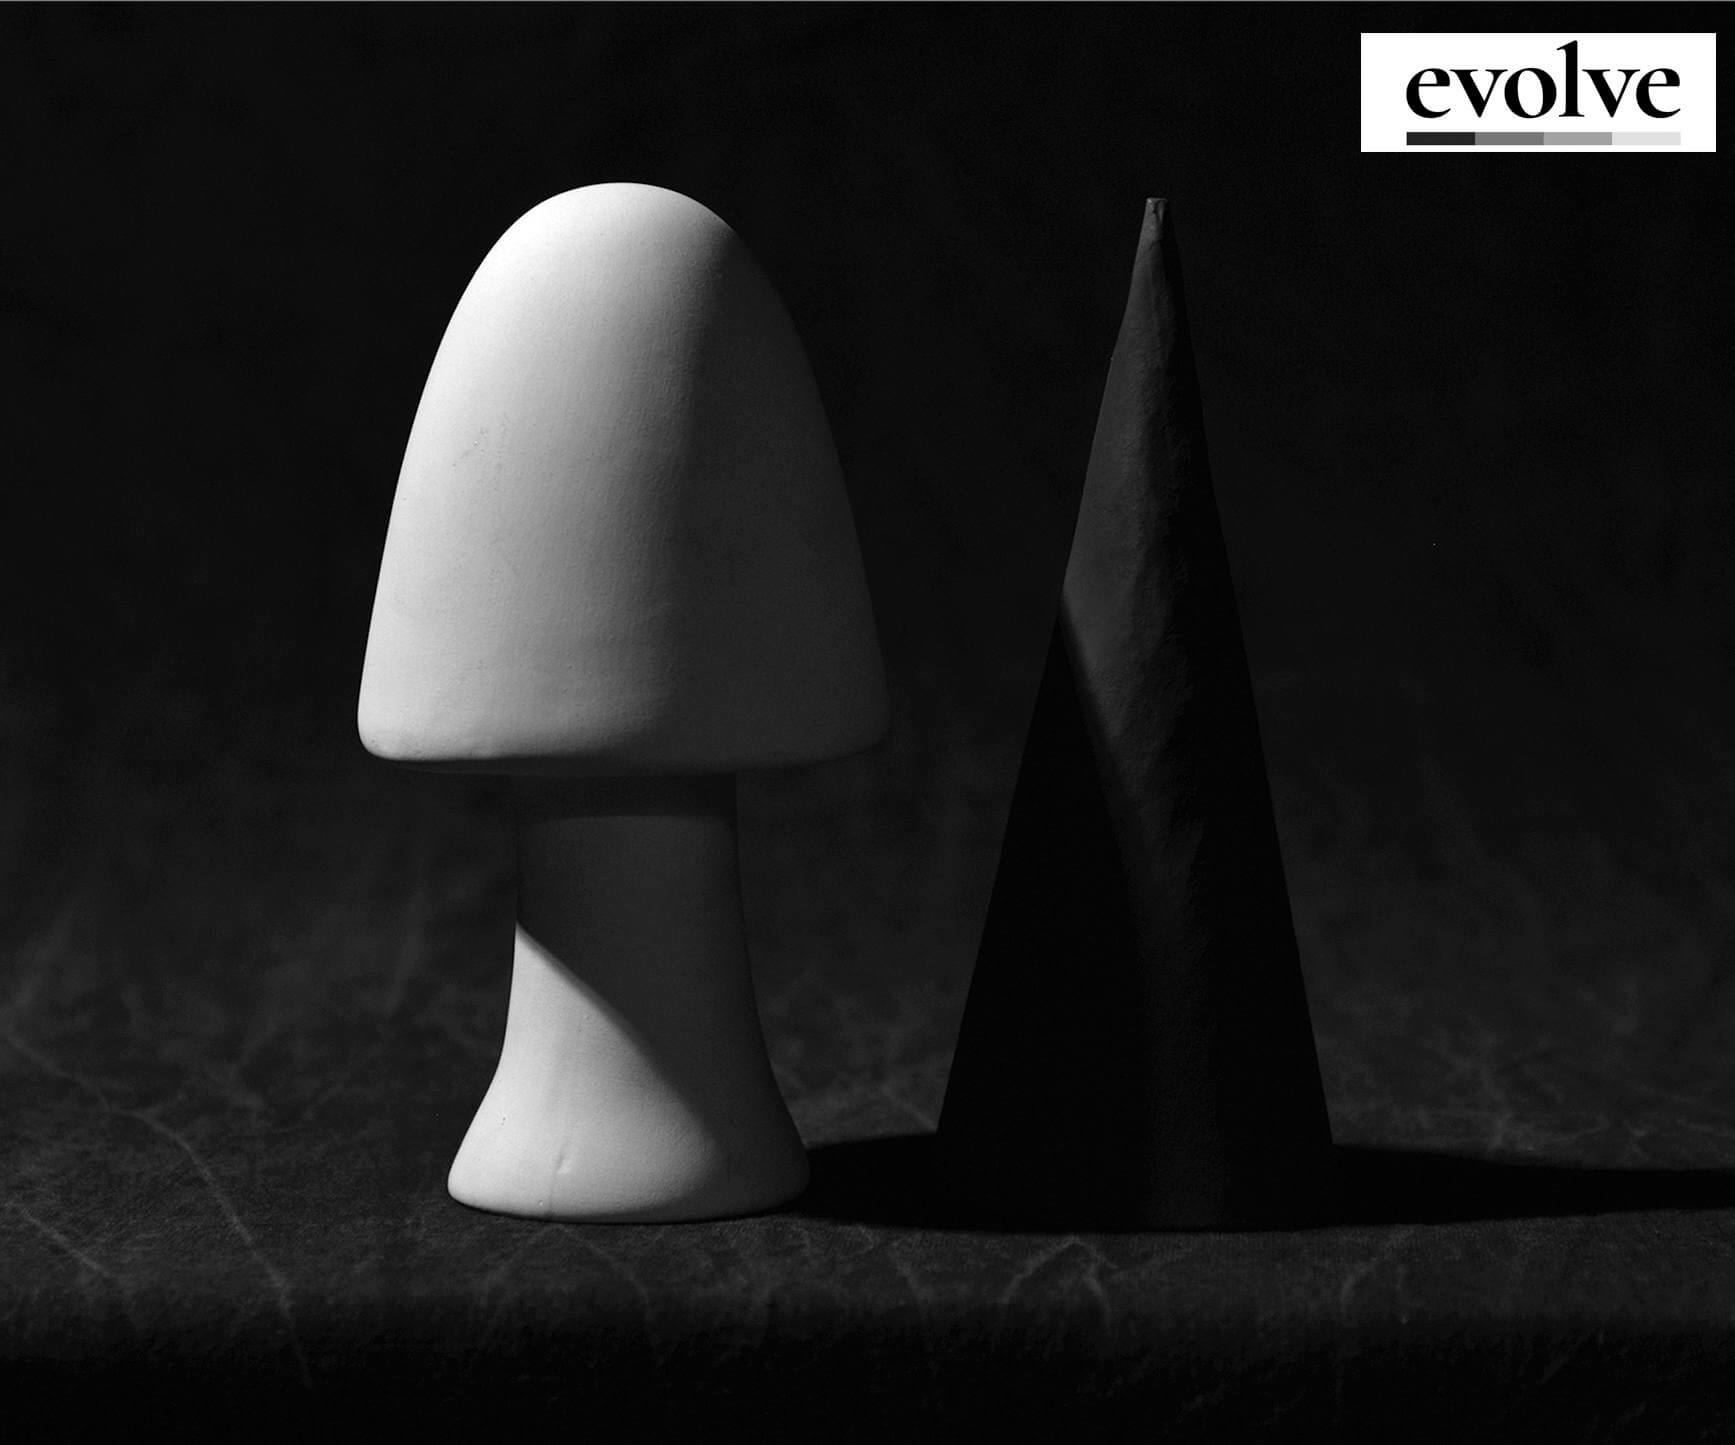
This reference from Block 2 in the Evolve program requires students to carefully consider values, edge, and technique. Follow along as we walk through how to paint this picture!
Assess the Values
In order for beginners to learn oil painting, students require a solid education in value. Without correctly placed values, the painting will never succeed.
At Evolve, our first step in any painting is to determine what is a light and what is a shadow. By looking at our reference and understanding that the light is coming down from the upper left, we can easily determine light and shadow.
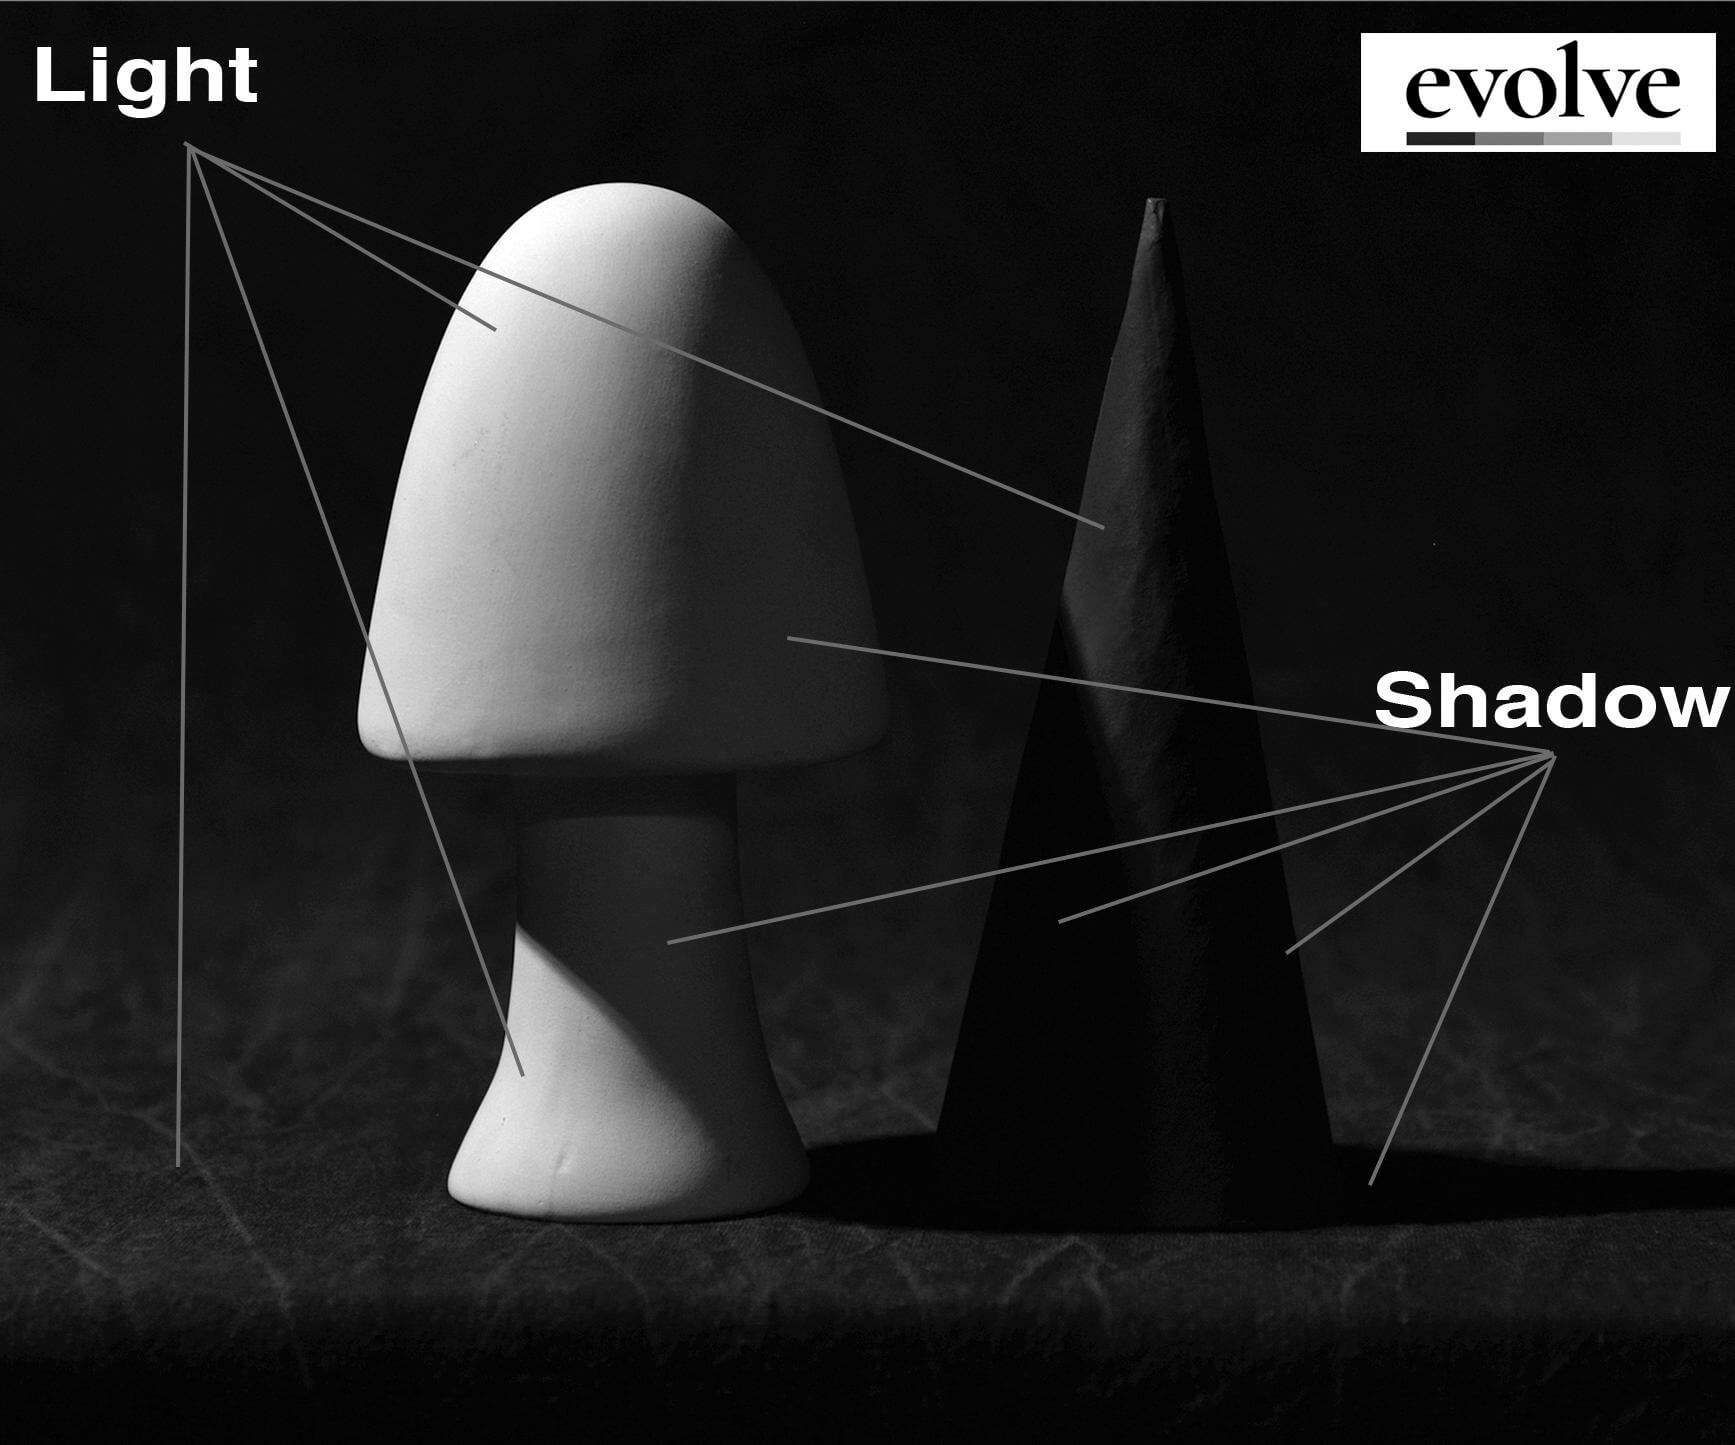
Identifying light and shadow is the first step to any painting.
Understanding how to assign value is a crucial part of being an artist. If you want to learn more, check out this blog post for a beginner’s guide to assigning value.
Paint in the Shadows
For the first painting step, we will place all of our extreme shadows and moderate shadows. When learning how to oil paint, Evolve students only use four values. This helps to keep things simple as they learn.
So we need to find our darkest shadow in the entire painting. I see it as the cast shadows on the table top, from the mushroom and cone.
Now we need to find our lightest shadow. This must be a shadow value, not a dark light! Looking carefully, I think that the shadow on the mushroom cap is the lightest shadow.
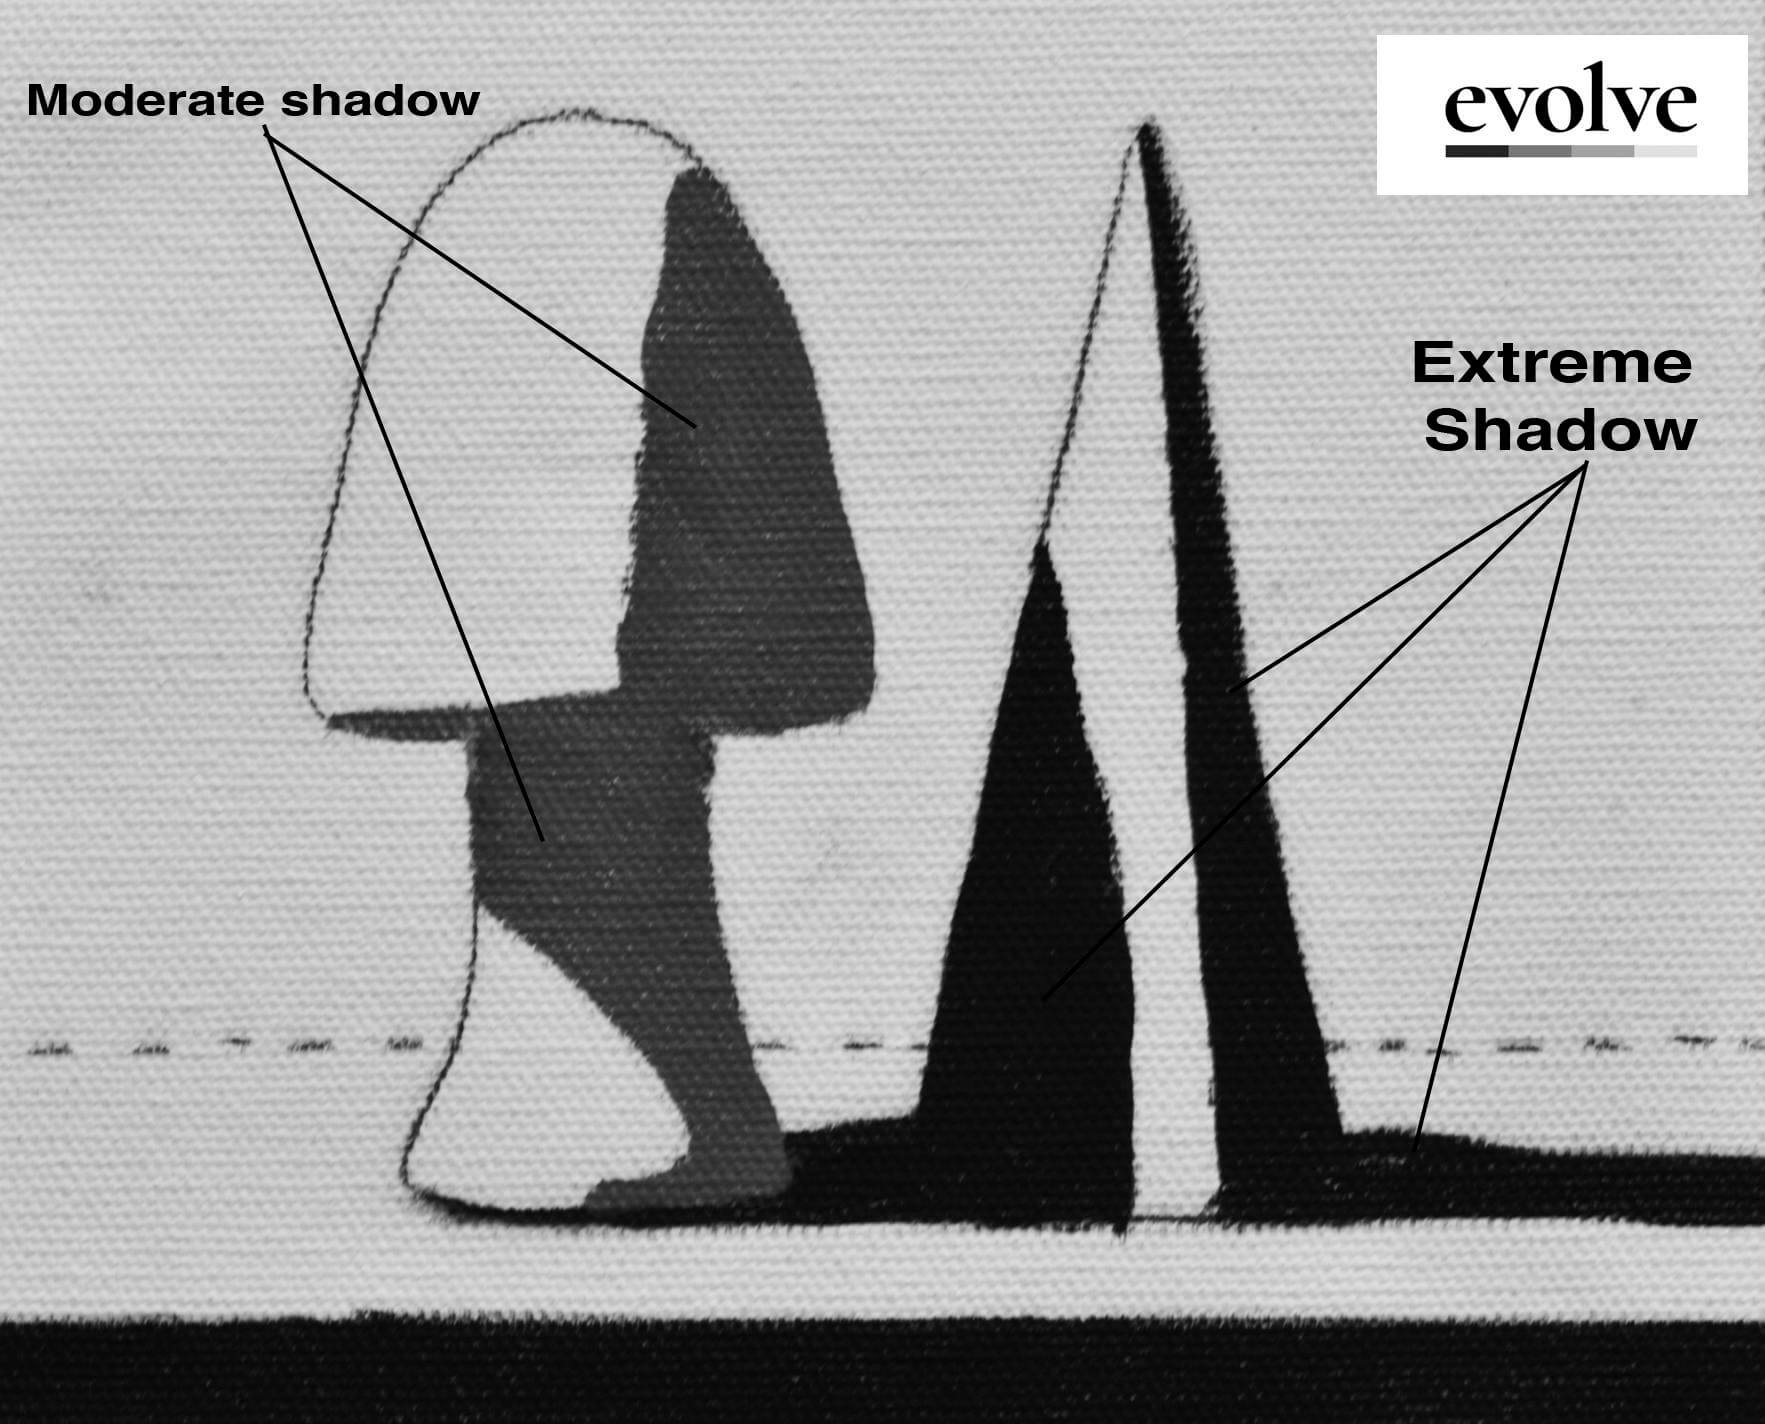
Assigning shadow values.
Now that we have our parameters for shadows, we compare every other shadow to both extreme and moderate and assign them one of those two values, depending on which one they are closest to in value.
Then we can paint in the shadows with full confidence!
Paint in the Lights
Next, we follow the same path for our lights. First, we find the lightest light, which I think is the light on the mushroom’s stem. Then we find the darkest light, which is the light on the center of the cone.
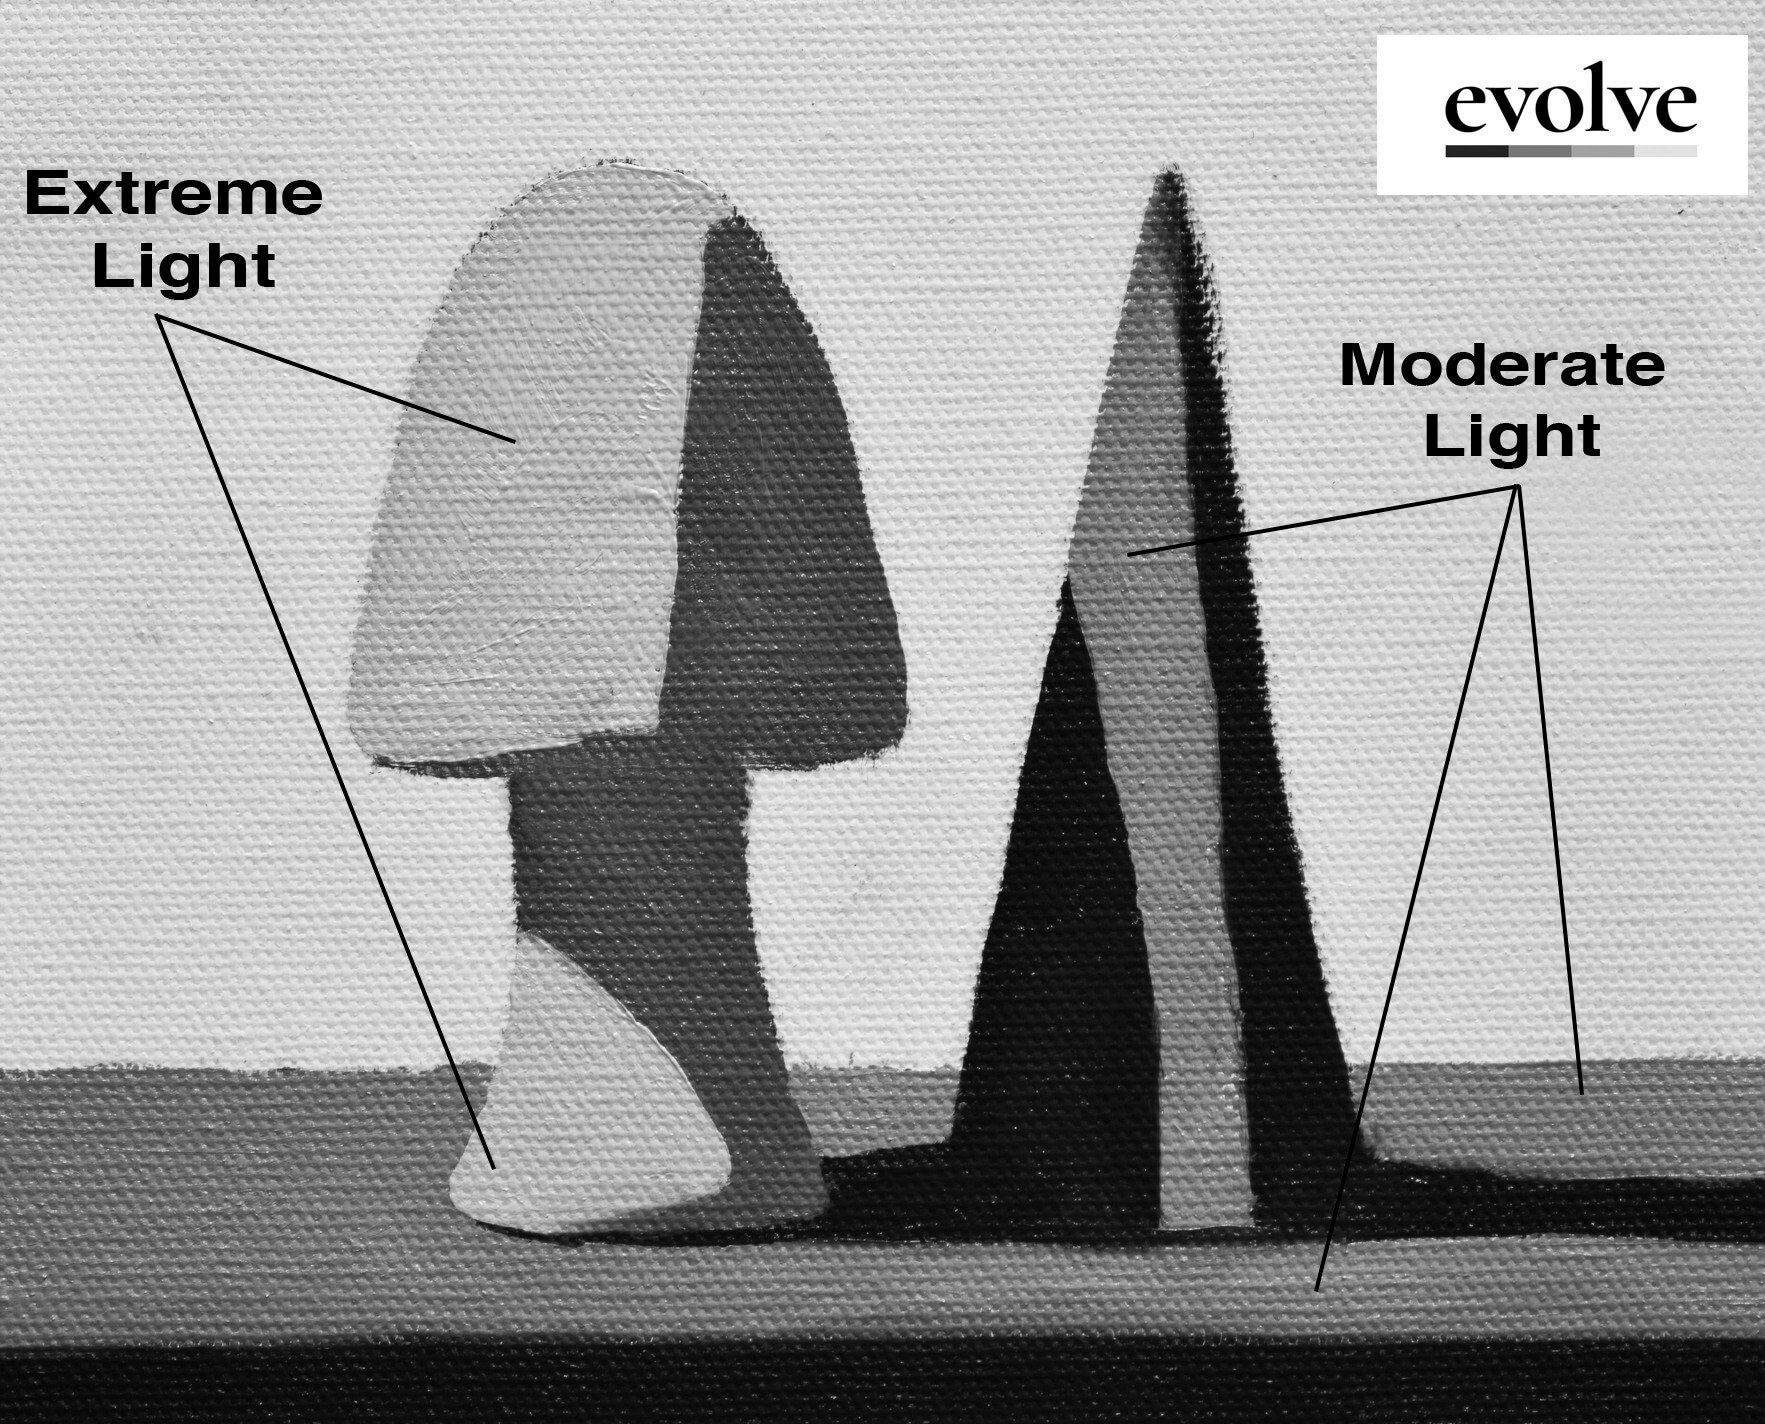
Placing the extreme and moderate lights.
Once all the light values have been given a moderate or an extreme category, we can carefully paint them in.
As we paint, we are keeping tabs on where gradients will eventually be placed, but laying down sharp edges for now.
Refine the Edges
Next, we refine our edges, placing gradients where form shadows are, and sharp edges where cast shadows exist.
Gradients are a very important part of the painting. They explain light and form. If they appear sharp or harsh, they won’t read as a seamless fade from light to dark.
Once gradients are in place, we can address our cast shadows and sharp edges. Sharp edges must be razor sharp in order to be effective. They explain a cast shadow or an outer edge of an object.
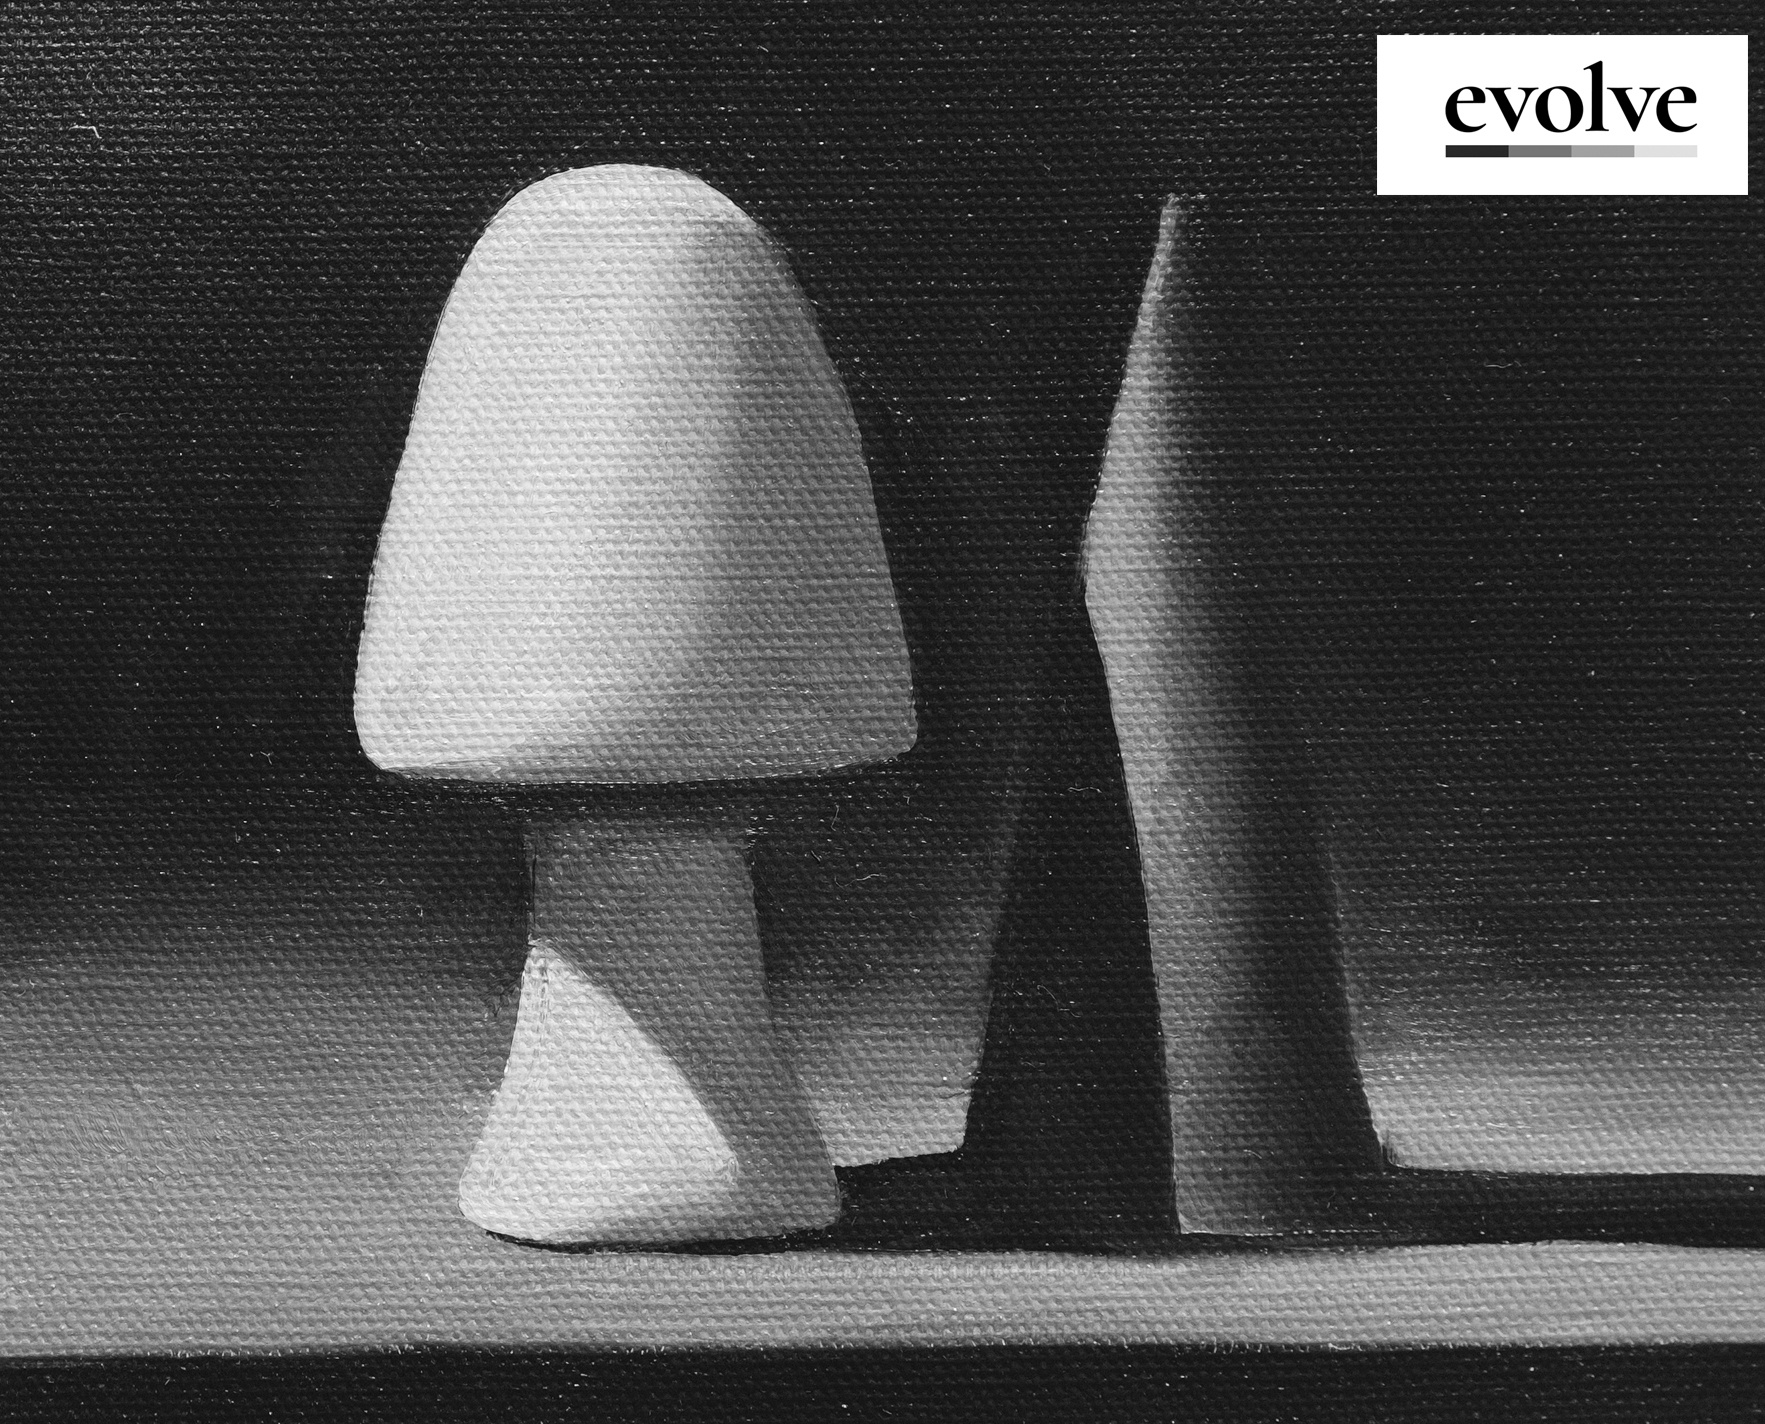
The final step in a beginning painting is to place any reflections or highlights and then paint in the background to finish the painting!
Add the Finishing Details
After using the grayscale painting techniques, the next step in this level of painting is to place highlights and reflections.
In this fairly simple painting, there aren’t too many of either. The biggest is beneath the mushroom cap. So there, we will add a little reflection in to lighten the center and create the illusion of a darker shadow directly beneath the mushroom cap.
It is important to remember that a reflection is a shadow value, so at this point in the student’s education, it must stay darker than even the darkest light.
There are a few areas we could add a highlight to, perhaps in the cone and the mushroom cap.
These details will only be successful if the first steps are done correctly. If values are misplaced and edges incorrect, no number of beautiful reflections and highlights will improve the painting.
Once these are carefully placed, we can move into the final step of placing the background, being careful not to reshape any objects. This final step sharpens edges and brings the painting to a finished state.
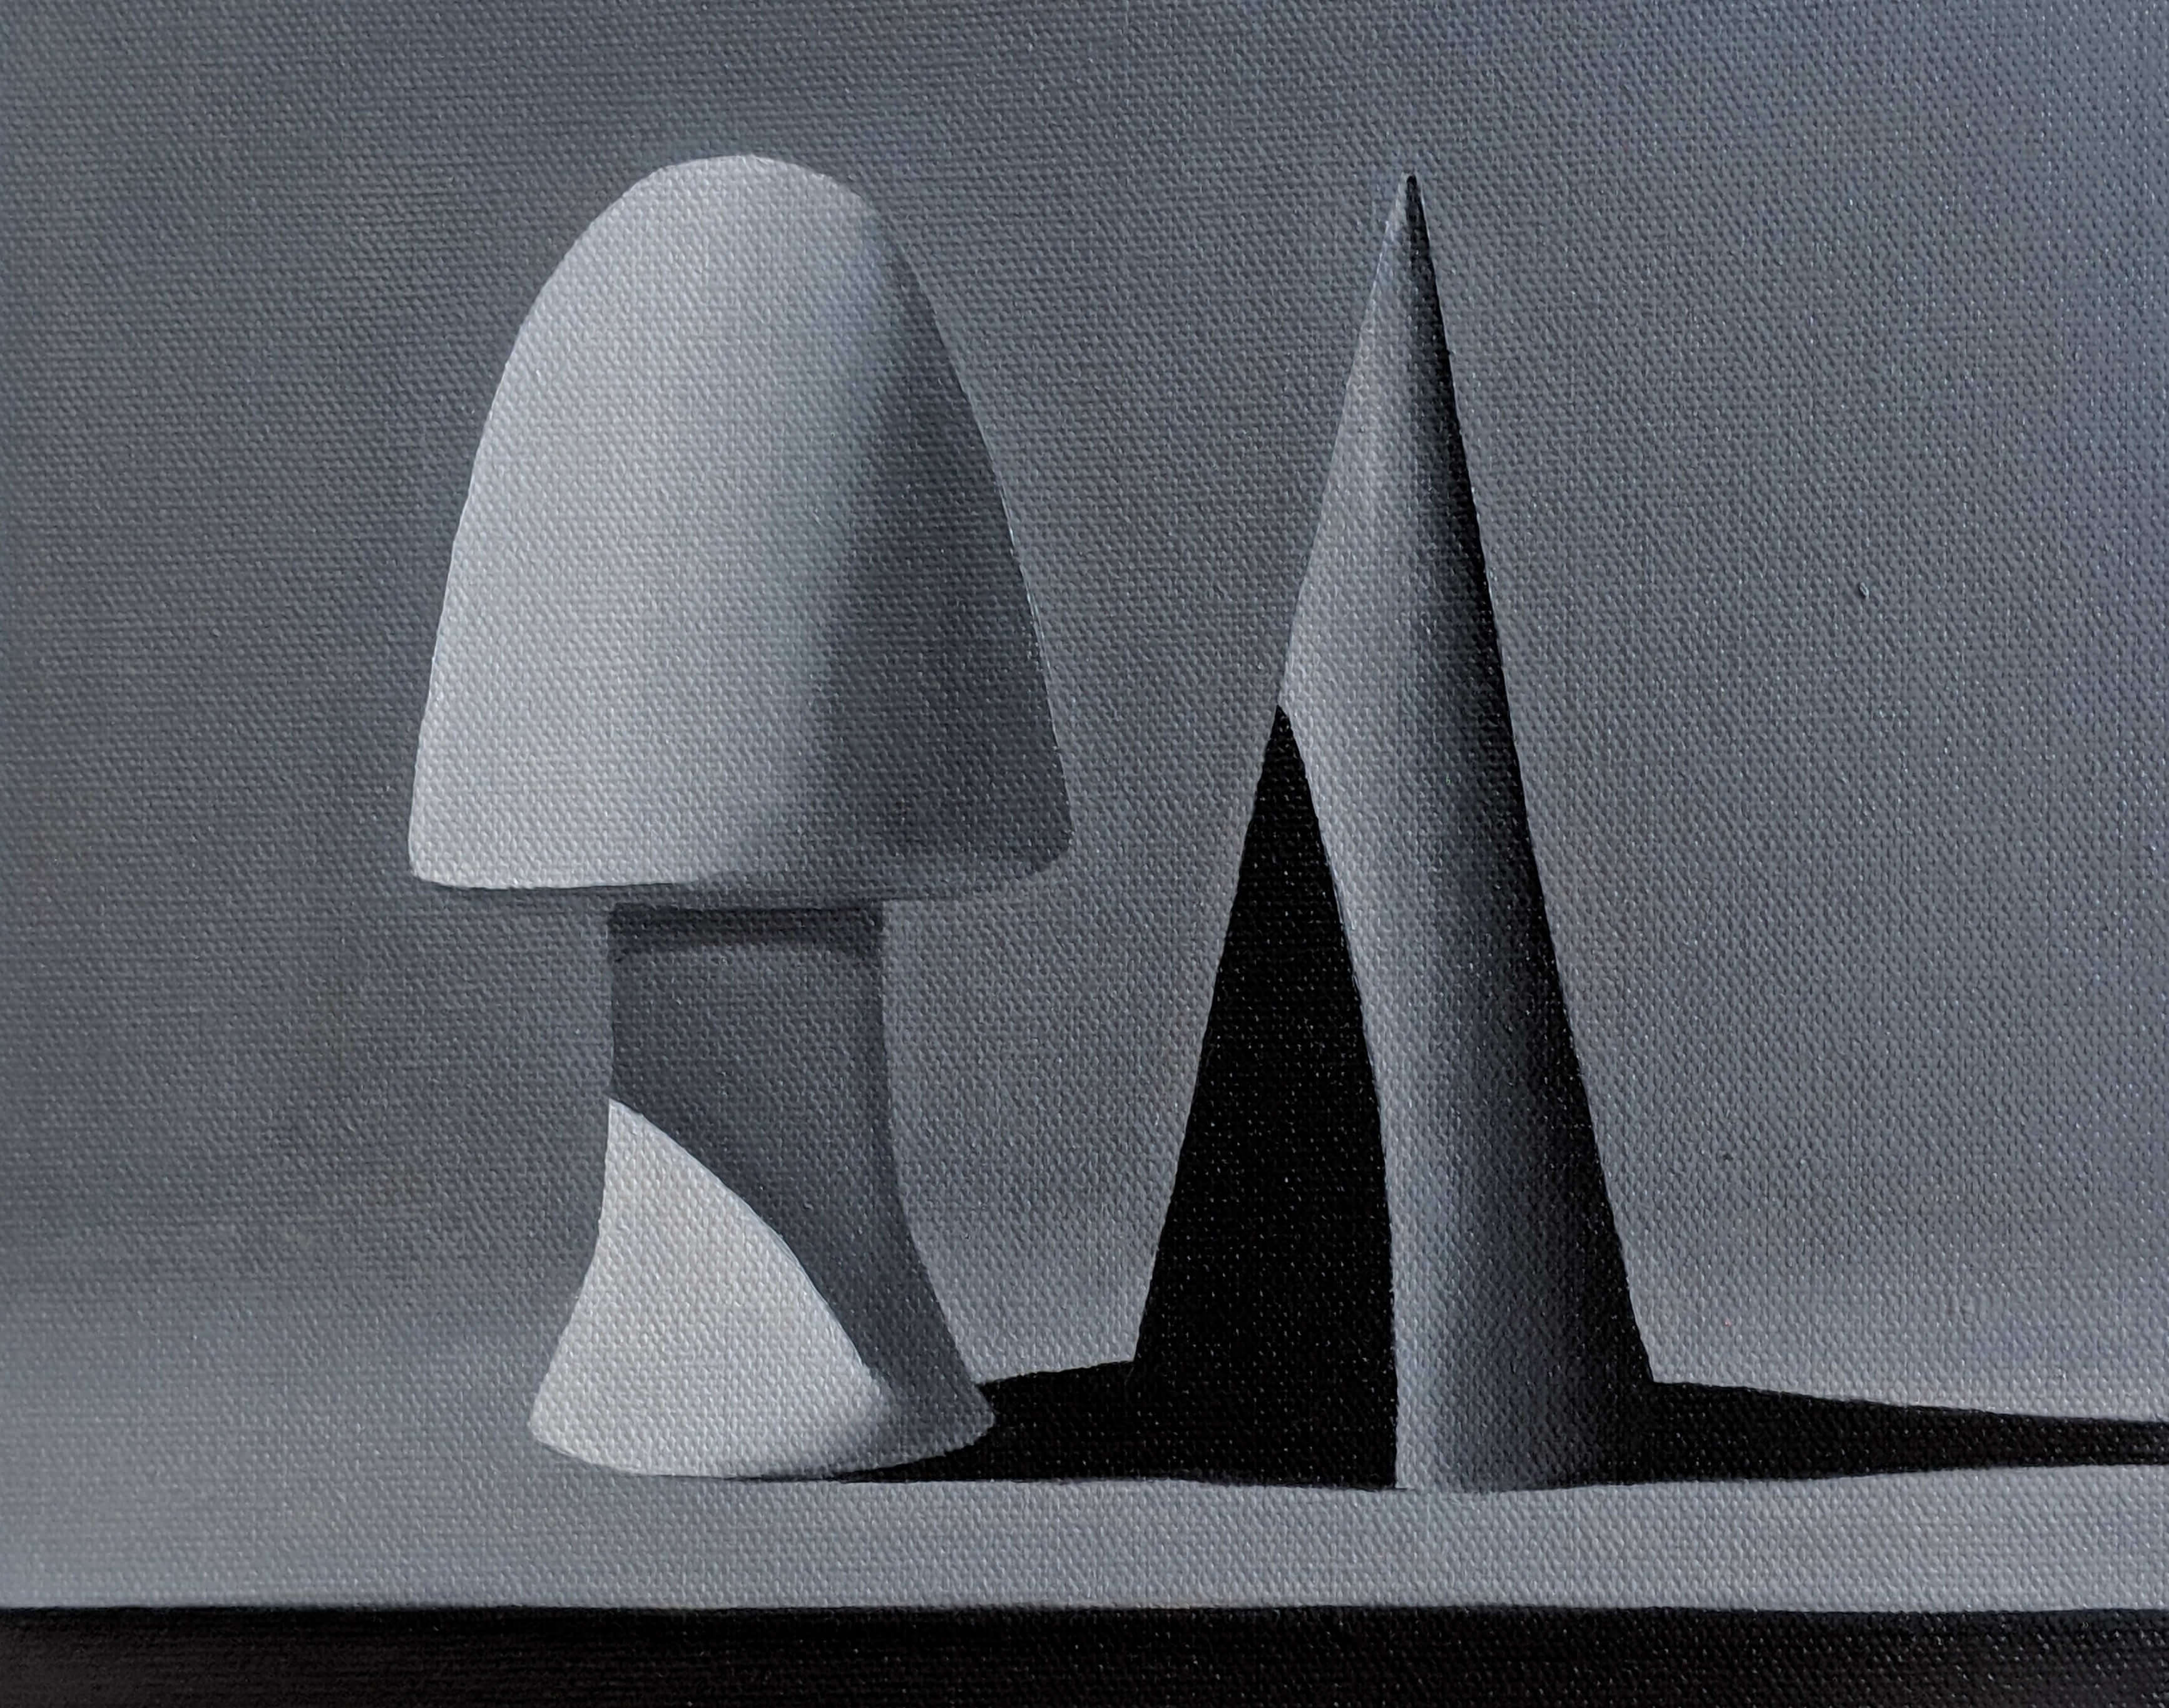
An example of a finished painting by Evolve student, Marta L.
Final Thoughts on Grayscale Painting Techniques:
Using grayscale painting techniques is a simple approach to categorizing value and carefully painting at a beginner level. As confidence and technique improve, more moving parts are added. Color, color shadows, and other techniques will eventually be added to elevate the paintings even more.
Oil painting for beginners requires you to keep things simple at first in order to develop a strong foundation for your artwork so start with the grayscale painting techniques and when it comes time to add color, you'll be ready for it!
FREE MASTERCLASS:
The 4 Part Framework to Develop Artistic Excellence in 12 Months

